Last Updated: May 22nd, 2026
Nextcloud Installation Using Docker
Introduction:
This tutorial explores the installation and configuration of Docker and Nextcloud on a Fedora Server system. Building a home server or home lab provides many benefits, including the ability to host services, experiment with new technologies, and gain a deeper understanding of networking and system administration.
Docker enables a server to perform multiple functions by running applications in isolated containers. While both virtual machines and Docker containers allow a server to host multiple services, they differ significantly in how they utilize system resources.
Virtual machines allocate a fixed portion of hardware resources from the host system and operate with their own kernel, operating system, and system settings. Docker, on the other hand, shares the host operating system's kernel and dynamically utilizes available hardware resources. Each Docker container runs in an isolated environment, providing separation from the rest of the system while remaining dependent on the host kernel for hardware access. This approach generally results in lower resource consumption and greater flexibility compared to traditional virtual machines.
Nextcloud is an open-source cloud platform that provides a wide range of features and functionality. It can be used for file storage and synchronization, calendar and contact management, note-taking, file sharing, and data backup. Additional features include integration with cloud-based office suites for collaborative document editing, spreadsheet management, video conferencing, and instant messaging. Its versatility makes it an excellent solution for self-hosted cloud services.
Objective:
The objective of this tutorial is to provide the commands and Docker Compose configuration necessary to successfully install and deploy Nextcloud on a Fedora 44 Server system.
Installation:
This installation will configure Docker and Nextcloud for use on a private network and will not be publicly accessible at this stage. Future updates to this tutorial may include additional configuration options, security enhancements, and public internet accessibility.
Screenshots will be provided throughout the guide to illustrate the expected results after each step. For simplicity, commands and Docker Compose files can be copied and pasted directly into the terminal or configuration files. Although Nextcloud installation and configuration can sometimes be challenging, this tutorial aims to provide a straightforward and comprehensive process for deploying Nextcloud on a Fedora server.
- Open the terminal and type in the command:
- After docker is installed it maybe required to active system daemon by typing in the command:
- There are some basic commands that will be unearthed next coming steps to help with running docker. Personally, docker compose is much better to use because it is reusable and it is a file instead of a command. Organization of the system is paramount and it is sufficient to think methodically and organizing everything. We will create a directory with its corresponding directories by typing in the command:
- Now being within the current directory. A file will be created which will be titled "docker-compose.yml"; this is the standard name convention and cannot be customized, but the docker compose file must be unique to it’s own directory. Type in the command:
- Copy and paste the code below and edit it as necessary in the terminal. The images will be used from the Linux server which does an excellent job of simplifying the installation process of Nextcloud. Configure the code below as needed
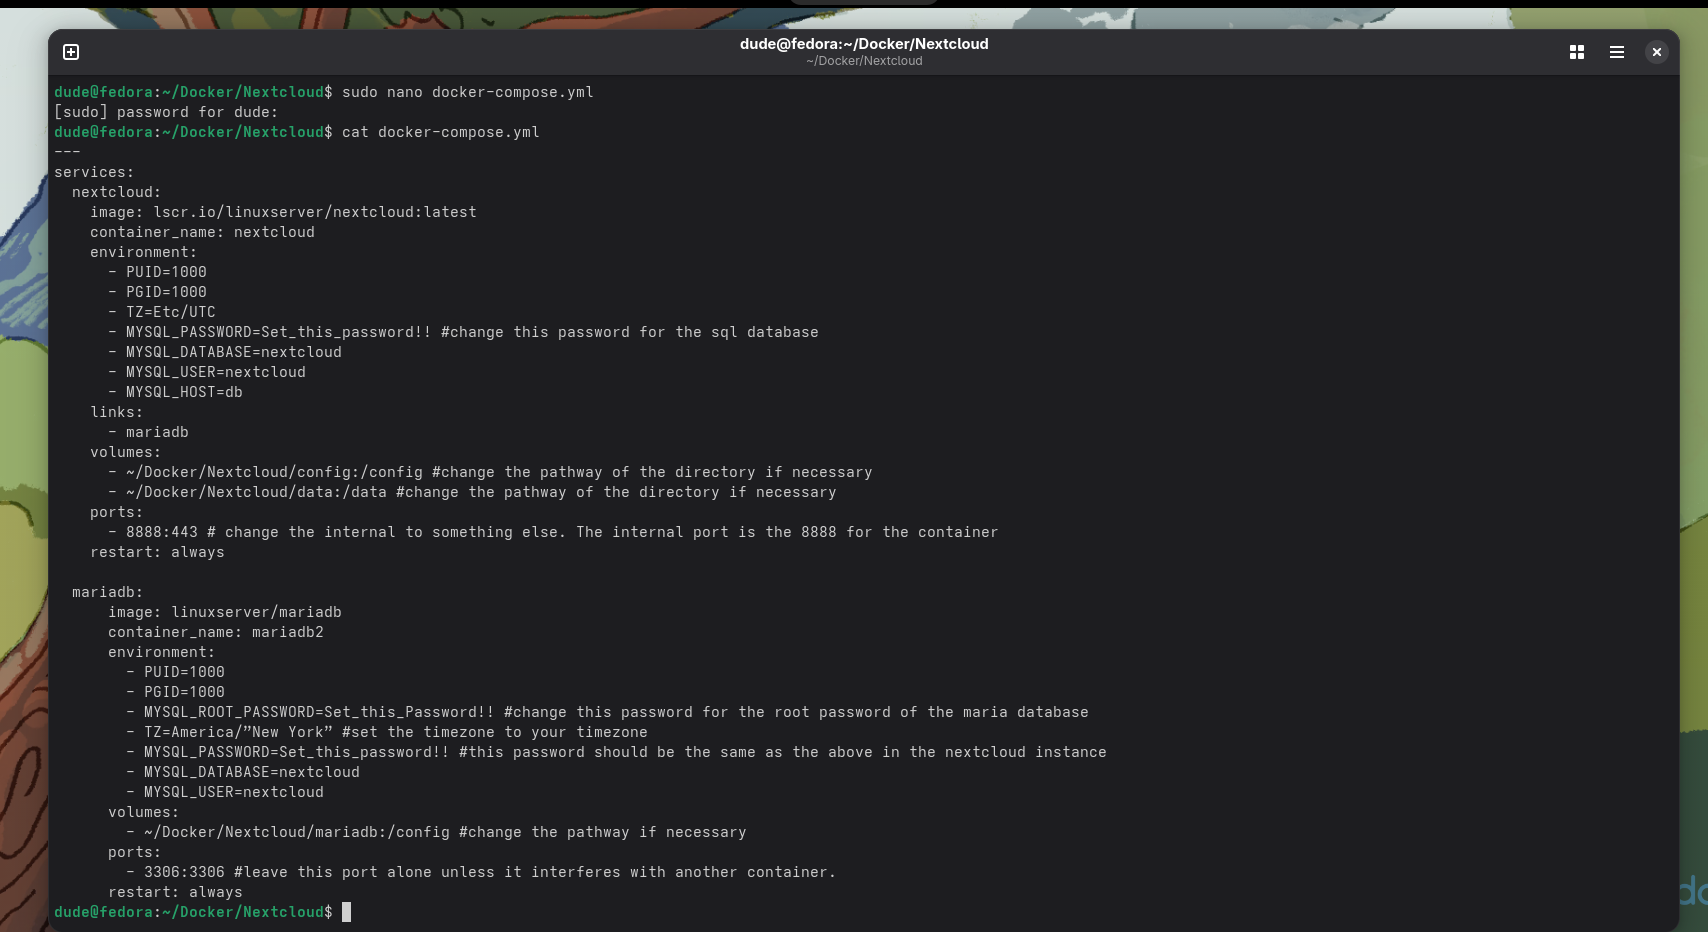
- Next, to confirm the file saved, type in the command below:
- We will need to create the directories in the ~/Docker/Nextcloud for the docker compose to work properly. Type in the command while being in ~/Docker/Nextcloud
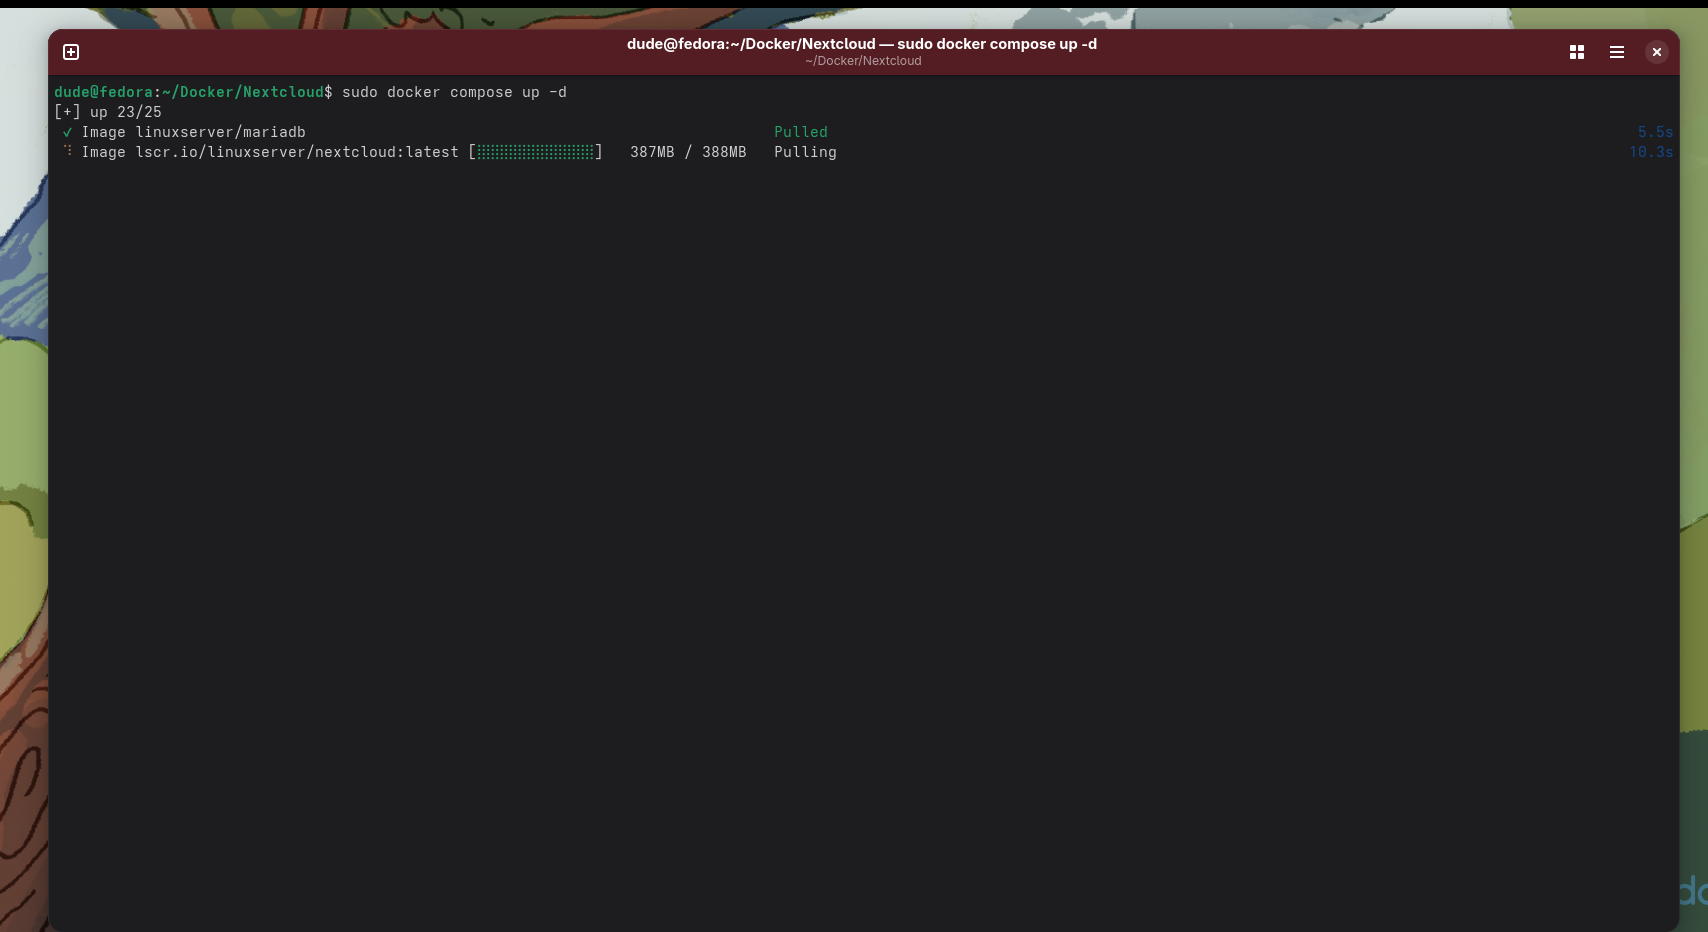
- Now we can run the file in order to install the Docker container.
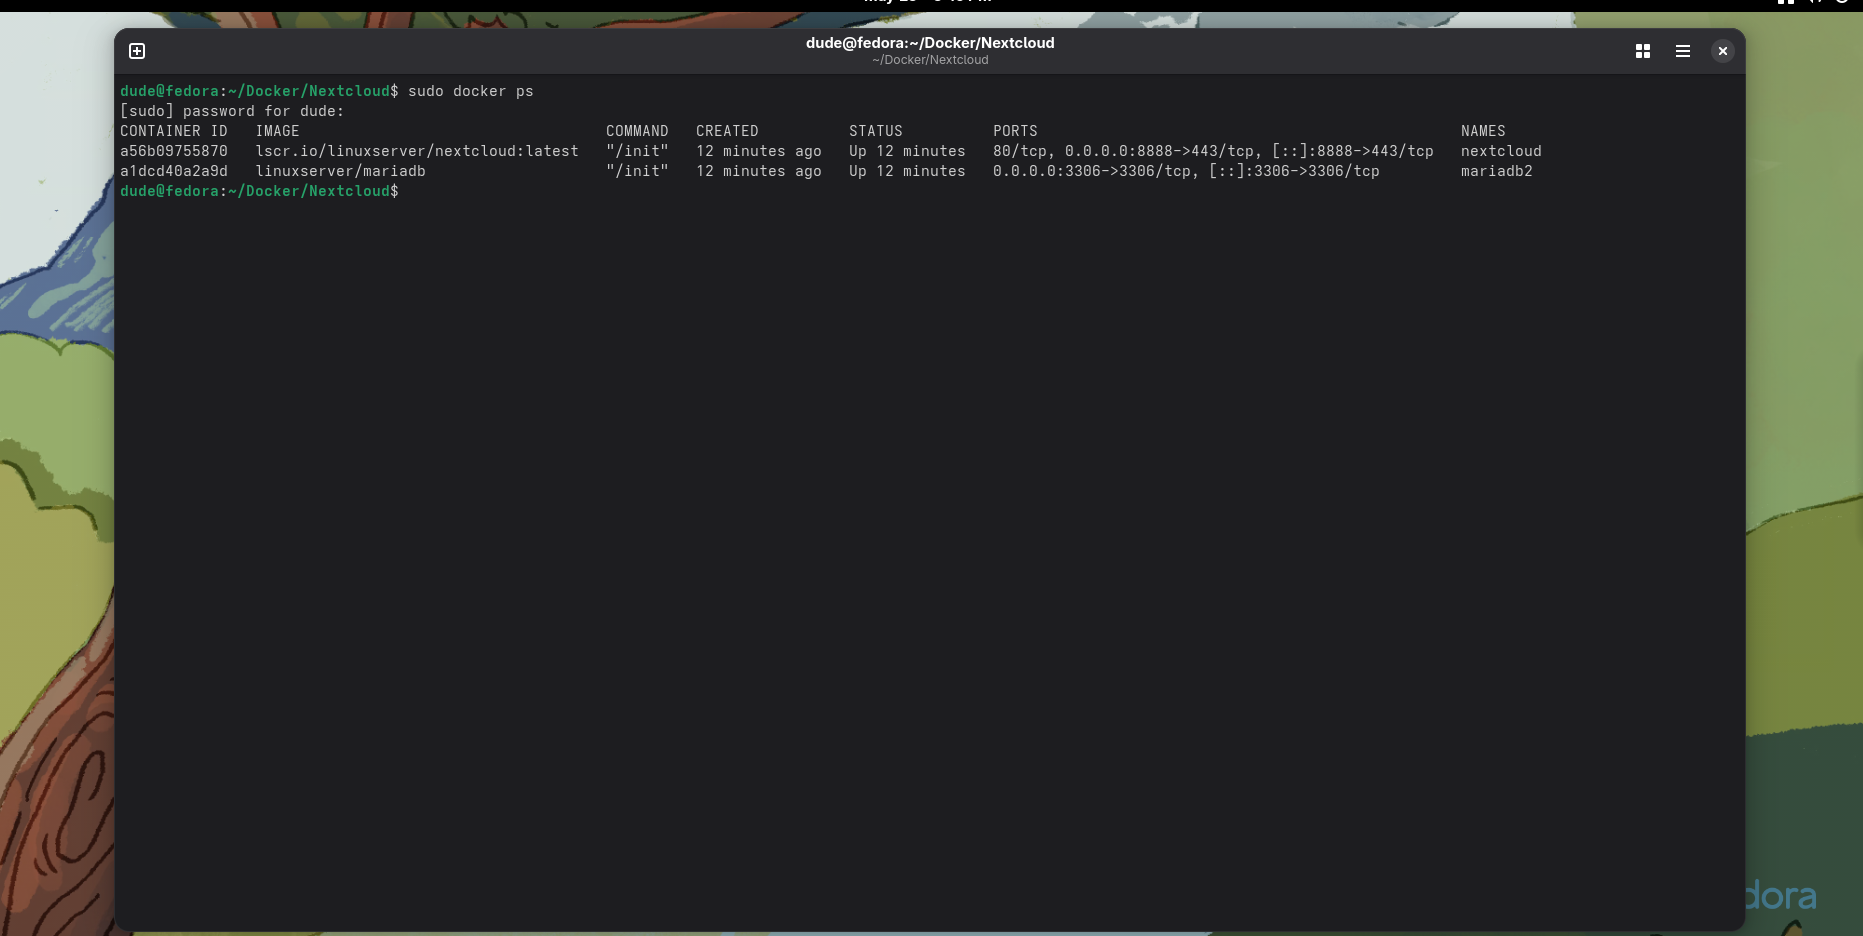
- Type in the command below to confirm the Nextcloud and Maria database are up and running.
- We need to locate the private IP address associated the the computer device so type in the command:
- Now open up your web browser and type into the address bar:
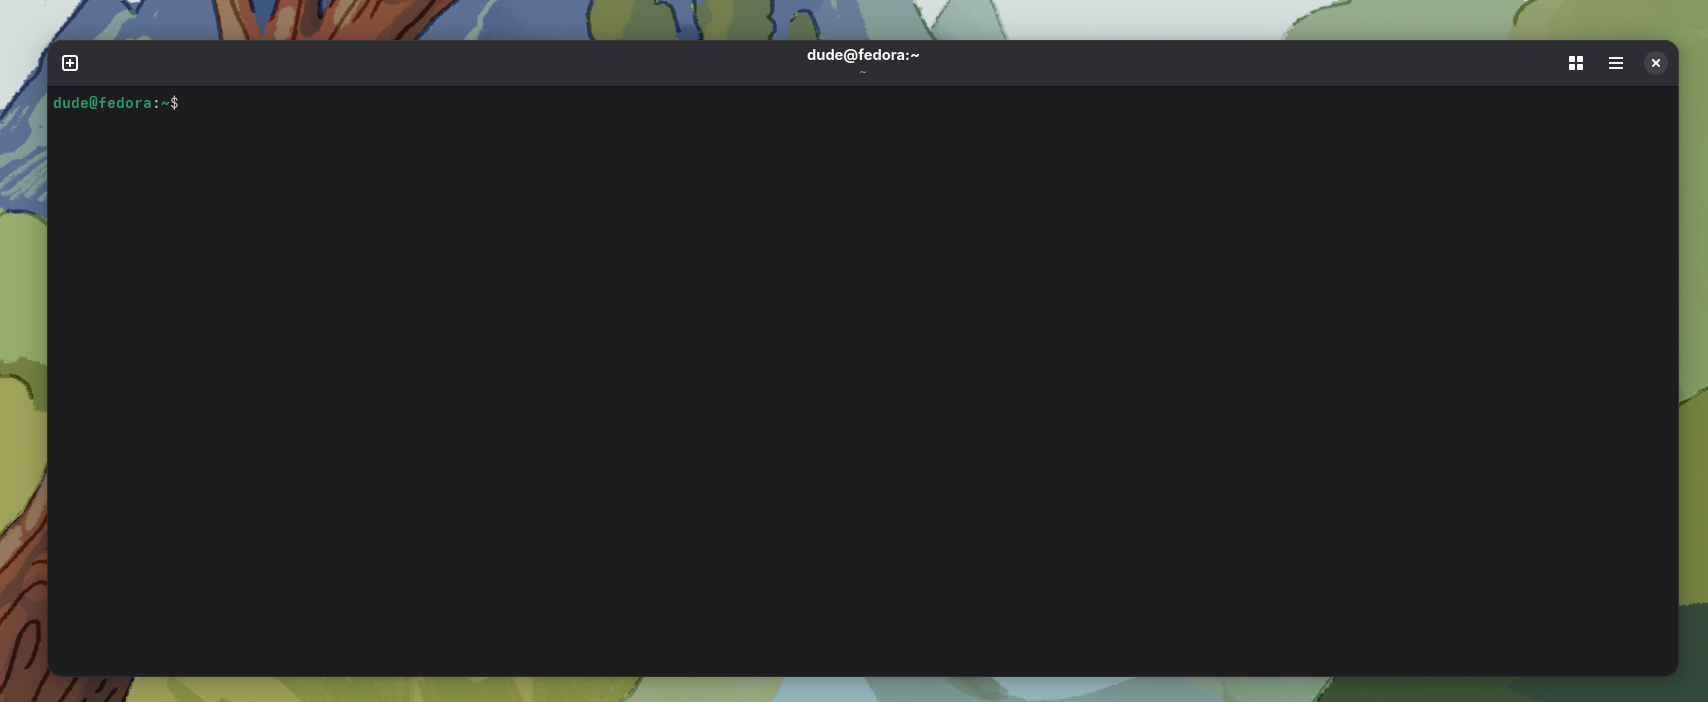
sudo dnf install –y docker docker-compose
The "-y" flagging means "yes" to downloading of the required packages and necessary dependencies. You will be prompted to type in your password and followed by pressing "ENTER." The download and installation process will commence.
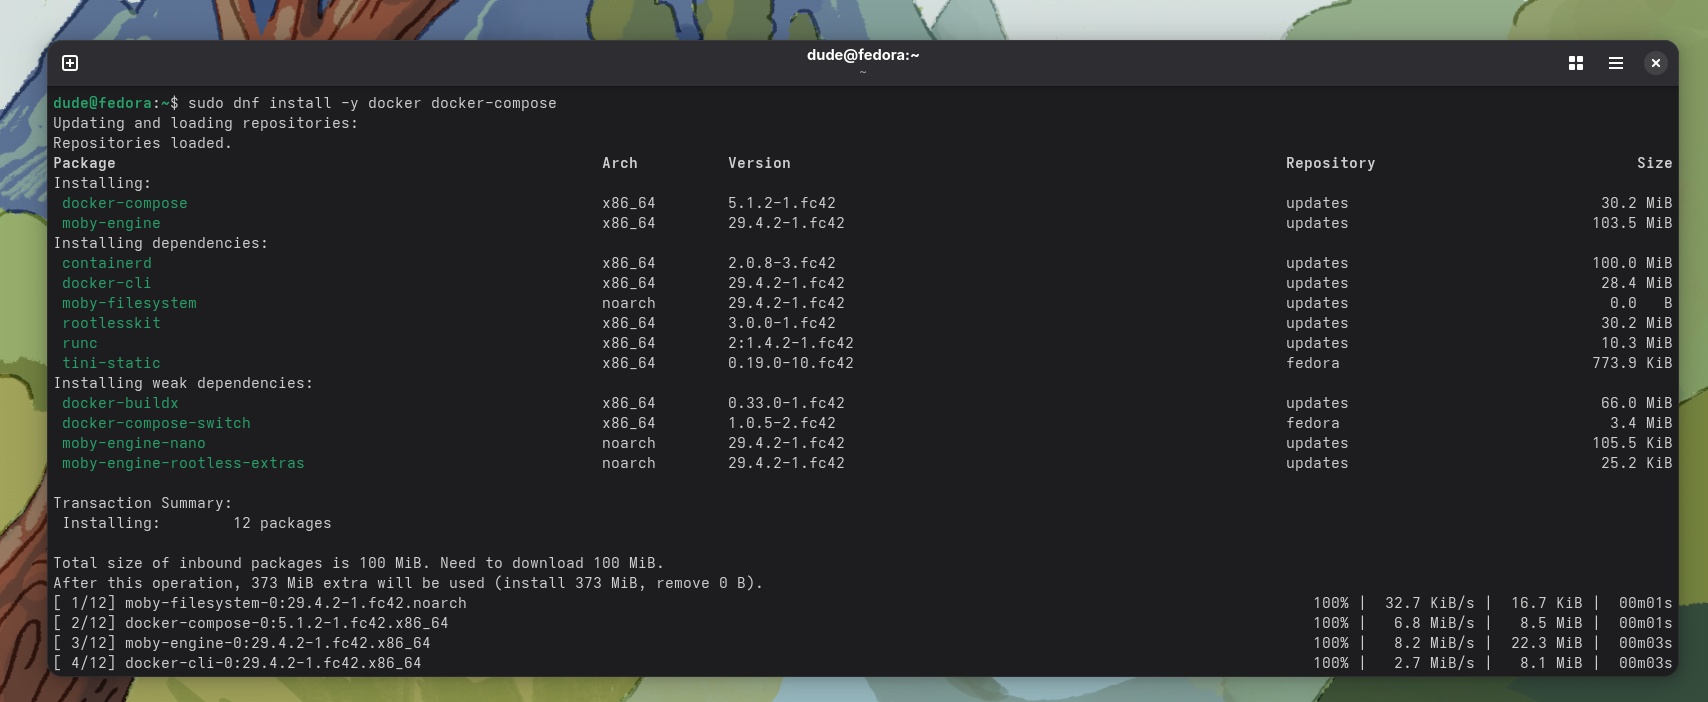
sudo systemctl start docker && sudo systemctl status docker
You will be prompted to type in your password followed by pressing the "ENTER" button on the keyboard.
In the screenshot above, we are looking to see if the system daemon is active which is in a green font color. Press "CTRL + C" to exit.
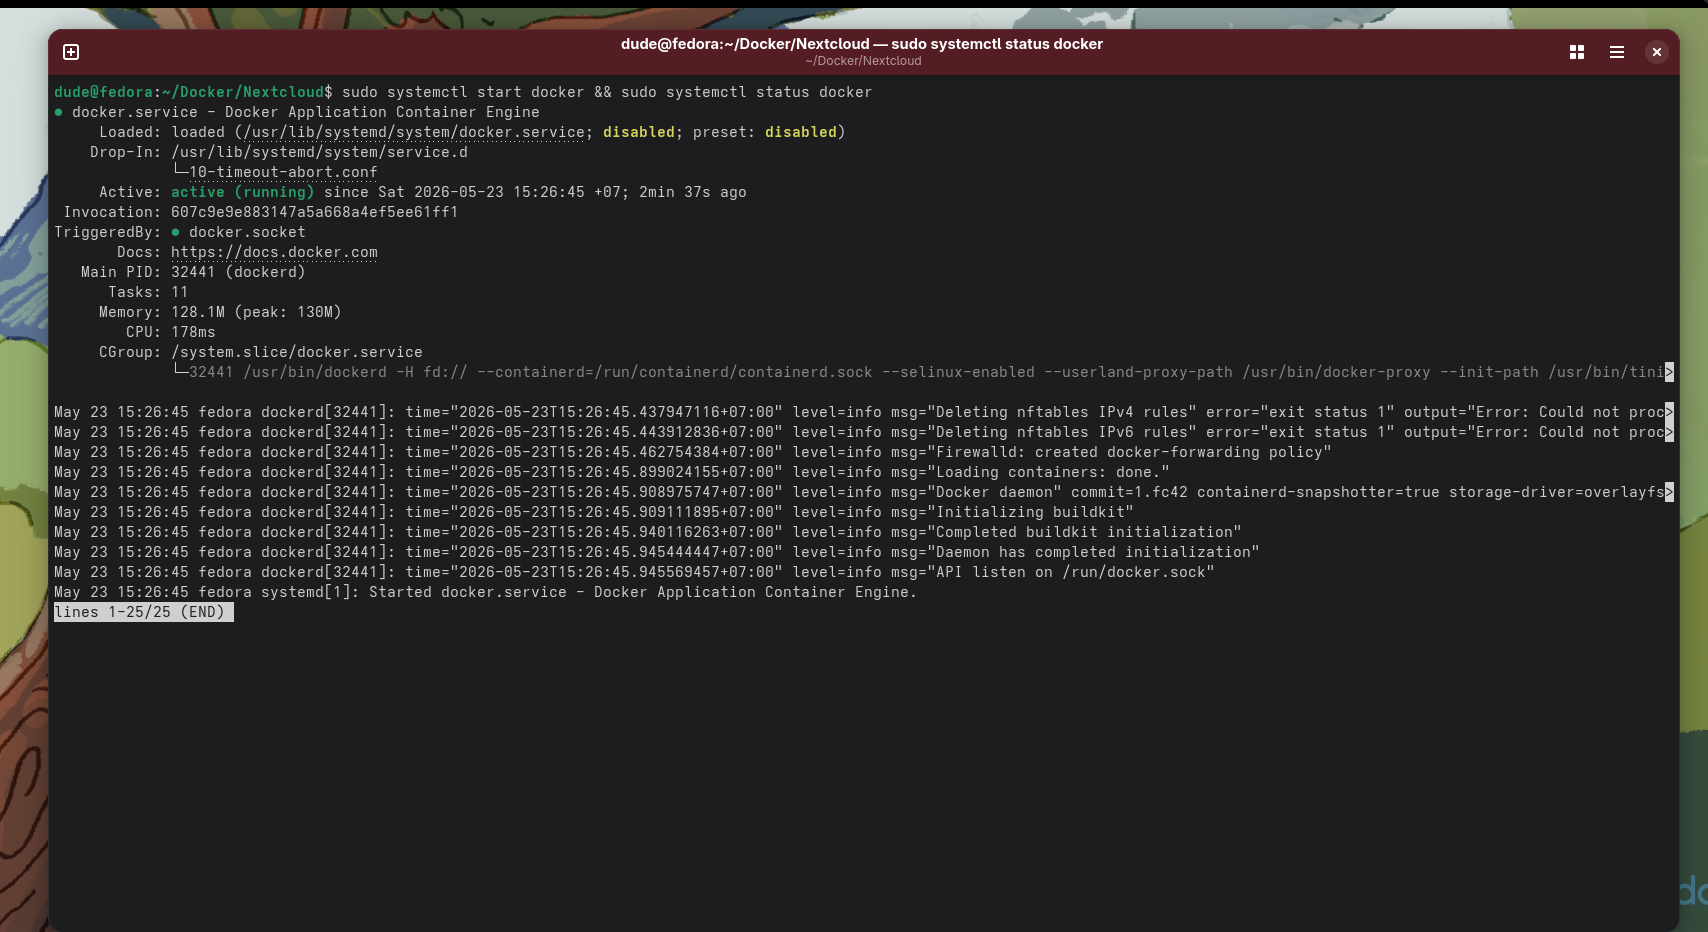
mkdir –p ~/Docker/Nextcloud && cd ~/Docker/Nextcloud
This command will create the the parent directory with child directories and will change directory into the ~/Docker/Nextcloud. The "-p" flagging represent the parent directory as in it will create the pathway provided.
sudo nano docker-compose.yml
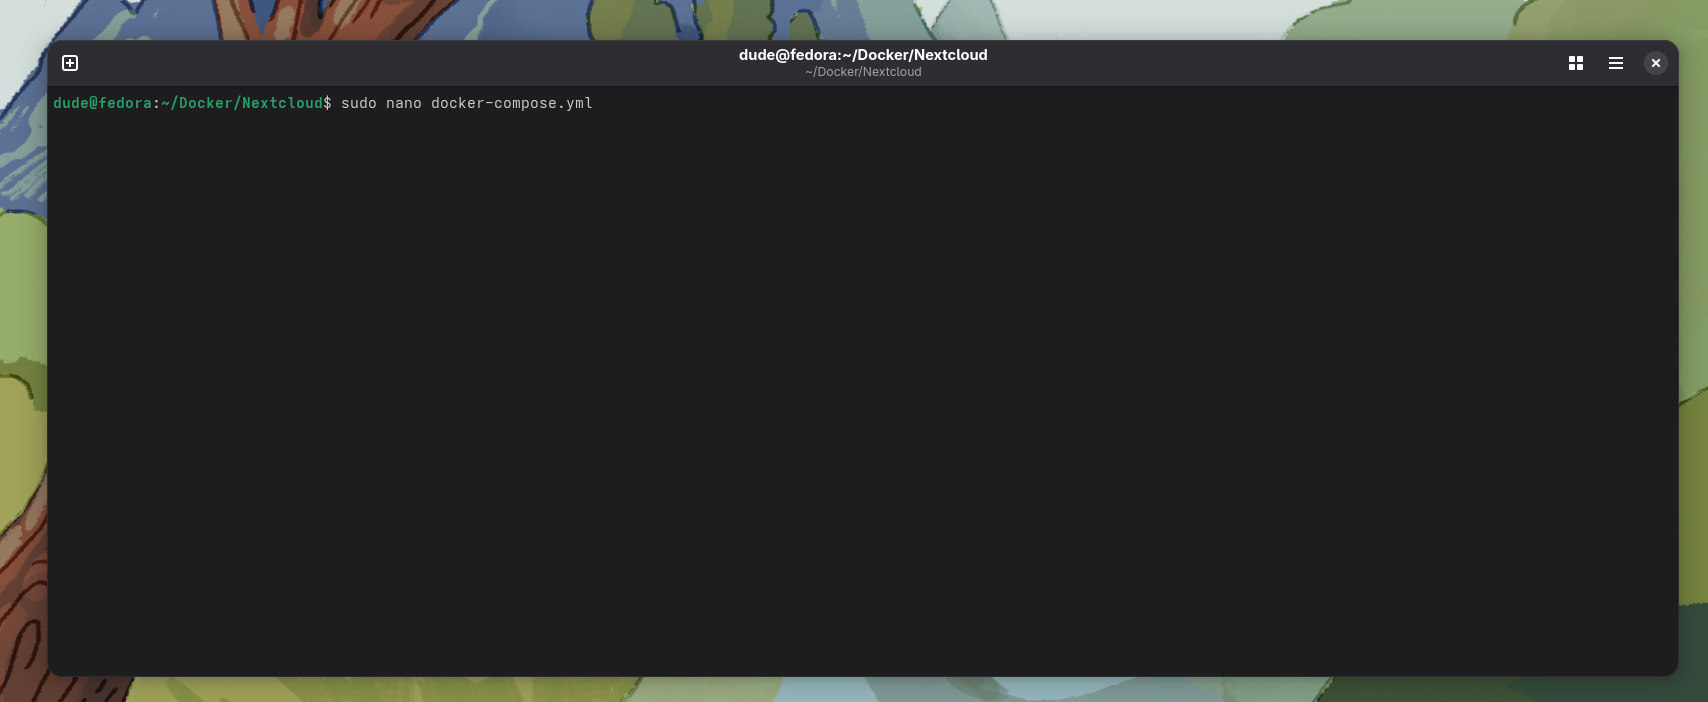
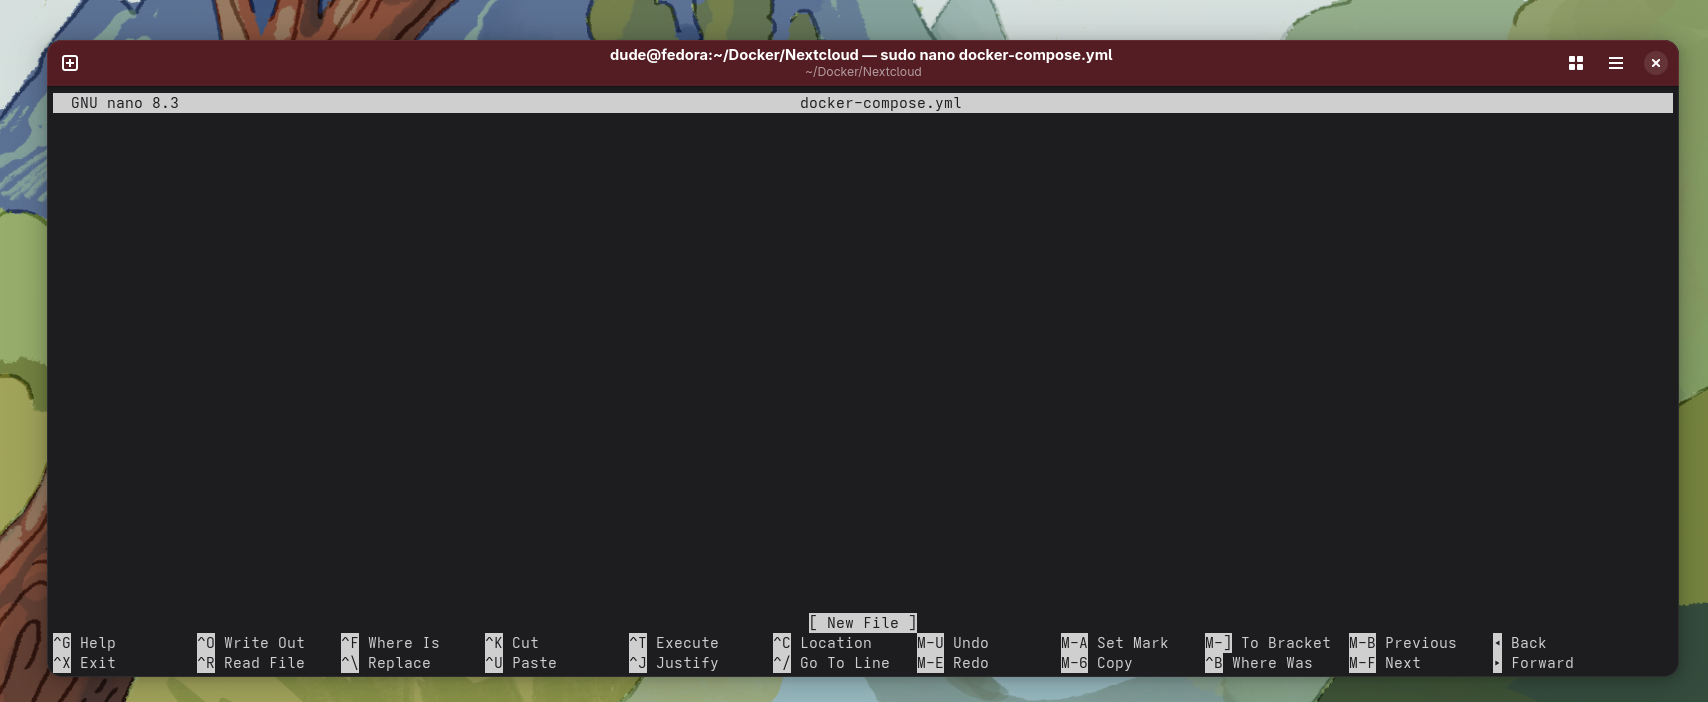
Now using nano text editor within the terminal will be opened up.
---
services:
  nextcloud:
    image: lscr.io/linuxserver/nextcloud:latest
    container_name: nextcloud
    environment:
      - PUID=1000
      - PGID=1000
      - TZ=Etc/UTC
      - MYSQL_PASSWORD=Set_this_password!! #change this password for the sql
      database
      - MYSQL_DATABASE=nextcloud
      - MYSQL_USER=nextcloud
      - MYSQL_HOST=db
    links:
      - mariadb
    volumes:
      - ~/Docker/Nextcloud/config:/config #change the pathway of the directory
      if necessary
      - ~/Docker/Nextcloud/data:/data #change the pathway of the directory
      if necessary
    ports:
      - 443:443 # change the internal to something else. The internal port is
      the 443 for the container
    restart: always

  mariadb:
      image: linuxserver/mariadb
      container_name: mariadb2
      environment:
        - PUID=1000
        - PGID=1000
        - MYSQL_ROOT_PASSWORD=Set_this_Password!! #change this password for the
        root password of the maria database
        - TZ=America/”New York” #set the timezone to your timezone
        - MYSQL_PASSWORD=Set_this_password!! #this password should be the same
        as the above in the nextcloud instance
        - MYSQL_DATABASE=nextcloud
        - MYSQL_USER=nextcloud
      volumes:
        - ~/Docker/Nextcloud/mariadb:/config #change the pathway if necessary
      ports:
        - 3306:3306 #leave this port alone unless it interferes with another container.
      restart: always
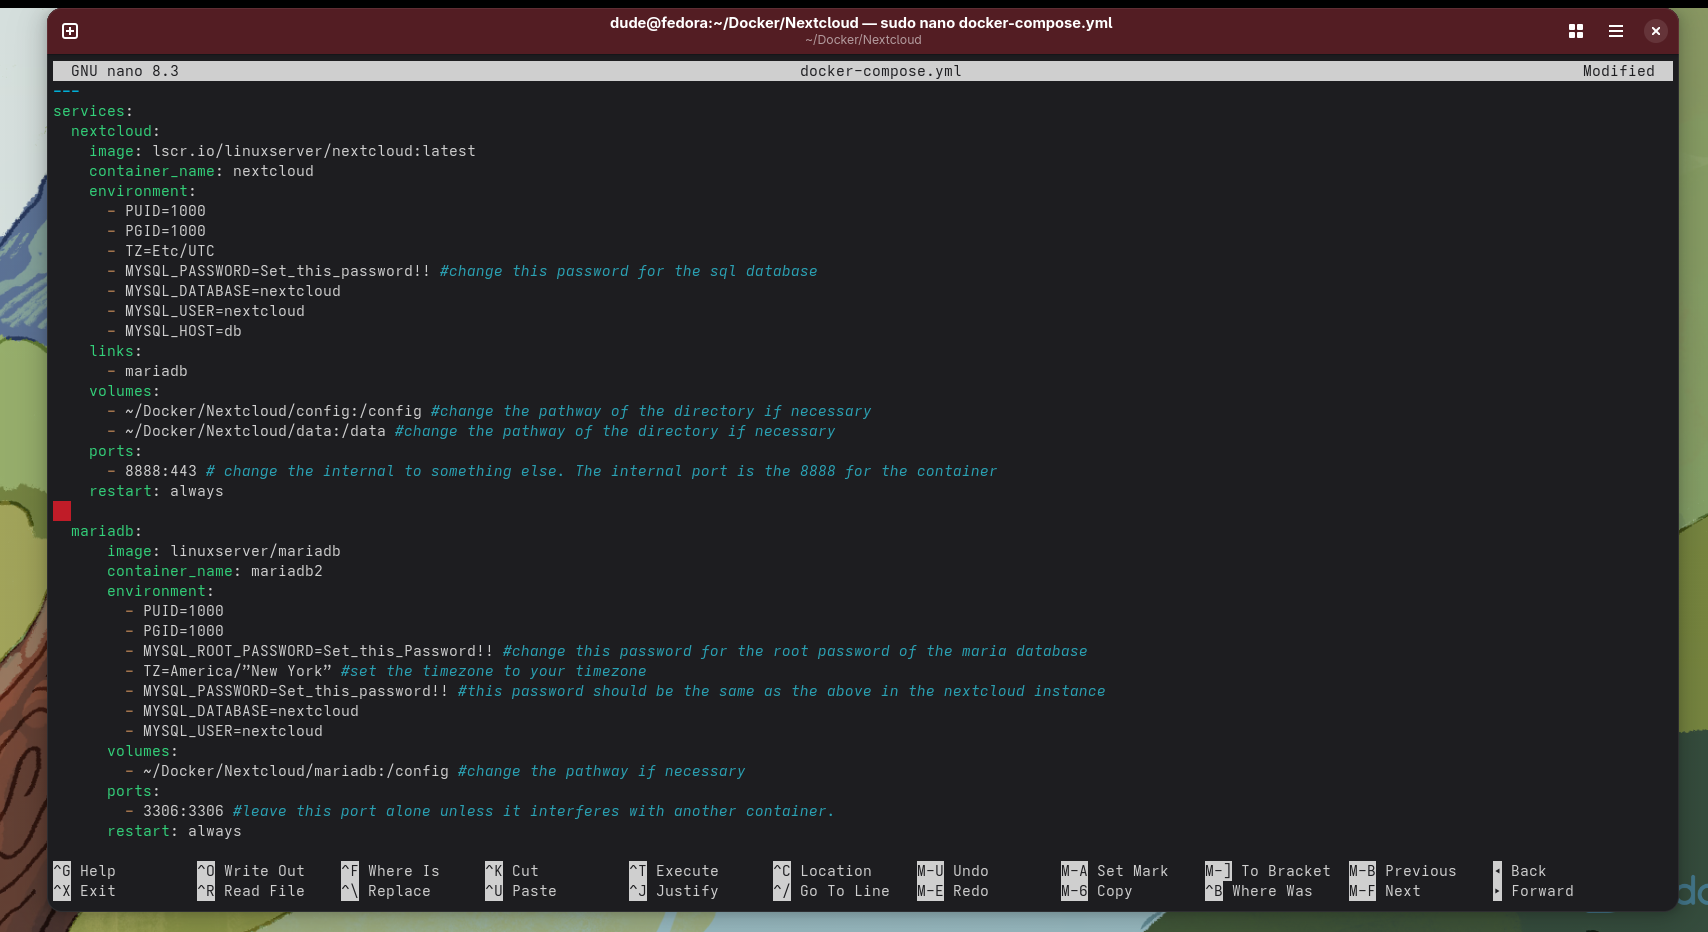
After copy and pasting, the code. Press "CTRL + X" to exit the file then press "Y" meaning yes to save the file and press enter to keep the file name the same and will be closed out.
cat docker-compose.yml
mkdir mariadb config data
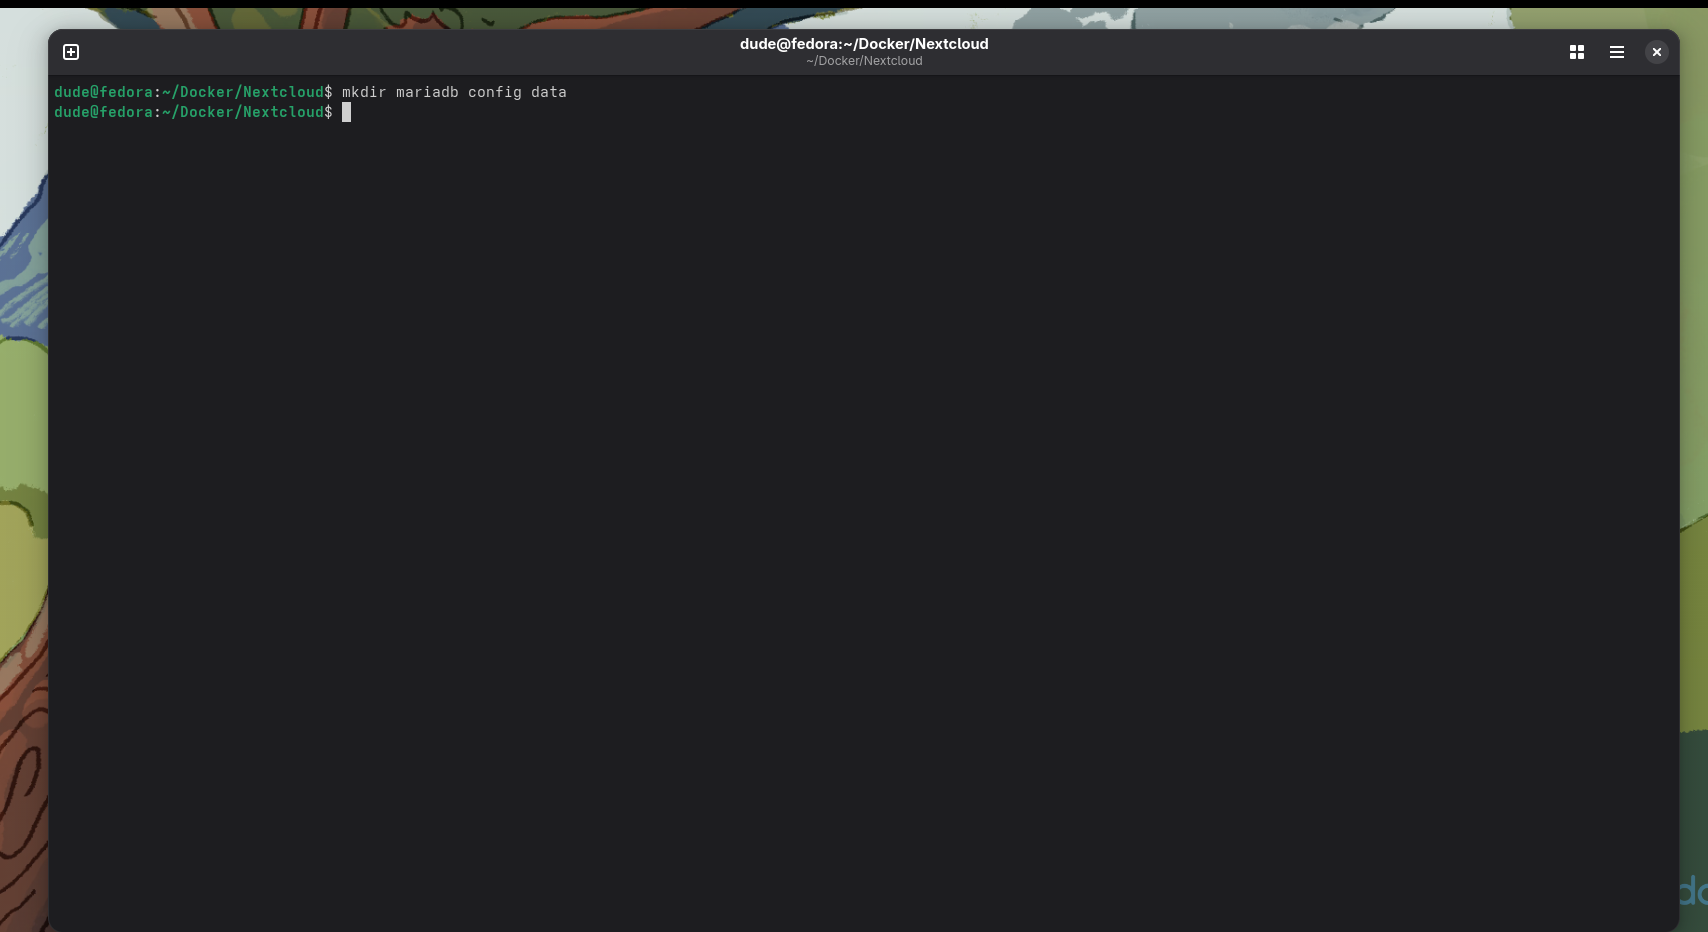
Pressing "ENTER" after the command is typed in shows no feedback means the command was successfully executed.
sudo docker compose up -d
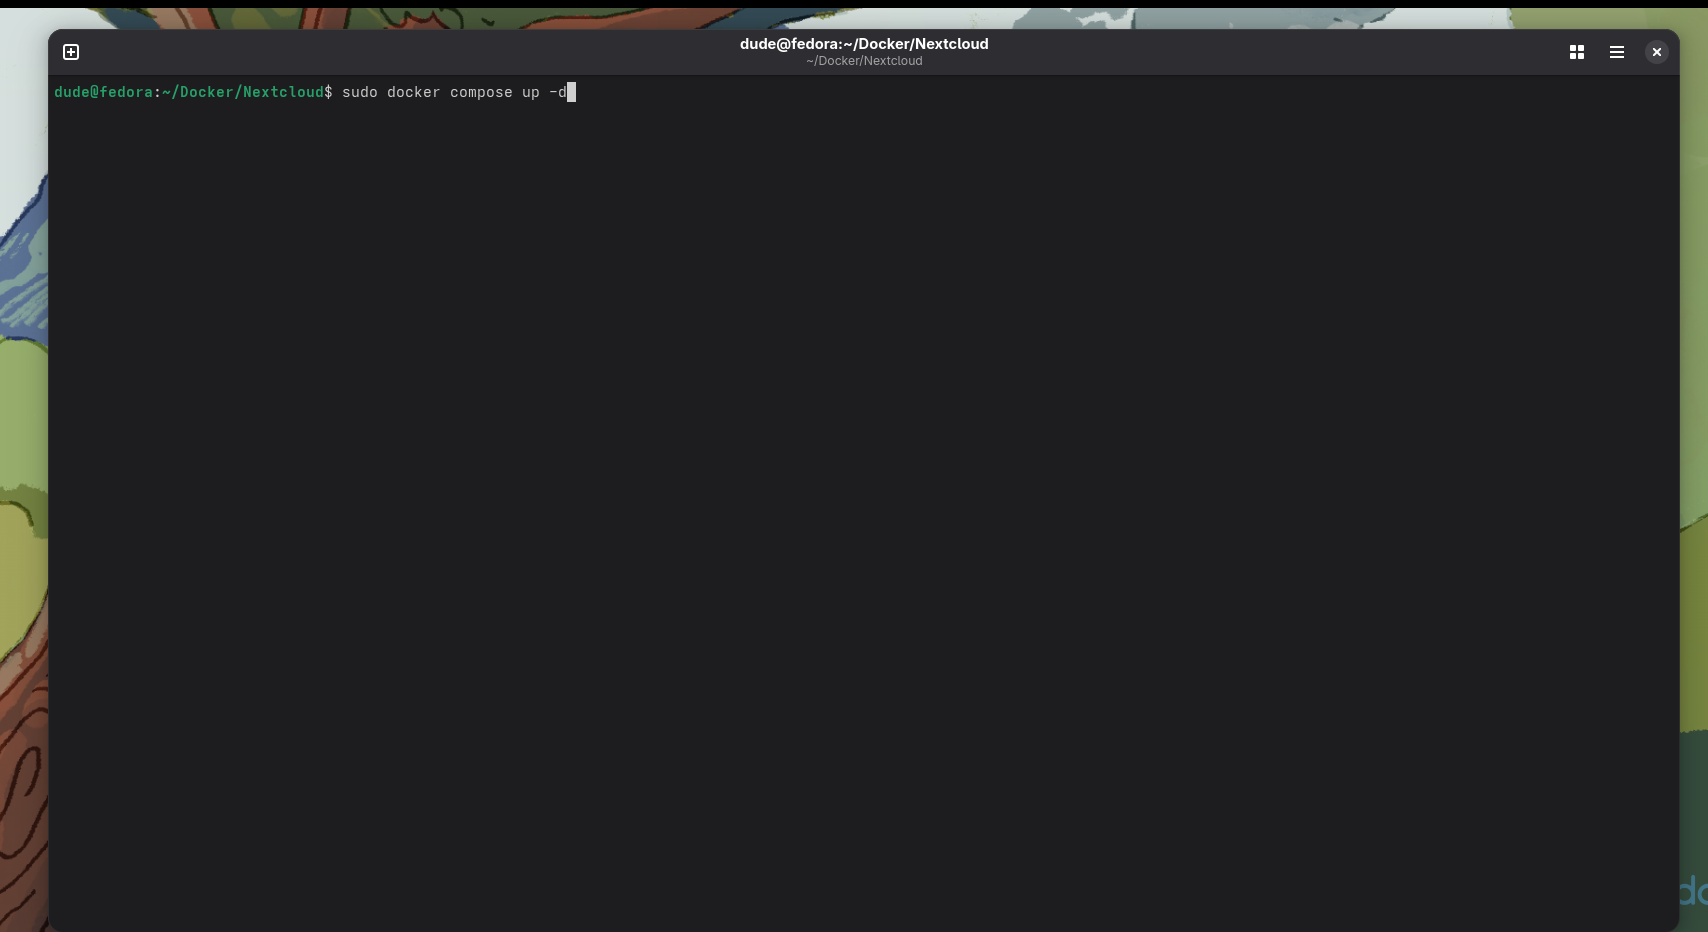
The "-d" flagging will hide the all of the background installation and will present a clean screen install. If prompted to type in the password do so and press the "ENTER" button on the keyboard.
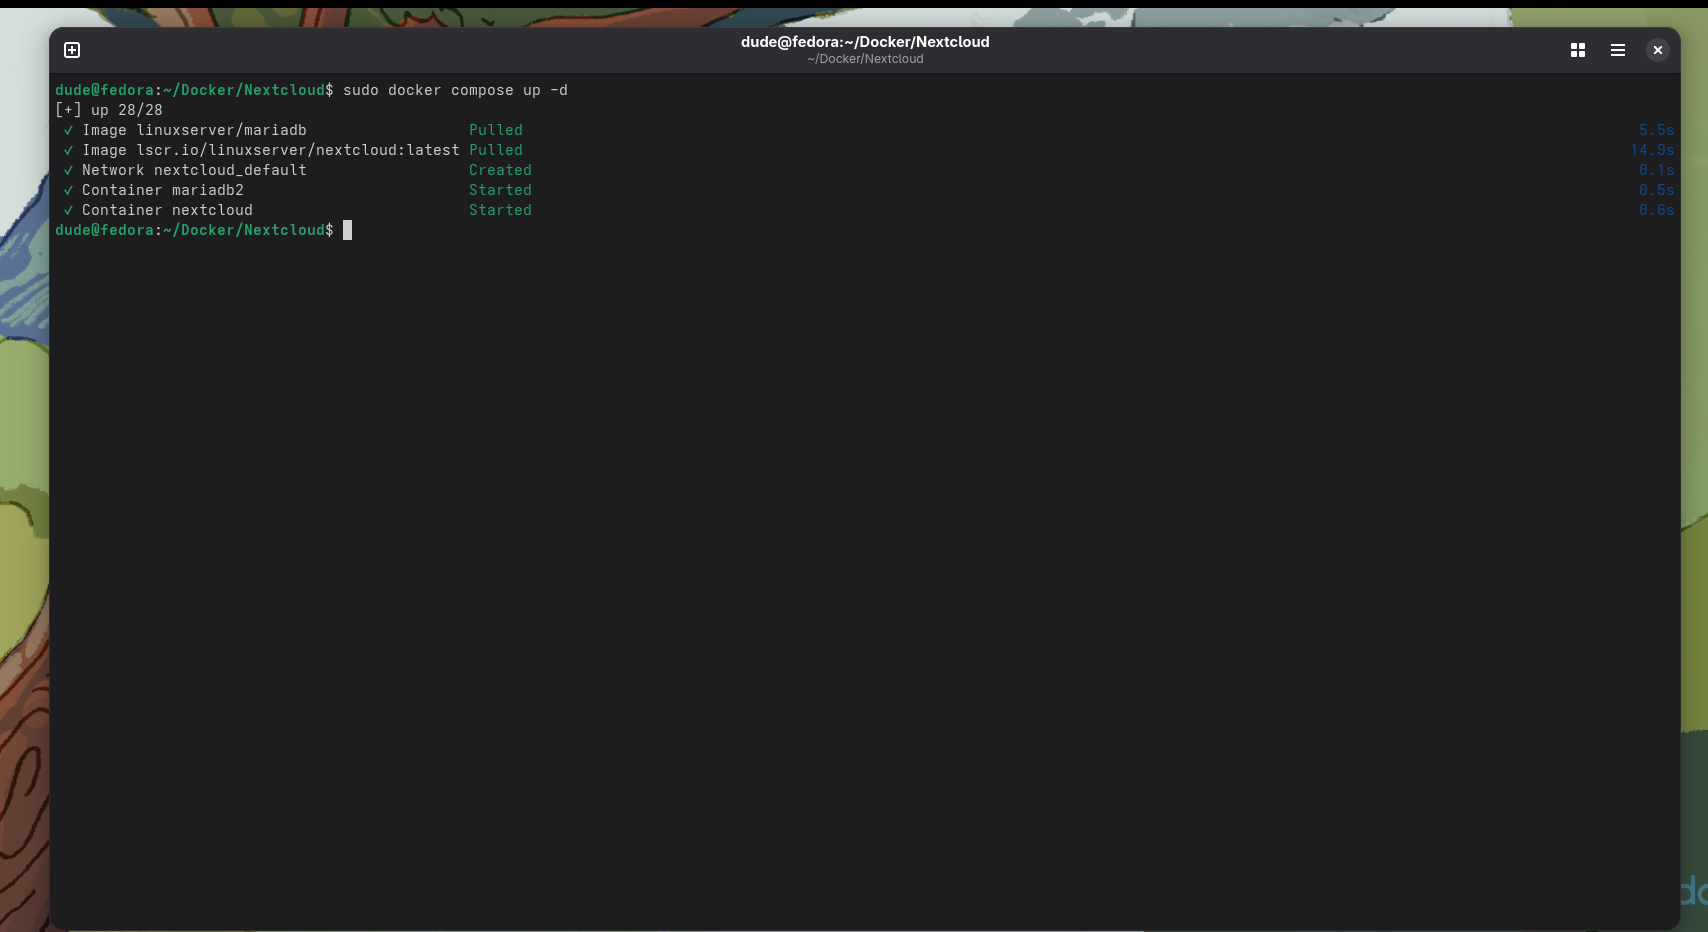
sudo docker ps
ip addr show
The command will show all of the internet connections and the activity. Depending on how you are trafficking the internet you will see either "enp" state is "UP" which means the Ethernet is connected to the server and this will provide the local IPV4 or inet which is the private network IP address that will be used to navigate to the Nextcloud instance. If the device is connected through Wi-fi you should see "wlp" state is "UP" which means the device is connected to the Wi-Fi. Either way you are wanting to retrieve the inet which is the IPV4 address which usually begins with 192.168.000.000. For security reasons, no photo will be provided for this step due to security reasons.
https://192.168.000.000:443
Replace the url with you private IPV4 address followed by the port.
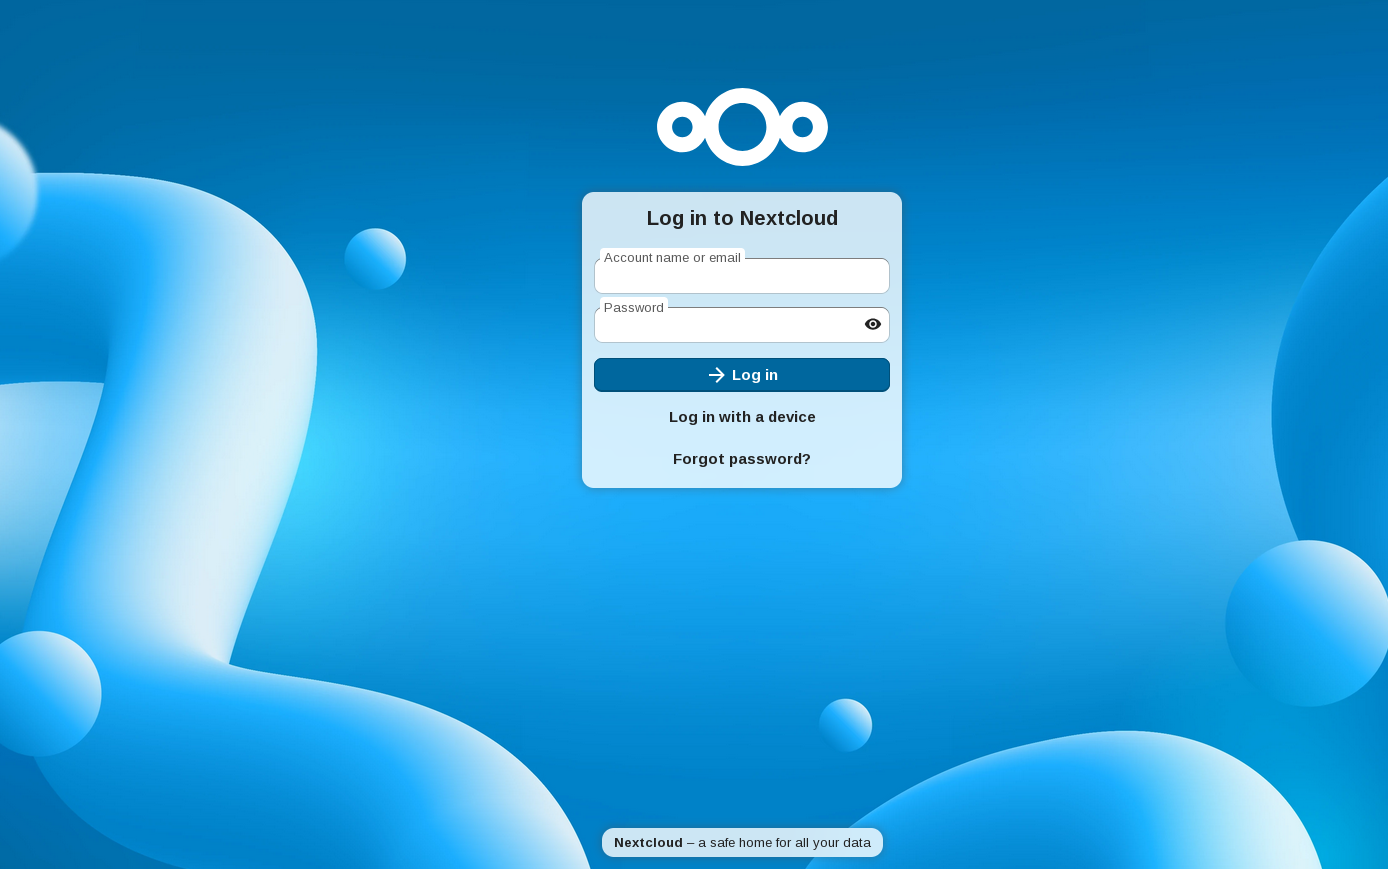
This screenshot above is what it should look like for the first time navigation on the private network. However, you will need to submit your information and create an user. This tutorial will be amended over time to show a more in depth view to have the Nextcloud be accessible on the public network which will include Nginx Proxy Manager and Portainer for container management.