Last Updated: May 22nd, 2026
Automatically Downloading, Installing and Cleaning System
Introduction:
In a home lab environment, one major hurdle is automating server functionality. Routine tasks such as applying the latest security patches and updating application versions are essential for maintaining a secure and stable system. Automated services can significantly reduce the burden of these repetitive administrative tasks. It is also important to remove outdated or deprecated software packages to optimize system performance.
Objective:
The objective is to provide code and commands that streamline and fully automate server maintenance processes.
Installation:
For simplicity, the commands and code can be copied and pasted directly. Screenshots of both the commands and their outputs are included for most steps to help provide a comprehensive guide. This tutorial is based on a Fedora Linux installation, so the commands may be nuanced from other operating systems.
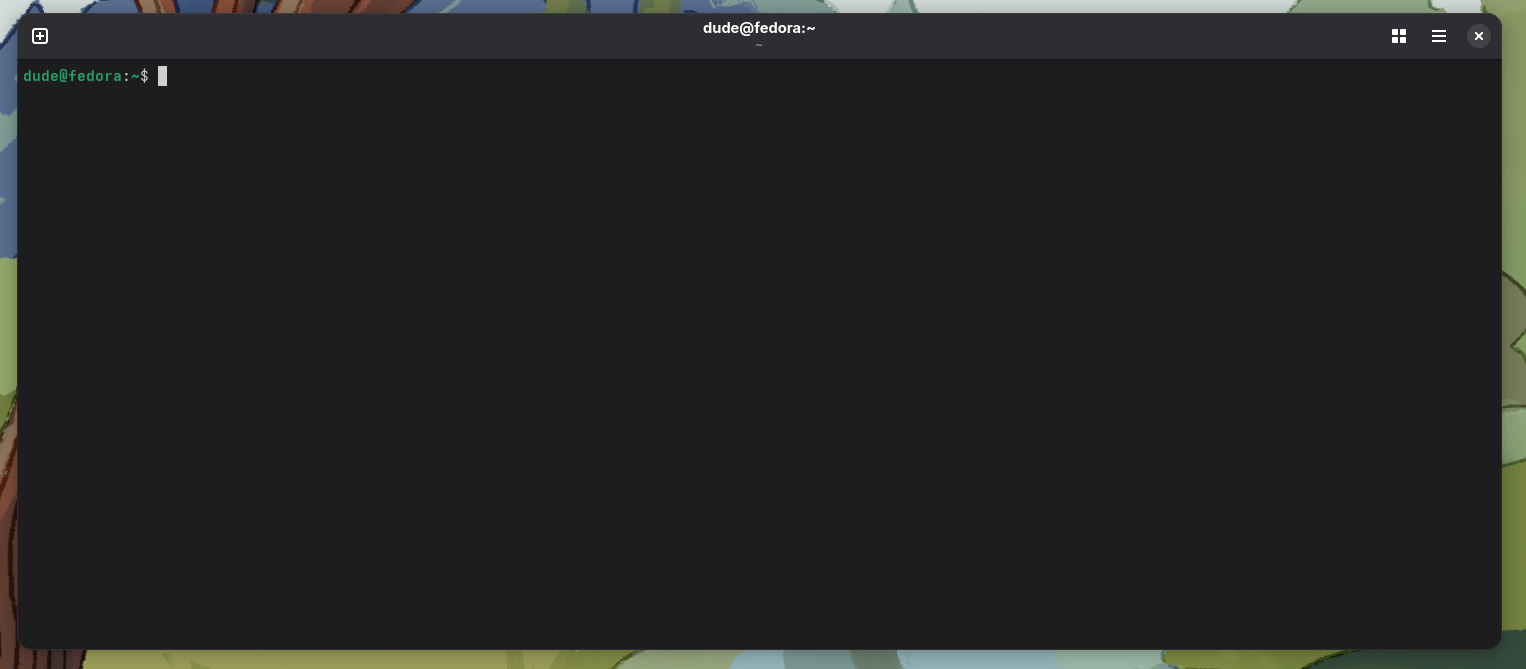
- Open the terminal
- Create a directory to store all of your code on the server. When running a server it is imperative to think about implementing and augmenting organization strategies through out the server especially for continual accessibility of programs or applications.
- Now, we will create a file using nano text editor and the code will provided below and you can just copy and paste it into the file. The name of the file could be whatever your preference is, but for this tutorial it will be called "automated_upgrades.sh." Make sure to be in the "Programs" directory prior typing in the command below.
- The file has been saved, but it needs to be setup as an executable program. At this point the code is just a file. It needs a executable permission given to the file in order for it be activated. By typing in the command below, we can see the file has read and write permissions, but not executable permission. We will need to change it.
- Now we will need to create and register a service and timer automate the process through Systemd. We will need to change directories as well. Using the command provided below, it will change directories and create a new file which will be the service file.
- The timer file need to be created so type in the command below with the file name being "automated_updates.timer."
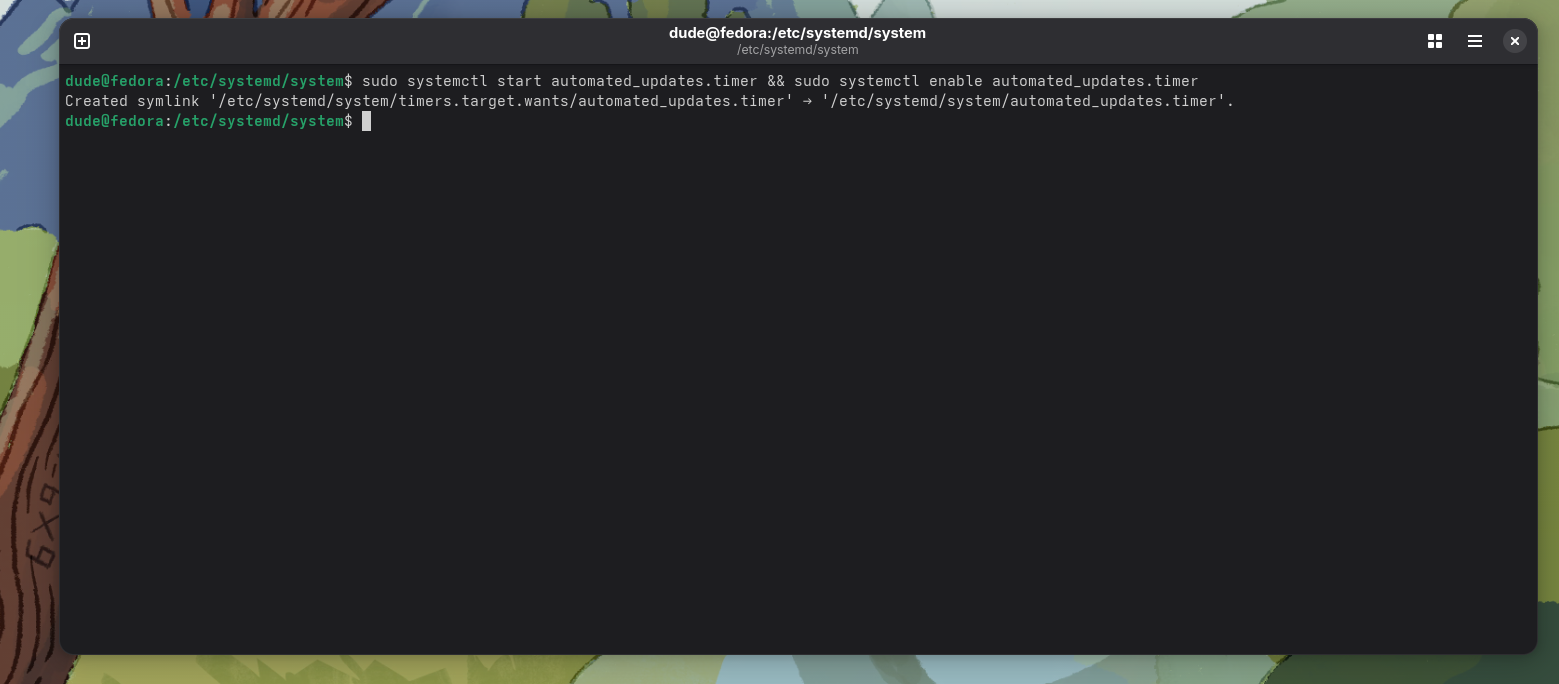
- The timer file has been created, it is time to start and enable the service. Type in the command below:
- The timer and service is now registered with Systemd, but the changes won't be applied until next boot up. It can be negated by initializing the timer and service now. We need to type in the command below to restart the Systemd.
- To confirm the status of the timer, we will need to type the command below followed by typing in your password if prompted and pressing "ENTER."
mkdir Programs && cd Programs
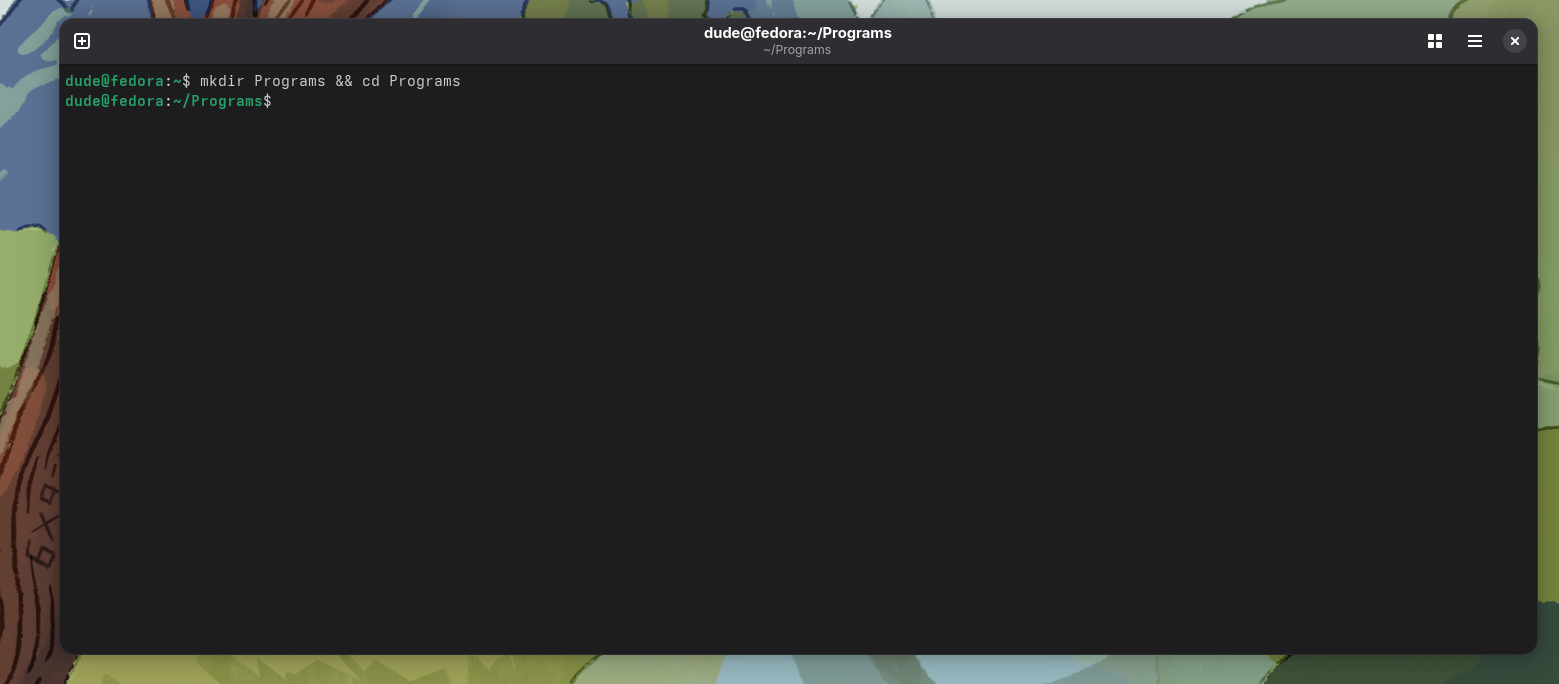
This command will create the folder and then "cd" means to "change directory." You will now be in the folder.
sudo nano automated_upgrades.sh
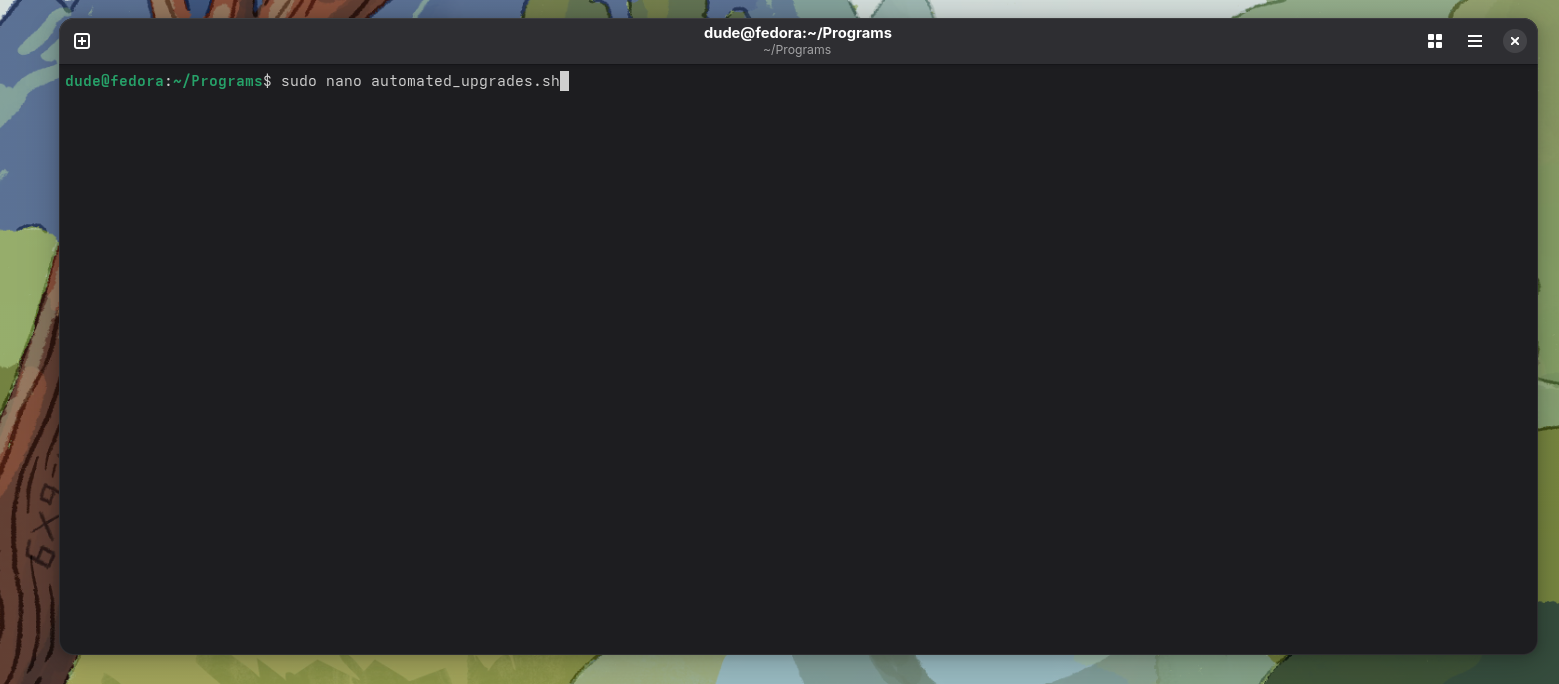
You will be prompted to type in your password and press "ENTER" then terminal show a blank file. It's name is "automated_upgrades.sh" which is at the top center of terminal window.
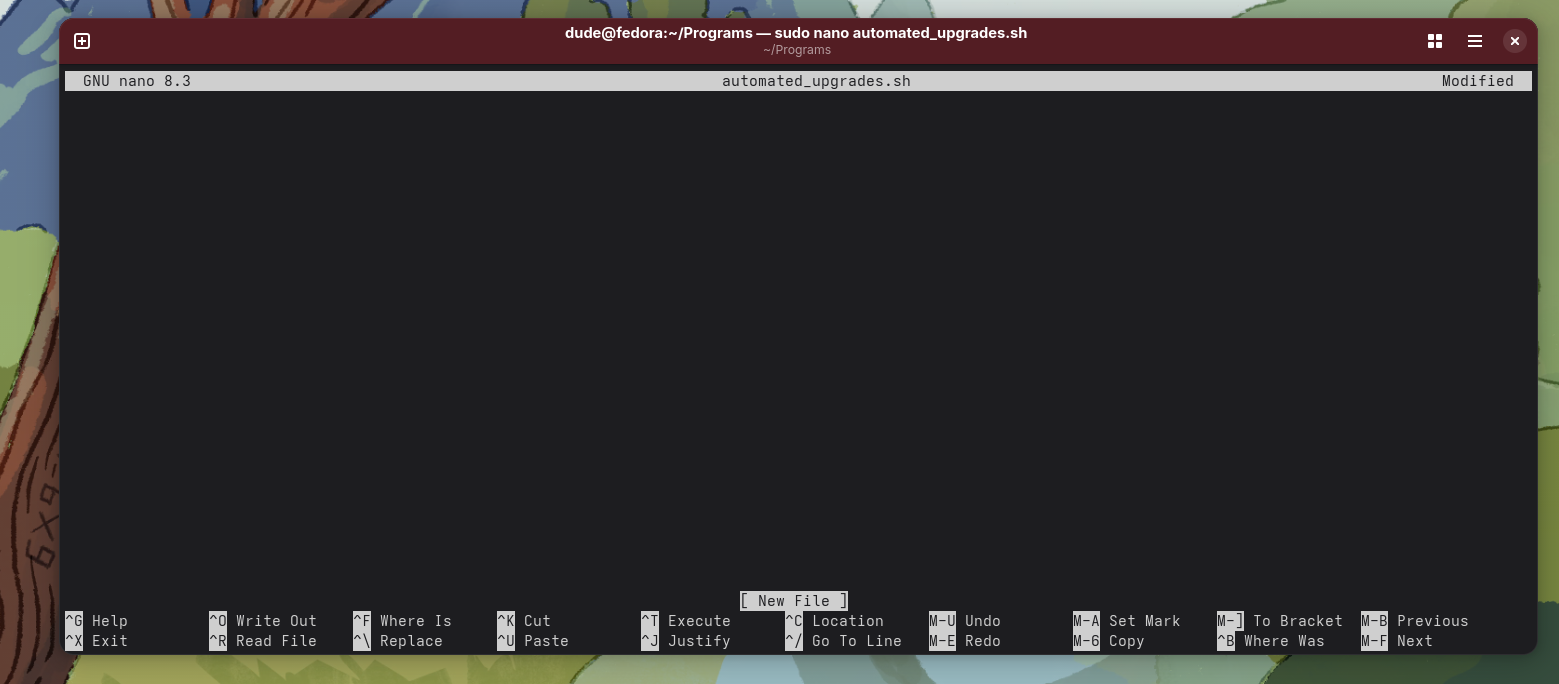
Copy and paste the code below to the file.
#!/bin/bash

# Update package list
dnf check-update

# List outdated packages (optionally)
outdated_packages=$(dnf repoquery --installed --latest-limit=1)

if [ -n "$outdated_packages" ]; then
  # Remove outdated packages
  dnf remove $(dnf repoquery --installed --latest-limit=1)
else
  echo "No outdated packages found."
fi
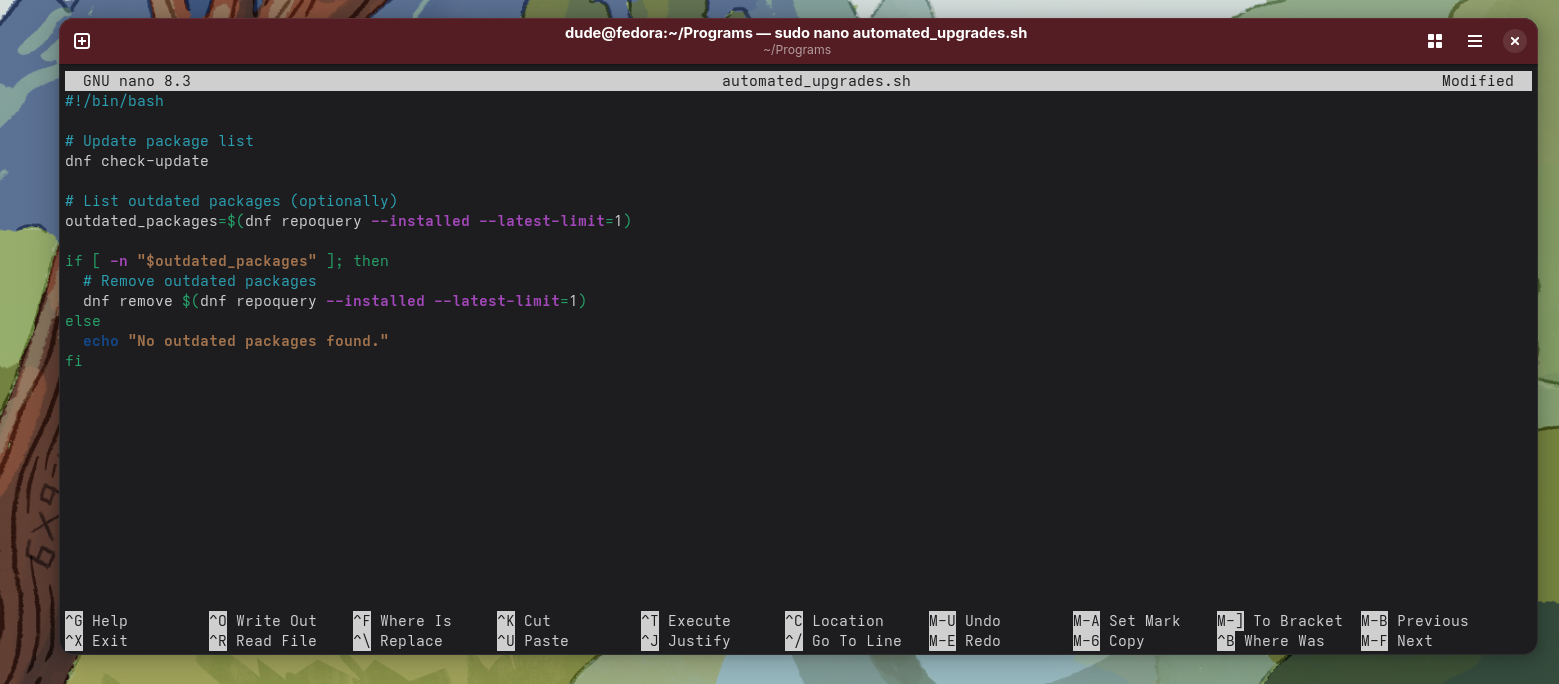
Press "CTRL + X" to exit out of the file on the keyboard. You will be prompted to save the file by press "Y" for yes. Then press "ENTER" key on the keyboard to confirm the name of the file.
ls -l
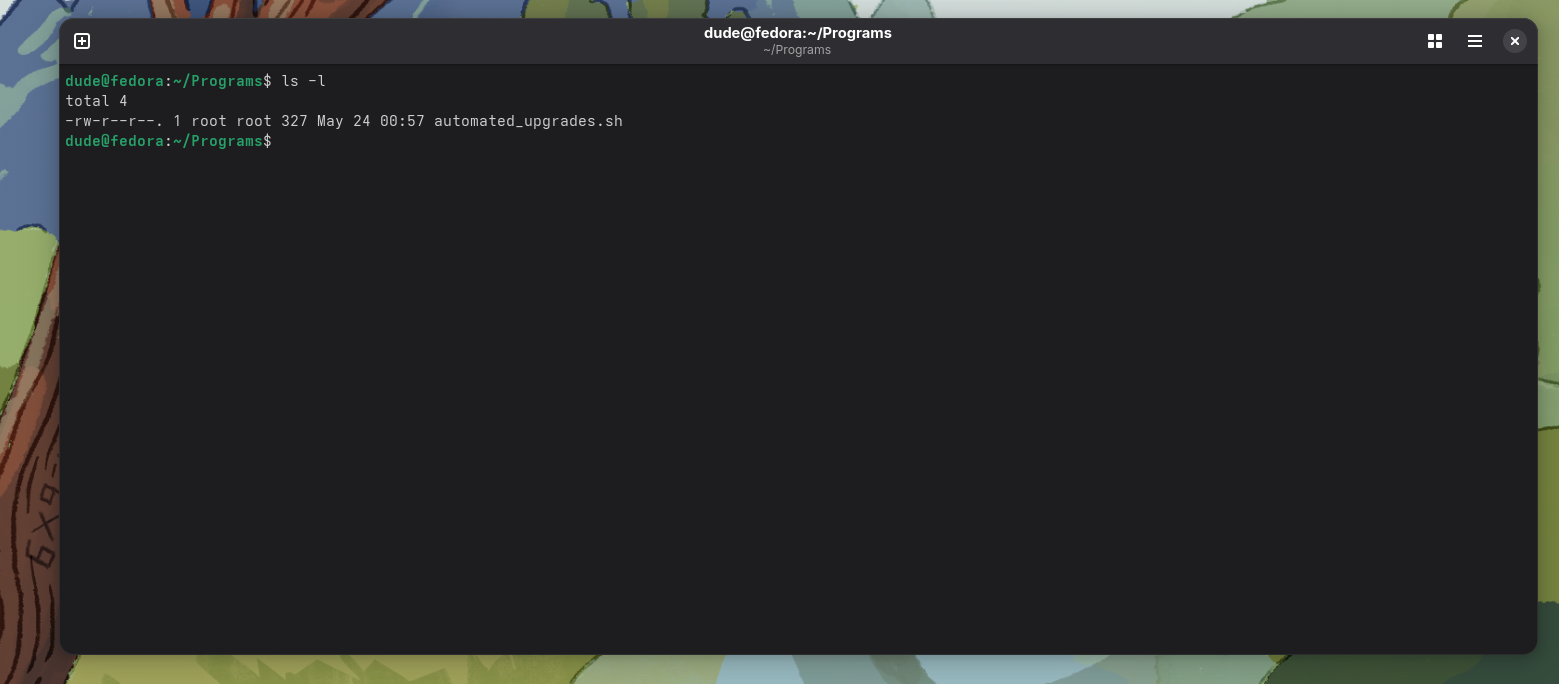
Type in the command below to give the file permission to be executable.
sudo chmod +x ~/Programs/automated_upgrades.sh && ls –l
You may be prompted to type in your password then press "ENTER."

cd /etc/systemd/system && sudo nano automated_updates.service
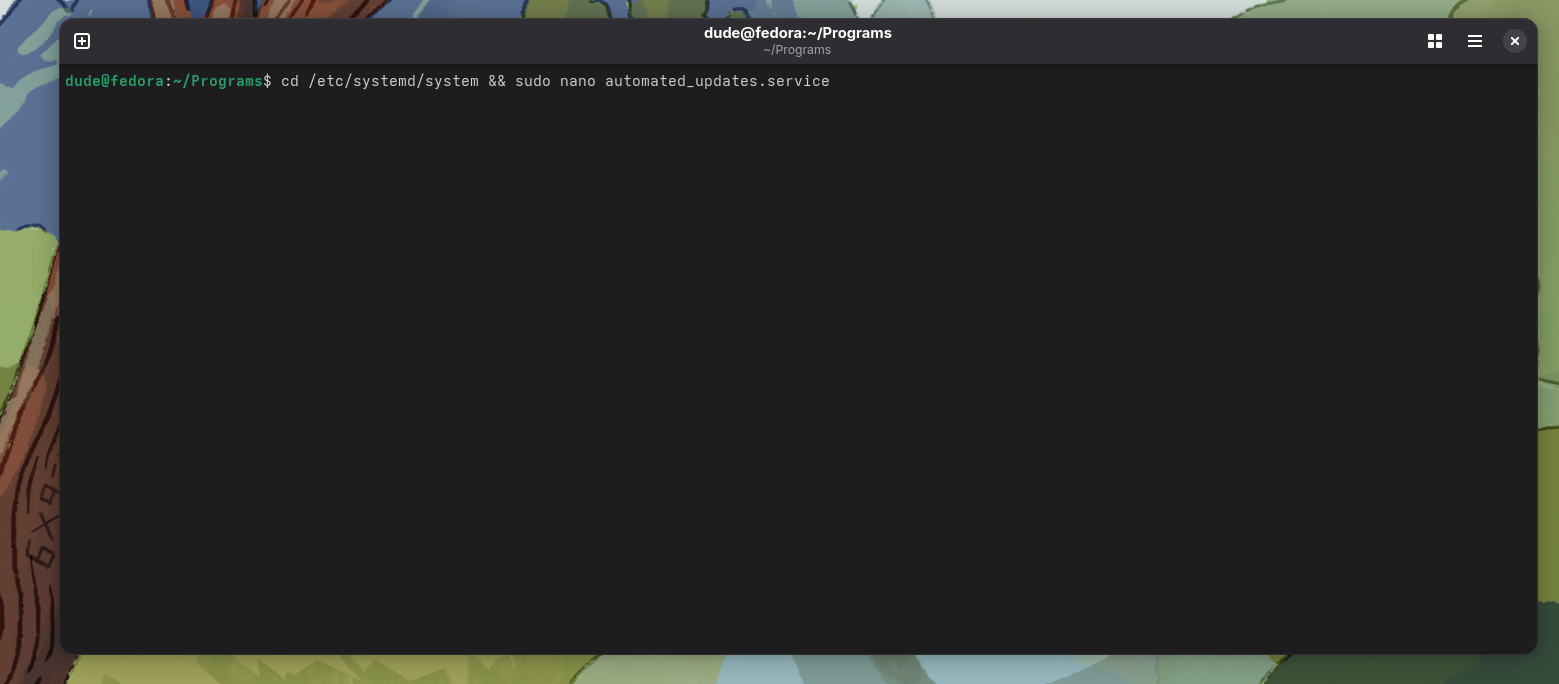
Password may be required and press "ENTER," then nano editor will show a blank file. The name of the file is "automated_updates.service"
Now, copy and paste the setting conditions below:
[Unit]
Description=Cleanup outdated packages

[Service]
Type=simple
User=root
Group=root
ExecStart= /home/**user/Programs/automated_upgrades.sh
The double asterisks (**) means to change this to your username.
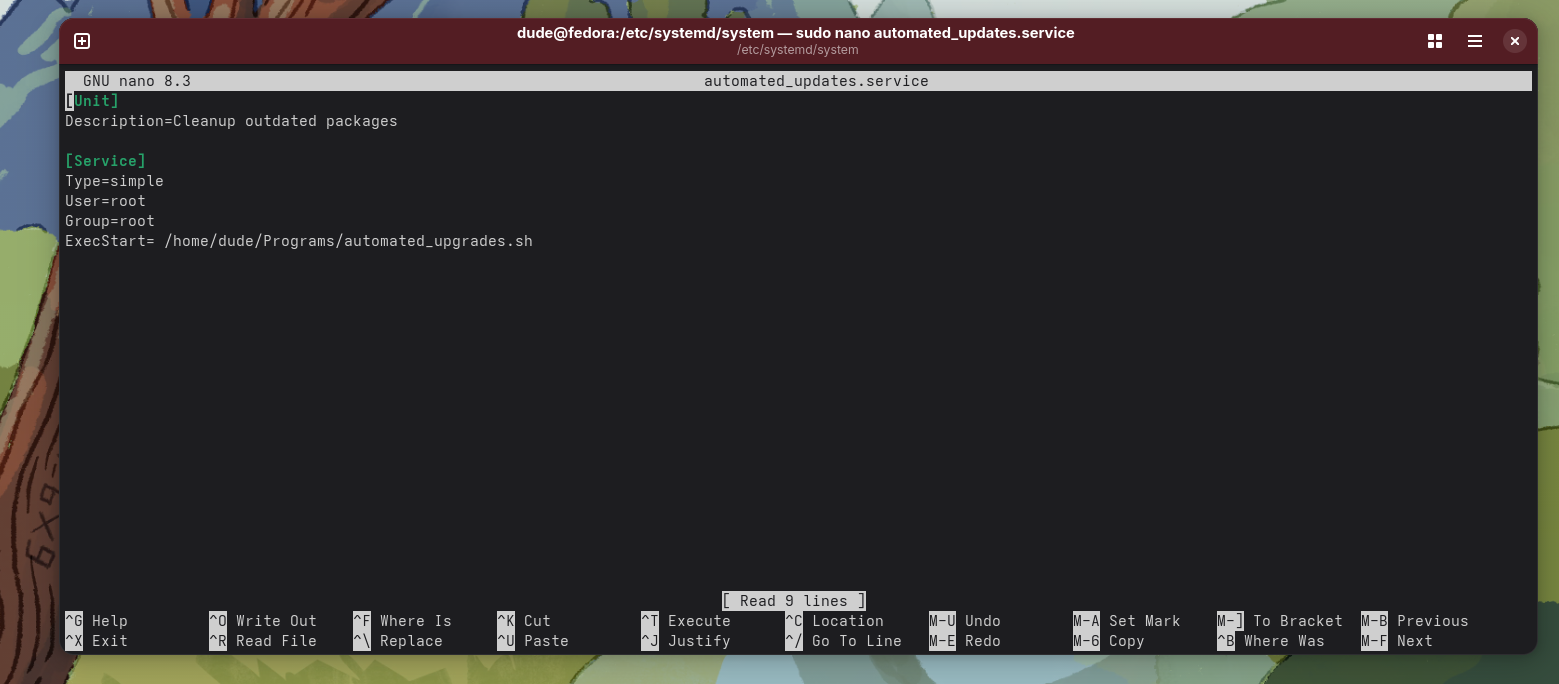
Press "CTRL + X" to exit, then press "Y" for yes. Confirm the name of the file by pressing "ENTER."
sudo nano automated_updates.timer
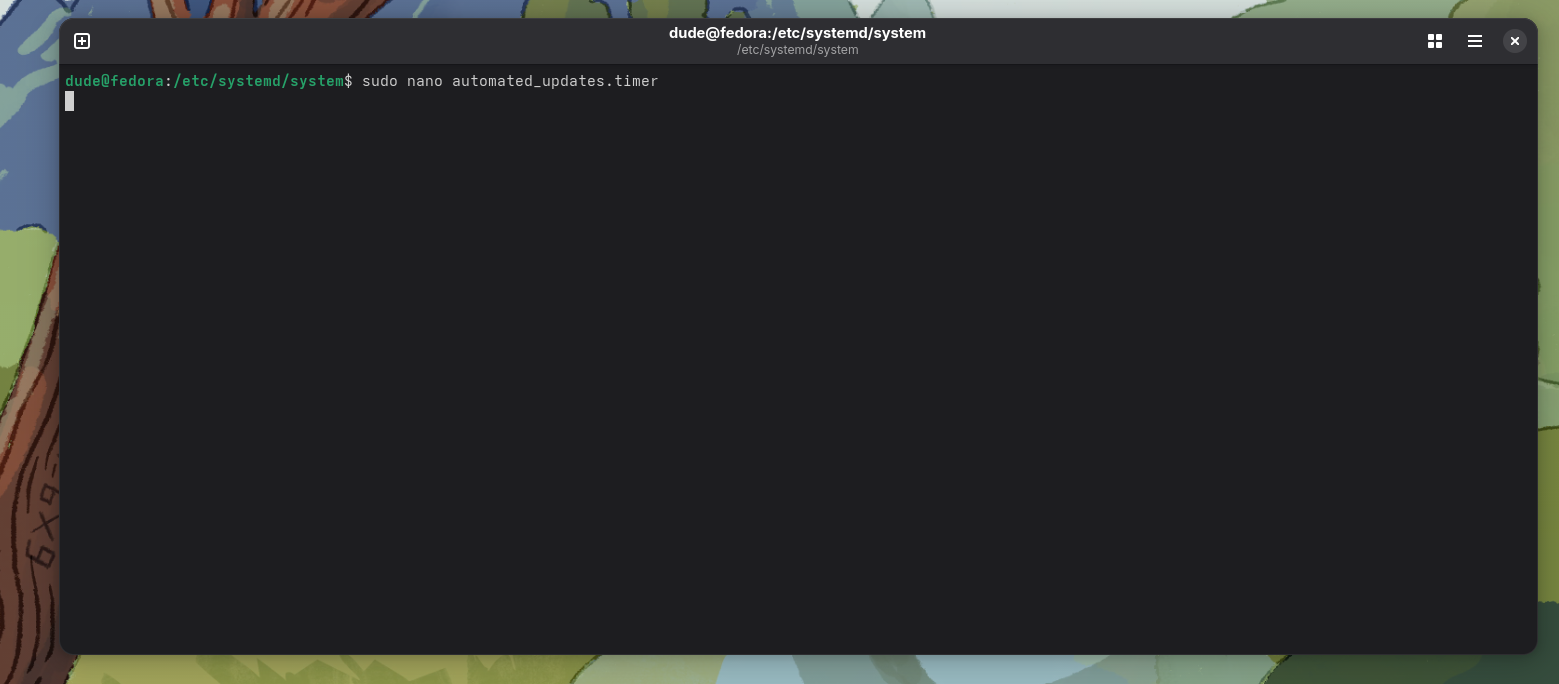
You will be prompted for you password and press "ENTER." Copy and paste the contents below into the timer file.
[Unit]
Description=Run automatic_updates.sh every day

[Timer]
OnBootSec=10min
OnUnitActiveSec=30d
Unit=automated_updates.service

[Install]
WantedBy=timers.target
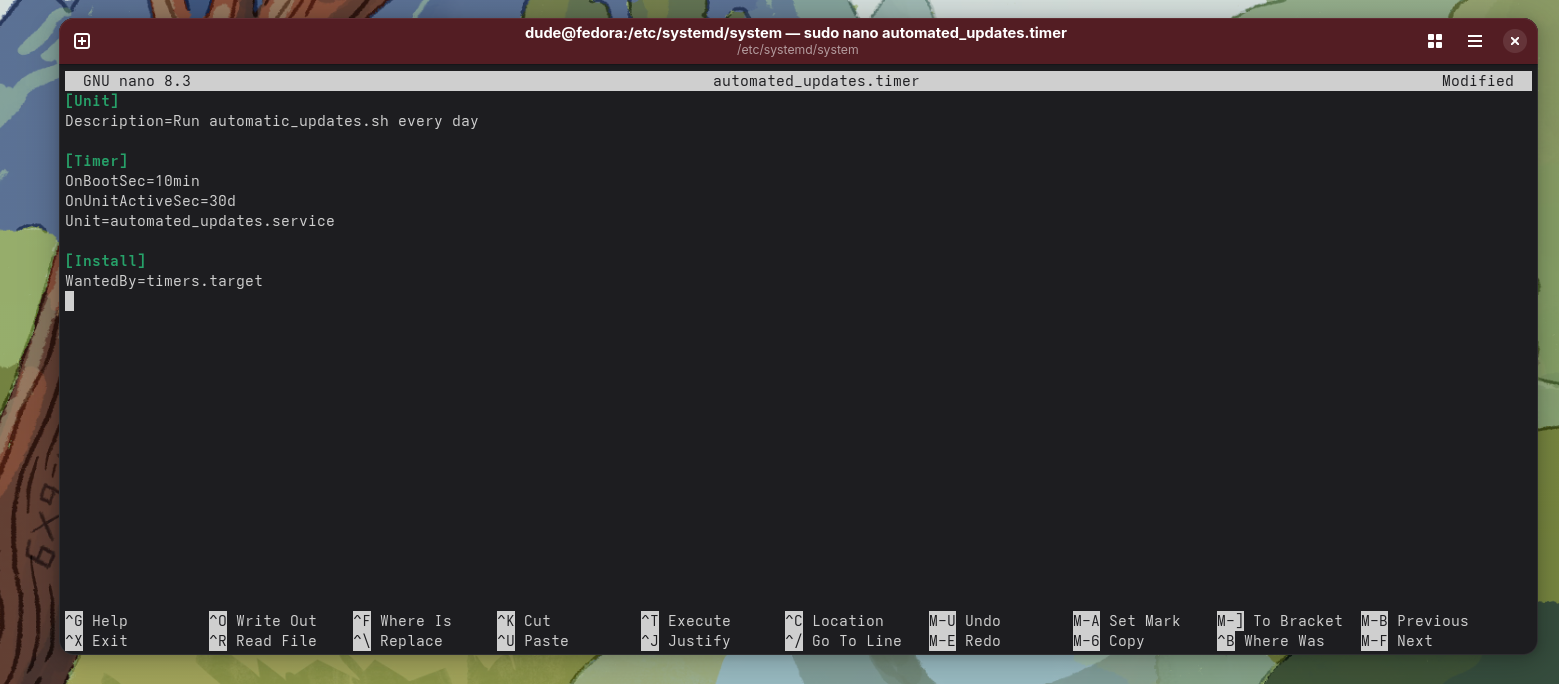
Press "CTRL + X" to exit, then press "Y" for yes. Confirm the name of the file by pressing "ENTER."
sudo systemctl start automated_updates.timer && sudo systemctl enable automated_updates.timer

Type in your password if prompted and press "ENTER."
sudo systemctl daemon-reload
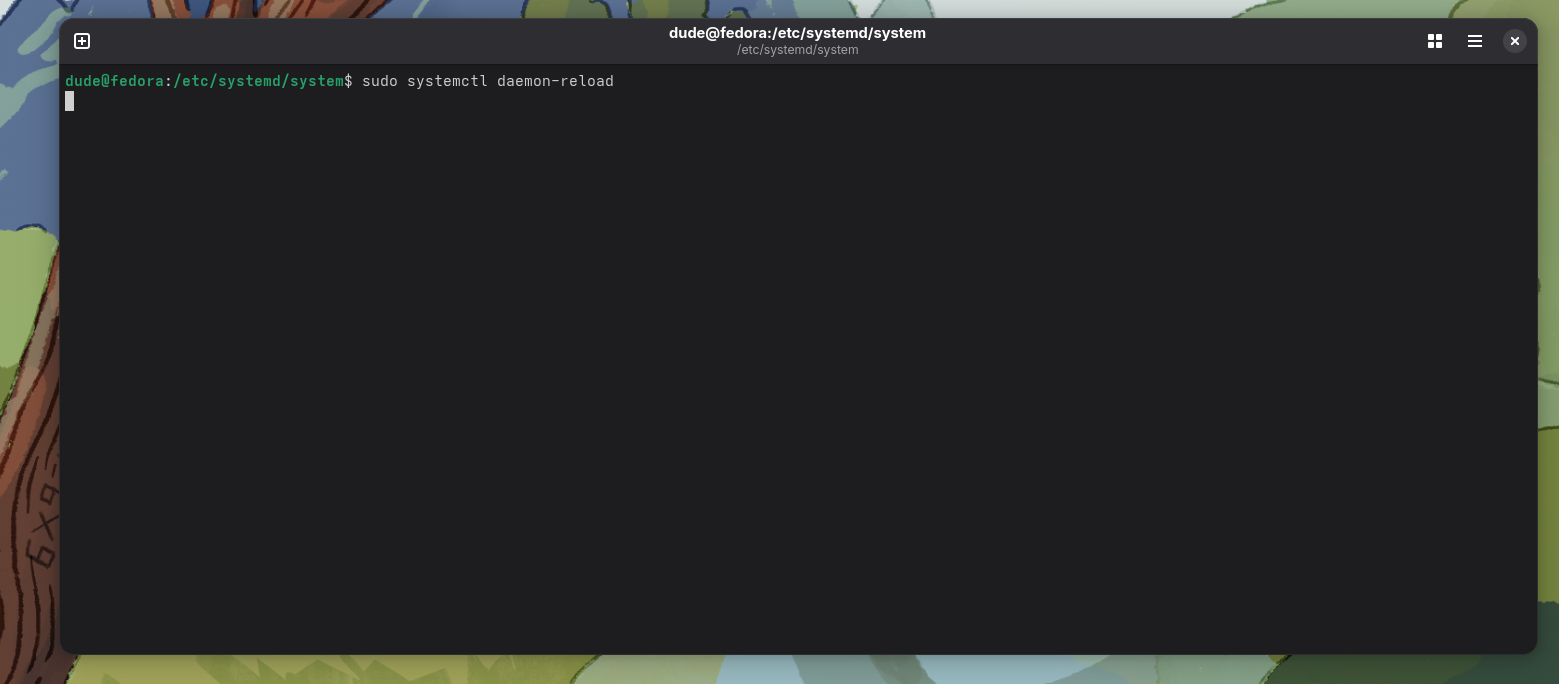
Type in your password if prompted and press "ENTER."
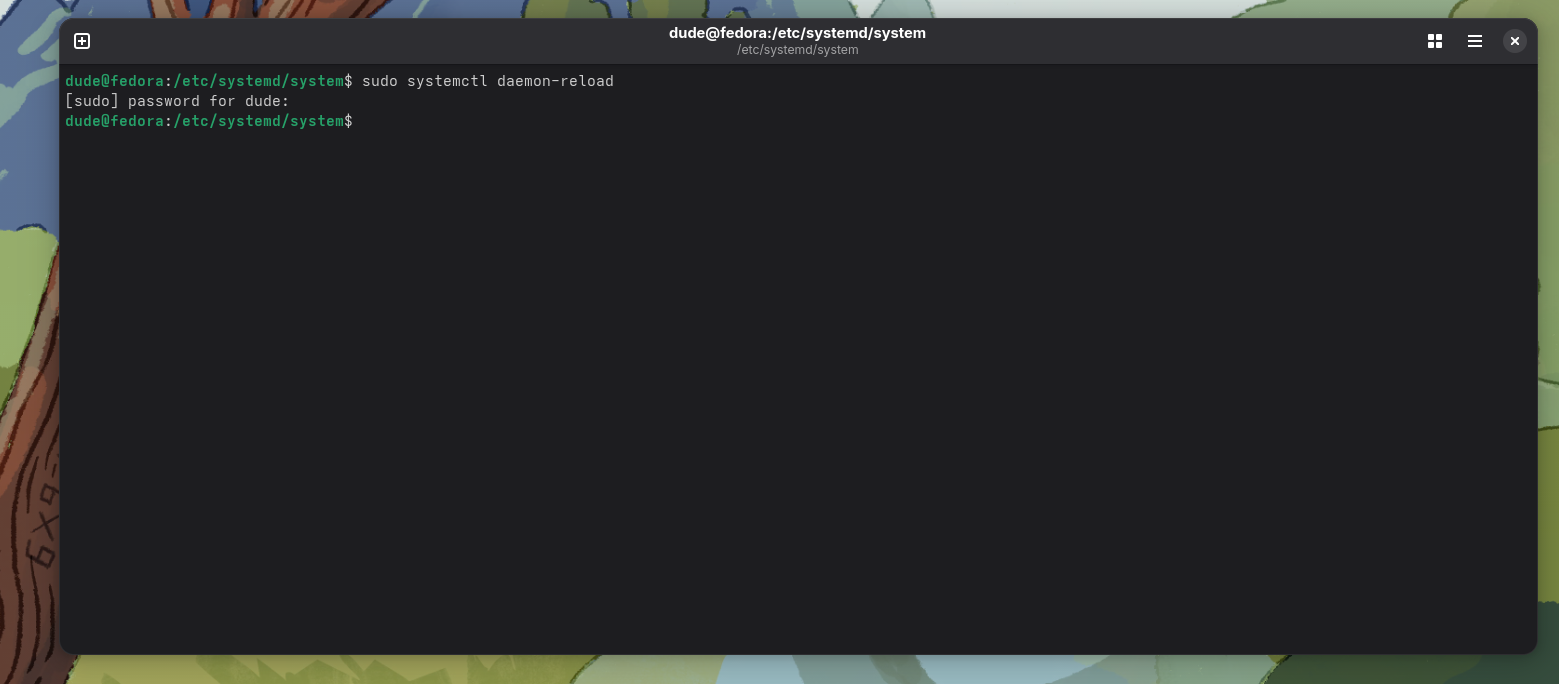
If there is not any feedback, then the command was successfully executed.
sudo systemctl status automated_updates.timer
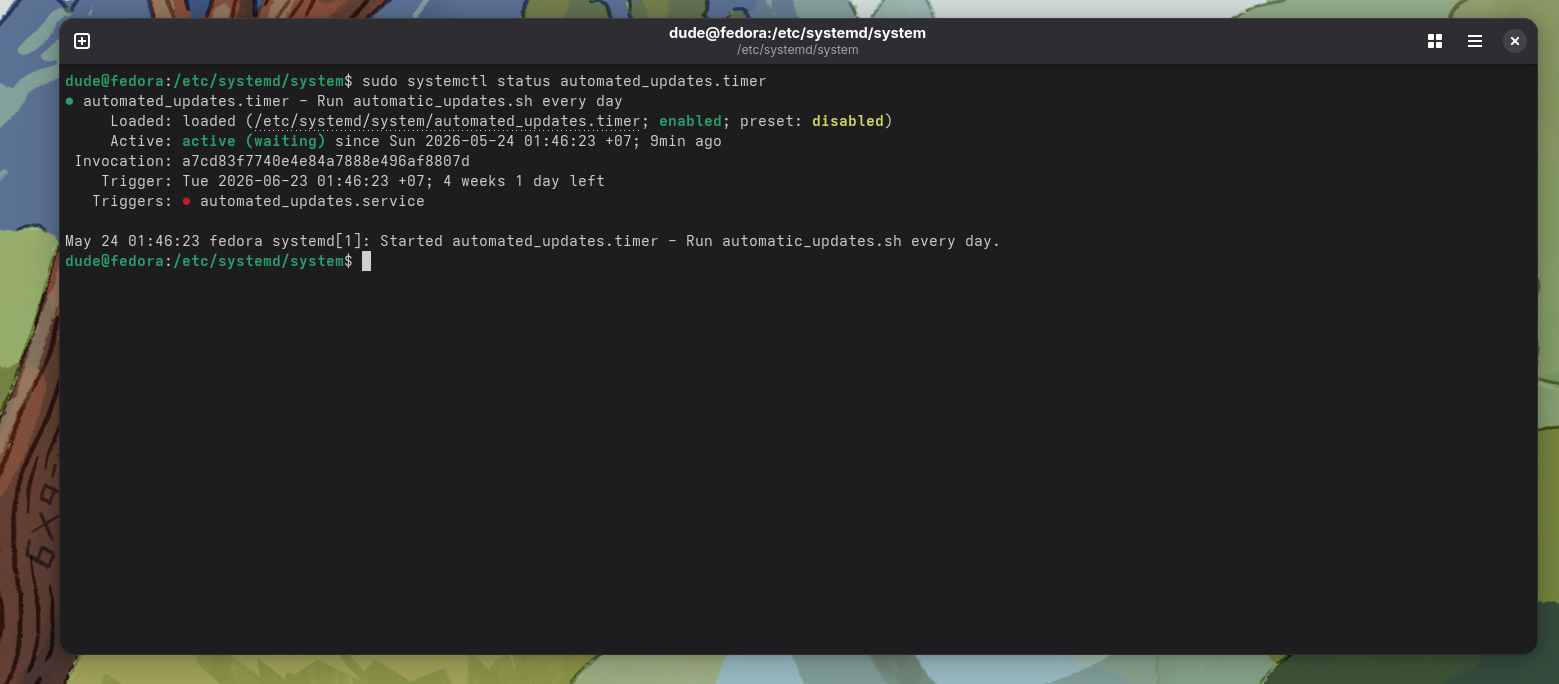
The command should pull something fairly equivalent in the photo above. The key indicators is seeing the word "active" in a green font color in conjunction with the word "enabled" being in a green font color. This confirms the service is active and will run when it is time appropriate. System upgrades will be applied next initialization.