Last Updated: May 4th, 2026
Vehicle: 2013 Mitsubishi Lancer ES
Ignition Coil Replacement
Introduction:
This tutorial explains how to replace the ignition coils on a 2013 Mitsubishi Lancer and provides a basic understanding of how ignition coils function, common causes of failure, and a step-by-step guide for replacing faulty coils, including photos and additional resources. Ignition coils are electrical transformers that convert the vehicle’s low-voltage battery power into the high voltage required to create a spark at the spark plugs. Each coil contains primary and secondary windings wrapped around an iron core with copper wire, and it operates as part of the vehicle’s ignition system in coordination with the engine control module (ECM).
Ignition Coils Purpose and Functionality:
The ECM controls ignition timing by sending signals to the ignition coils, which then generate a high-voltage pulse by rapidly building and collapsing a magnetic field. This voltage is delivered to the spark plugs, producing a spark that ignites the air-fuel mixture inside the engine cylinders. Proper ignition coil function is essential for engine performance, fuel efficiency, and reliable starting, and failures in this system can lead to misfires, rough idling, or difficulty starting the vehicle.
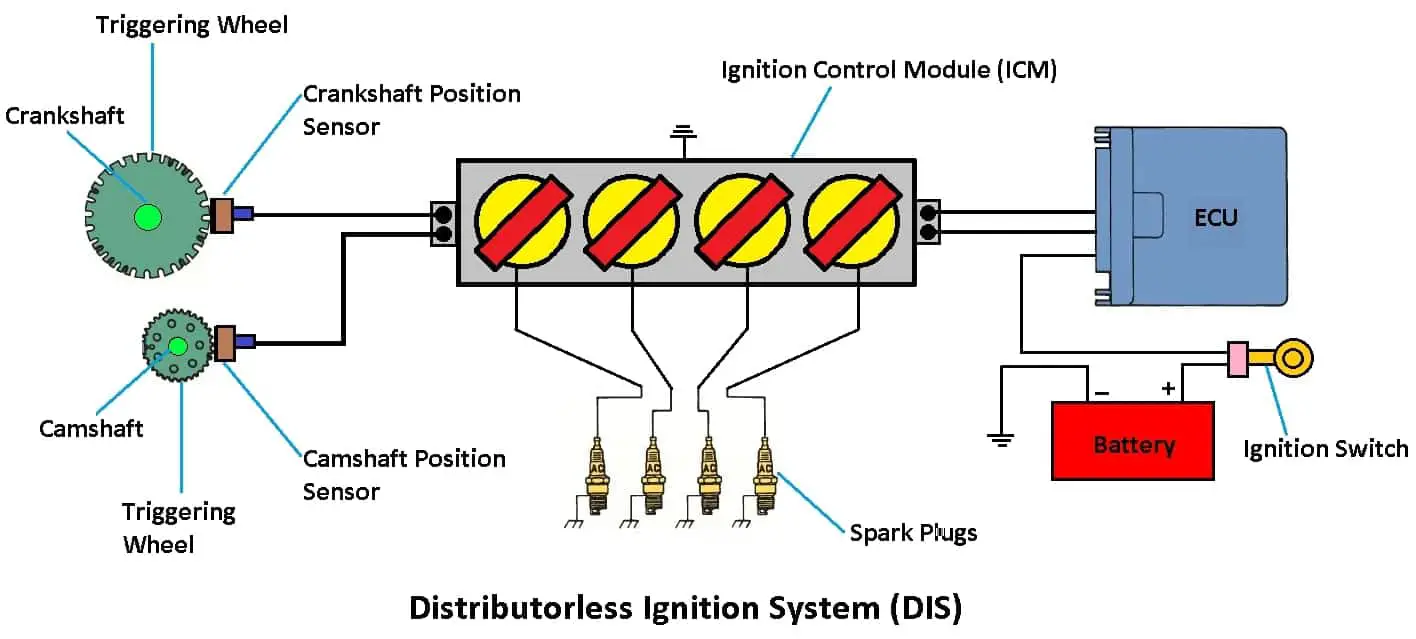
The diagram above illustrates the ignition system used in the 2013 Mitsubishi Lancer. The engine control module (ECM) is powered when the ignition switch is turned on, allowing it to establish a connection with the vehicle’s battery and begin operating. The ECM acts as the central computer of the engine system, receiving data from sensors such as the crankshaft position sensor and camshaft position sensor. These sensors monitor the rotational position and timing of the crankshaft and camshaft, allowing the ECM to determine the precise position of the pistons within the engine cylinders.
Using this information, the ECM controls engine timing by coordinating when to deliver fuel, air, and spark. When conditions are correct, it sends a signal to the ignition coils, instructing them to generate high voltage for the spark plugs. This voltage creates a spark that ignites the air-fuel mixture inside the cylinders, producing controlled combustion that powers the engine. This entire process occurs in milliseconds, and precise timing is critical for smooth engine performance, efficiency, and proper operation.
Potential Failure Points:
- Illumination of the engine light on the dash. (OBD-II error code may be P0351 or may state something comparable to the ignition system)
- Hard Starts. the spark plugs need a sufficient amount of Amps to create a spark. If the voltage and timing isn't precise this could be a reason.
- Gas Mileage performance is hindered.
- Rough Idling. The vehicle may have a rough idle or sound or a drop in power.
- Misfiring Engine. This is a result of a jerking or sputtering sensation that could be experienced when driving the vehicle. When the vehicle is in park, there may be excessive vibrations, or shaking.
Tools needed:
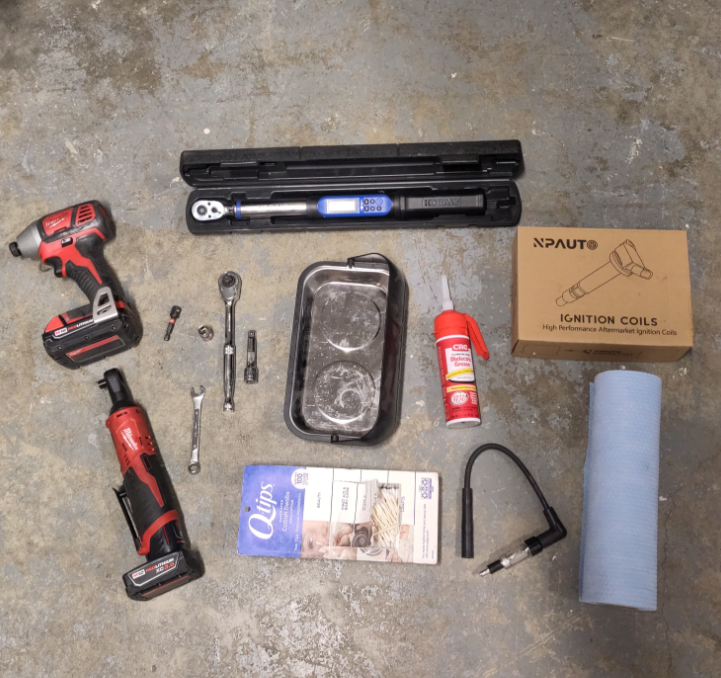
- 3/8" Torque Wrench (5 to 100 foot-lbs)
- 3/8" drive 10mm socket
- 3/8" drive rod extension
- 3/8" drive socket wrench
- Dielectric grease
- Q-tips
- 10mm hand wrench 6 or 12 point
- Clean dry Paper towels
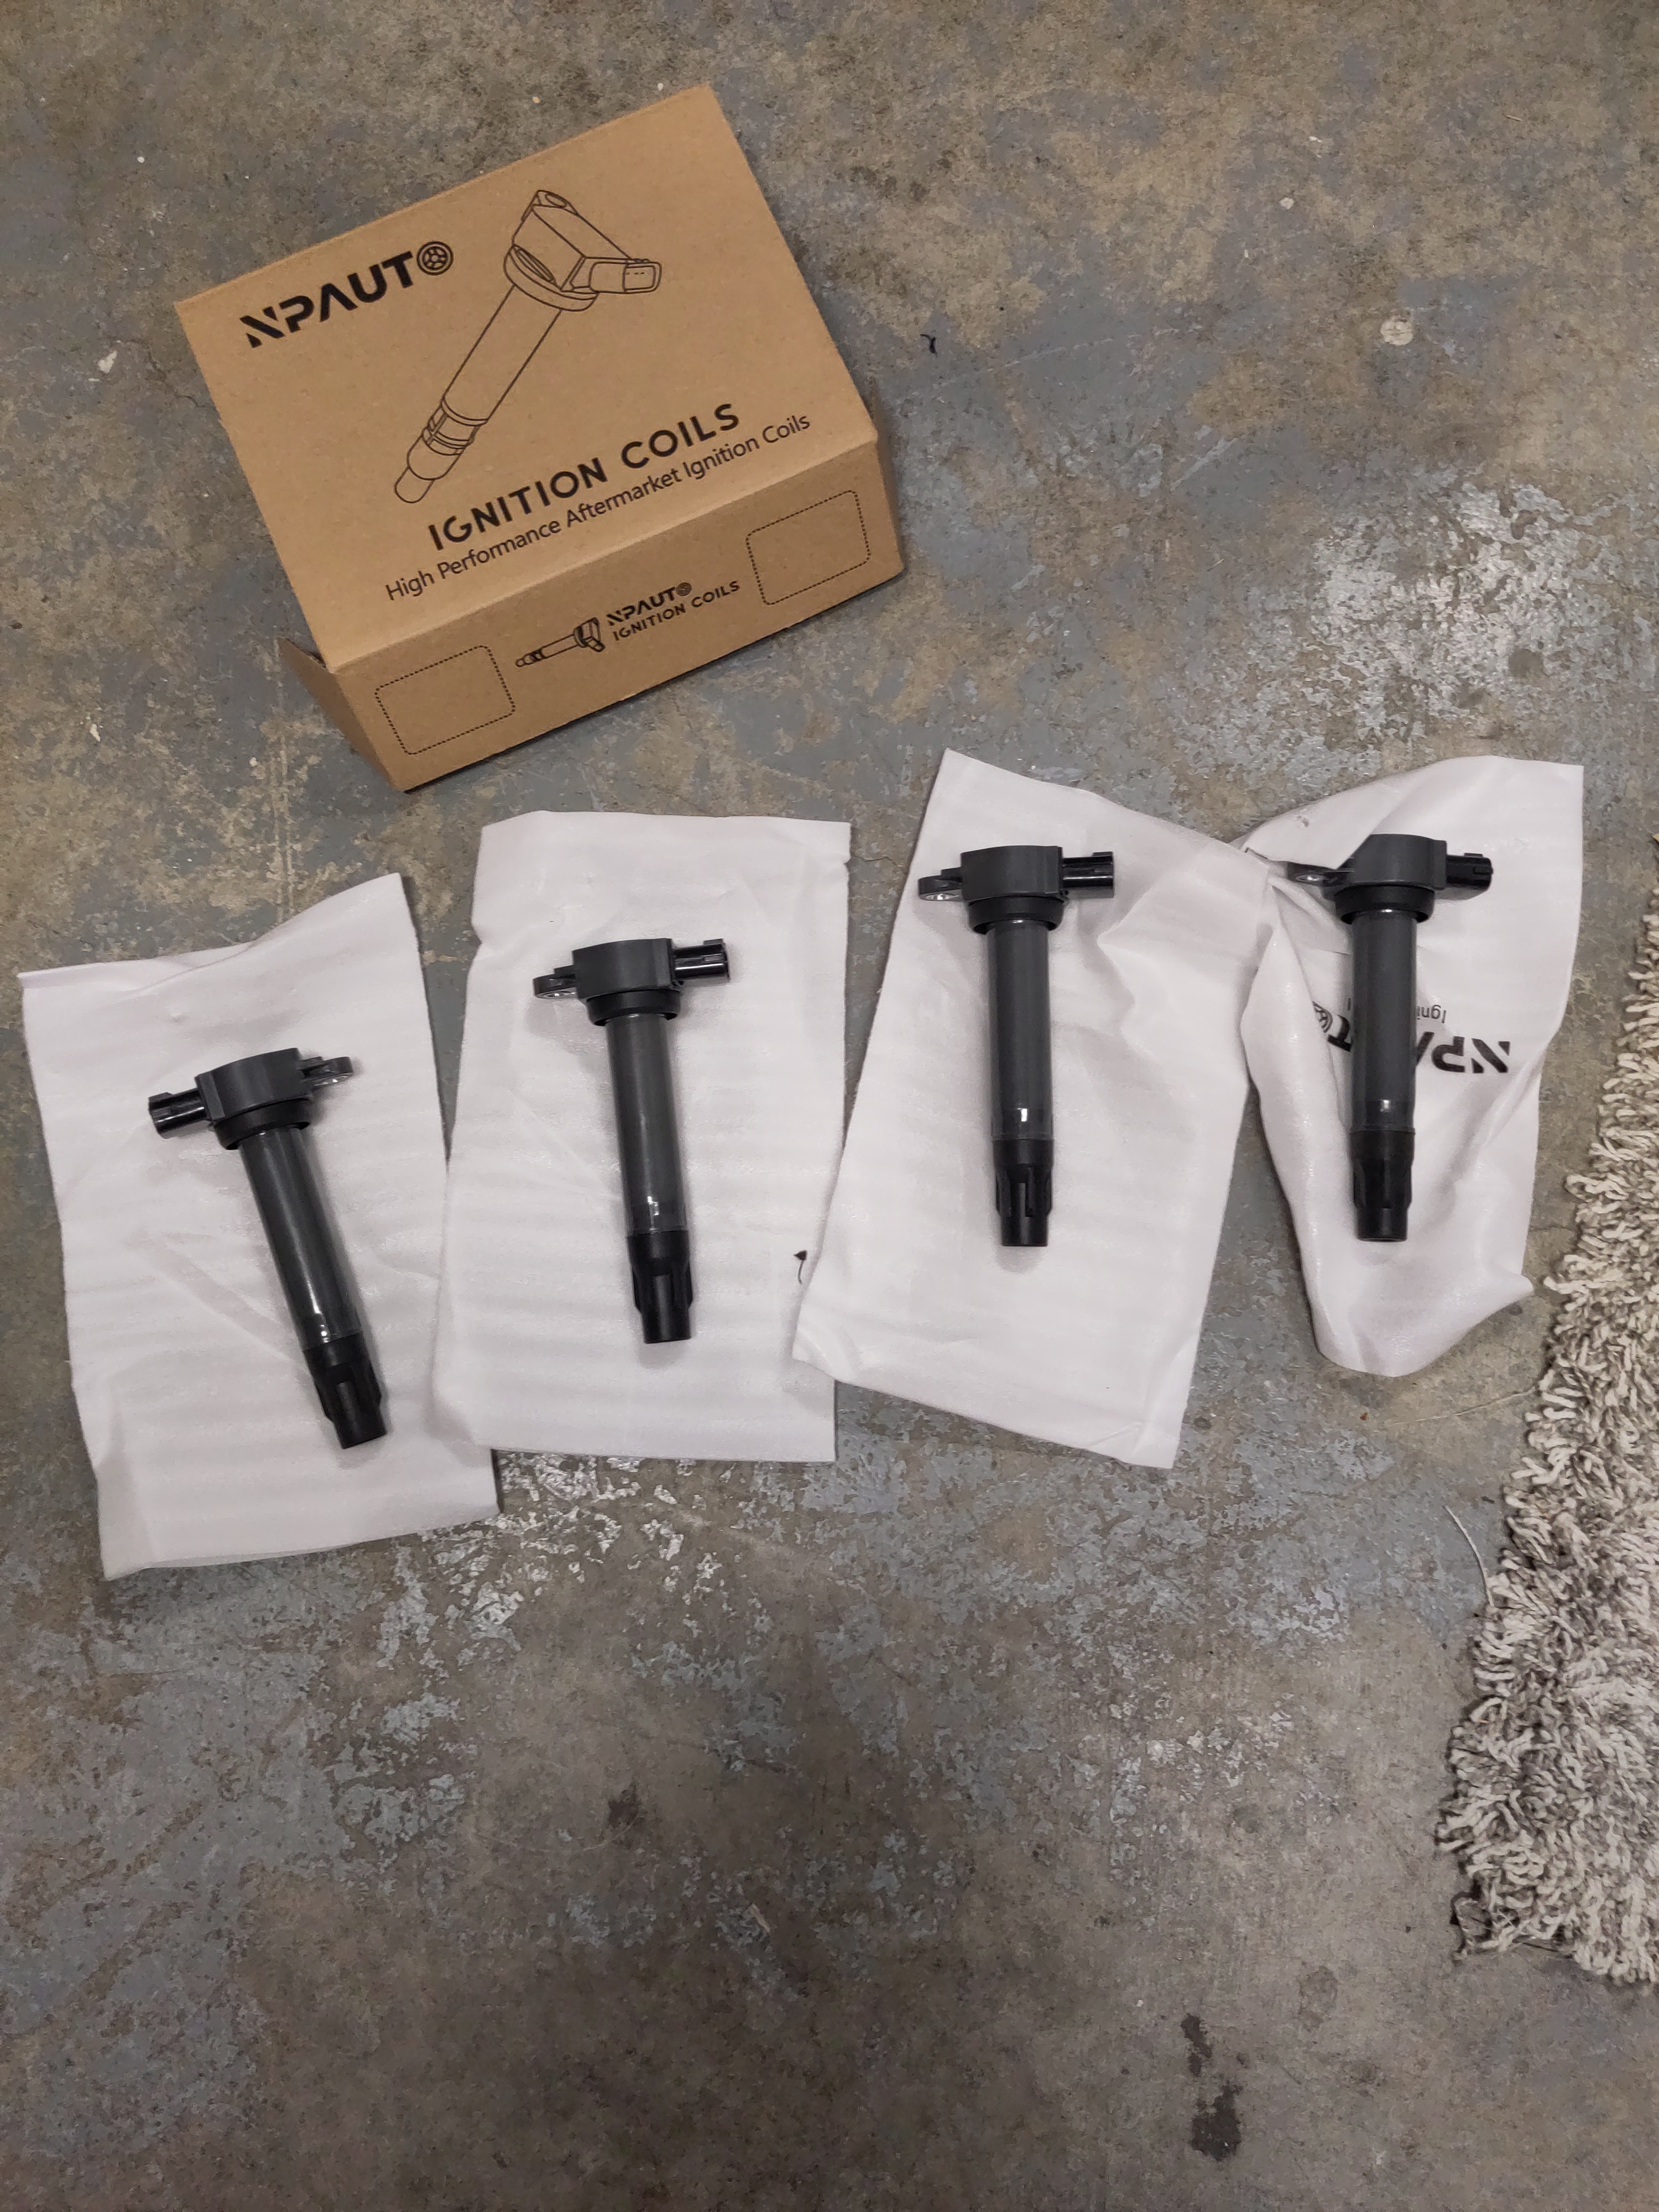
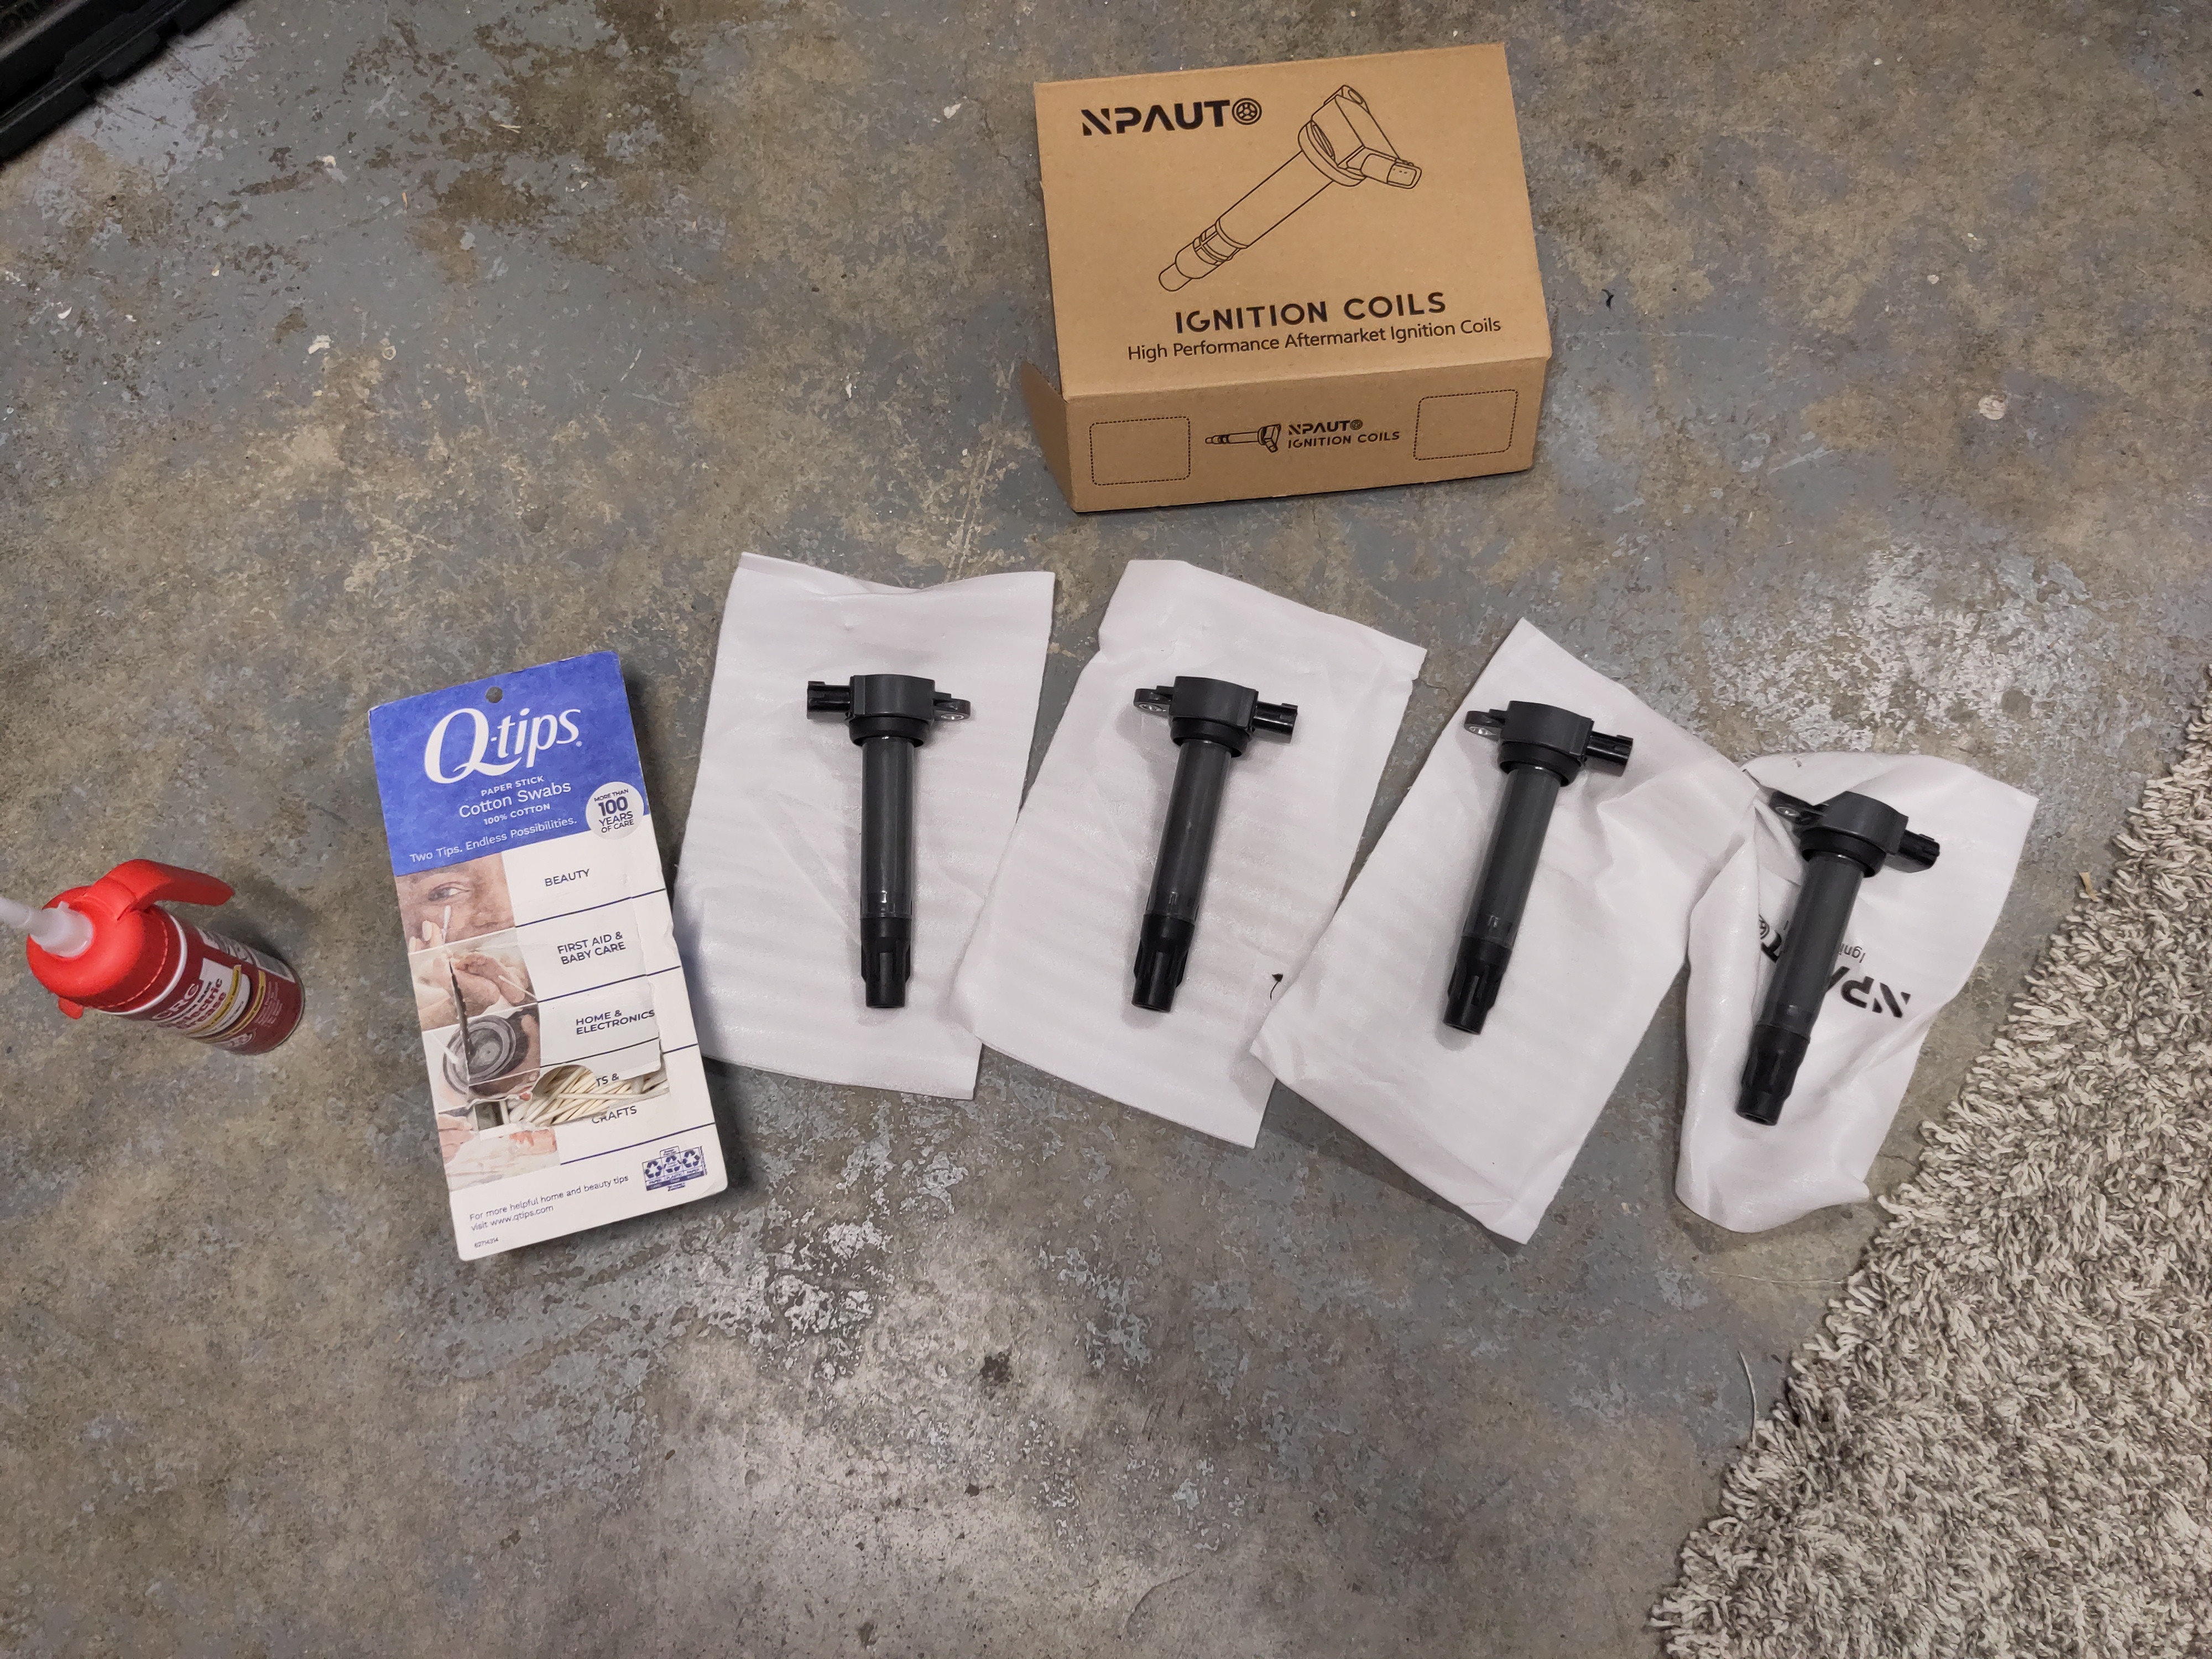
- New Ignition Coils
- Magnetic Tray(storing hardware)
- Impact driver 1/4" hex drive with 3/8" socket holder
- Motorized 3/8" drive socket wrench
Removal:
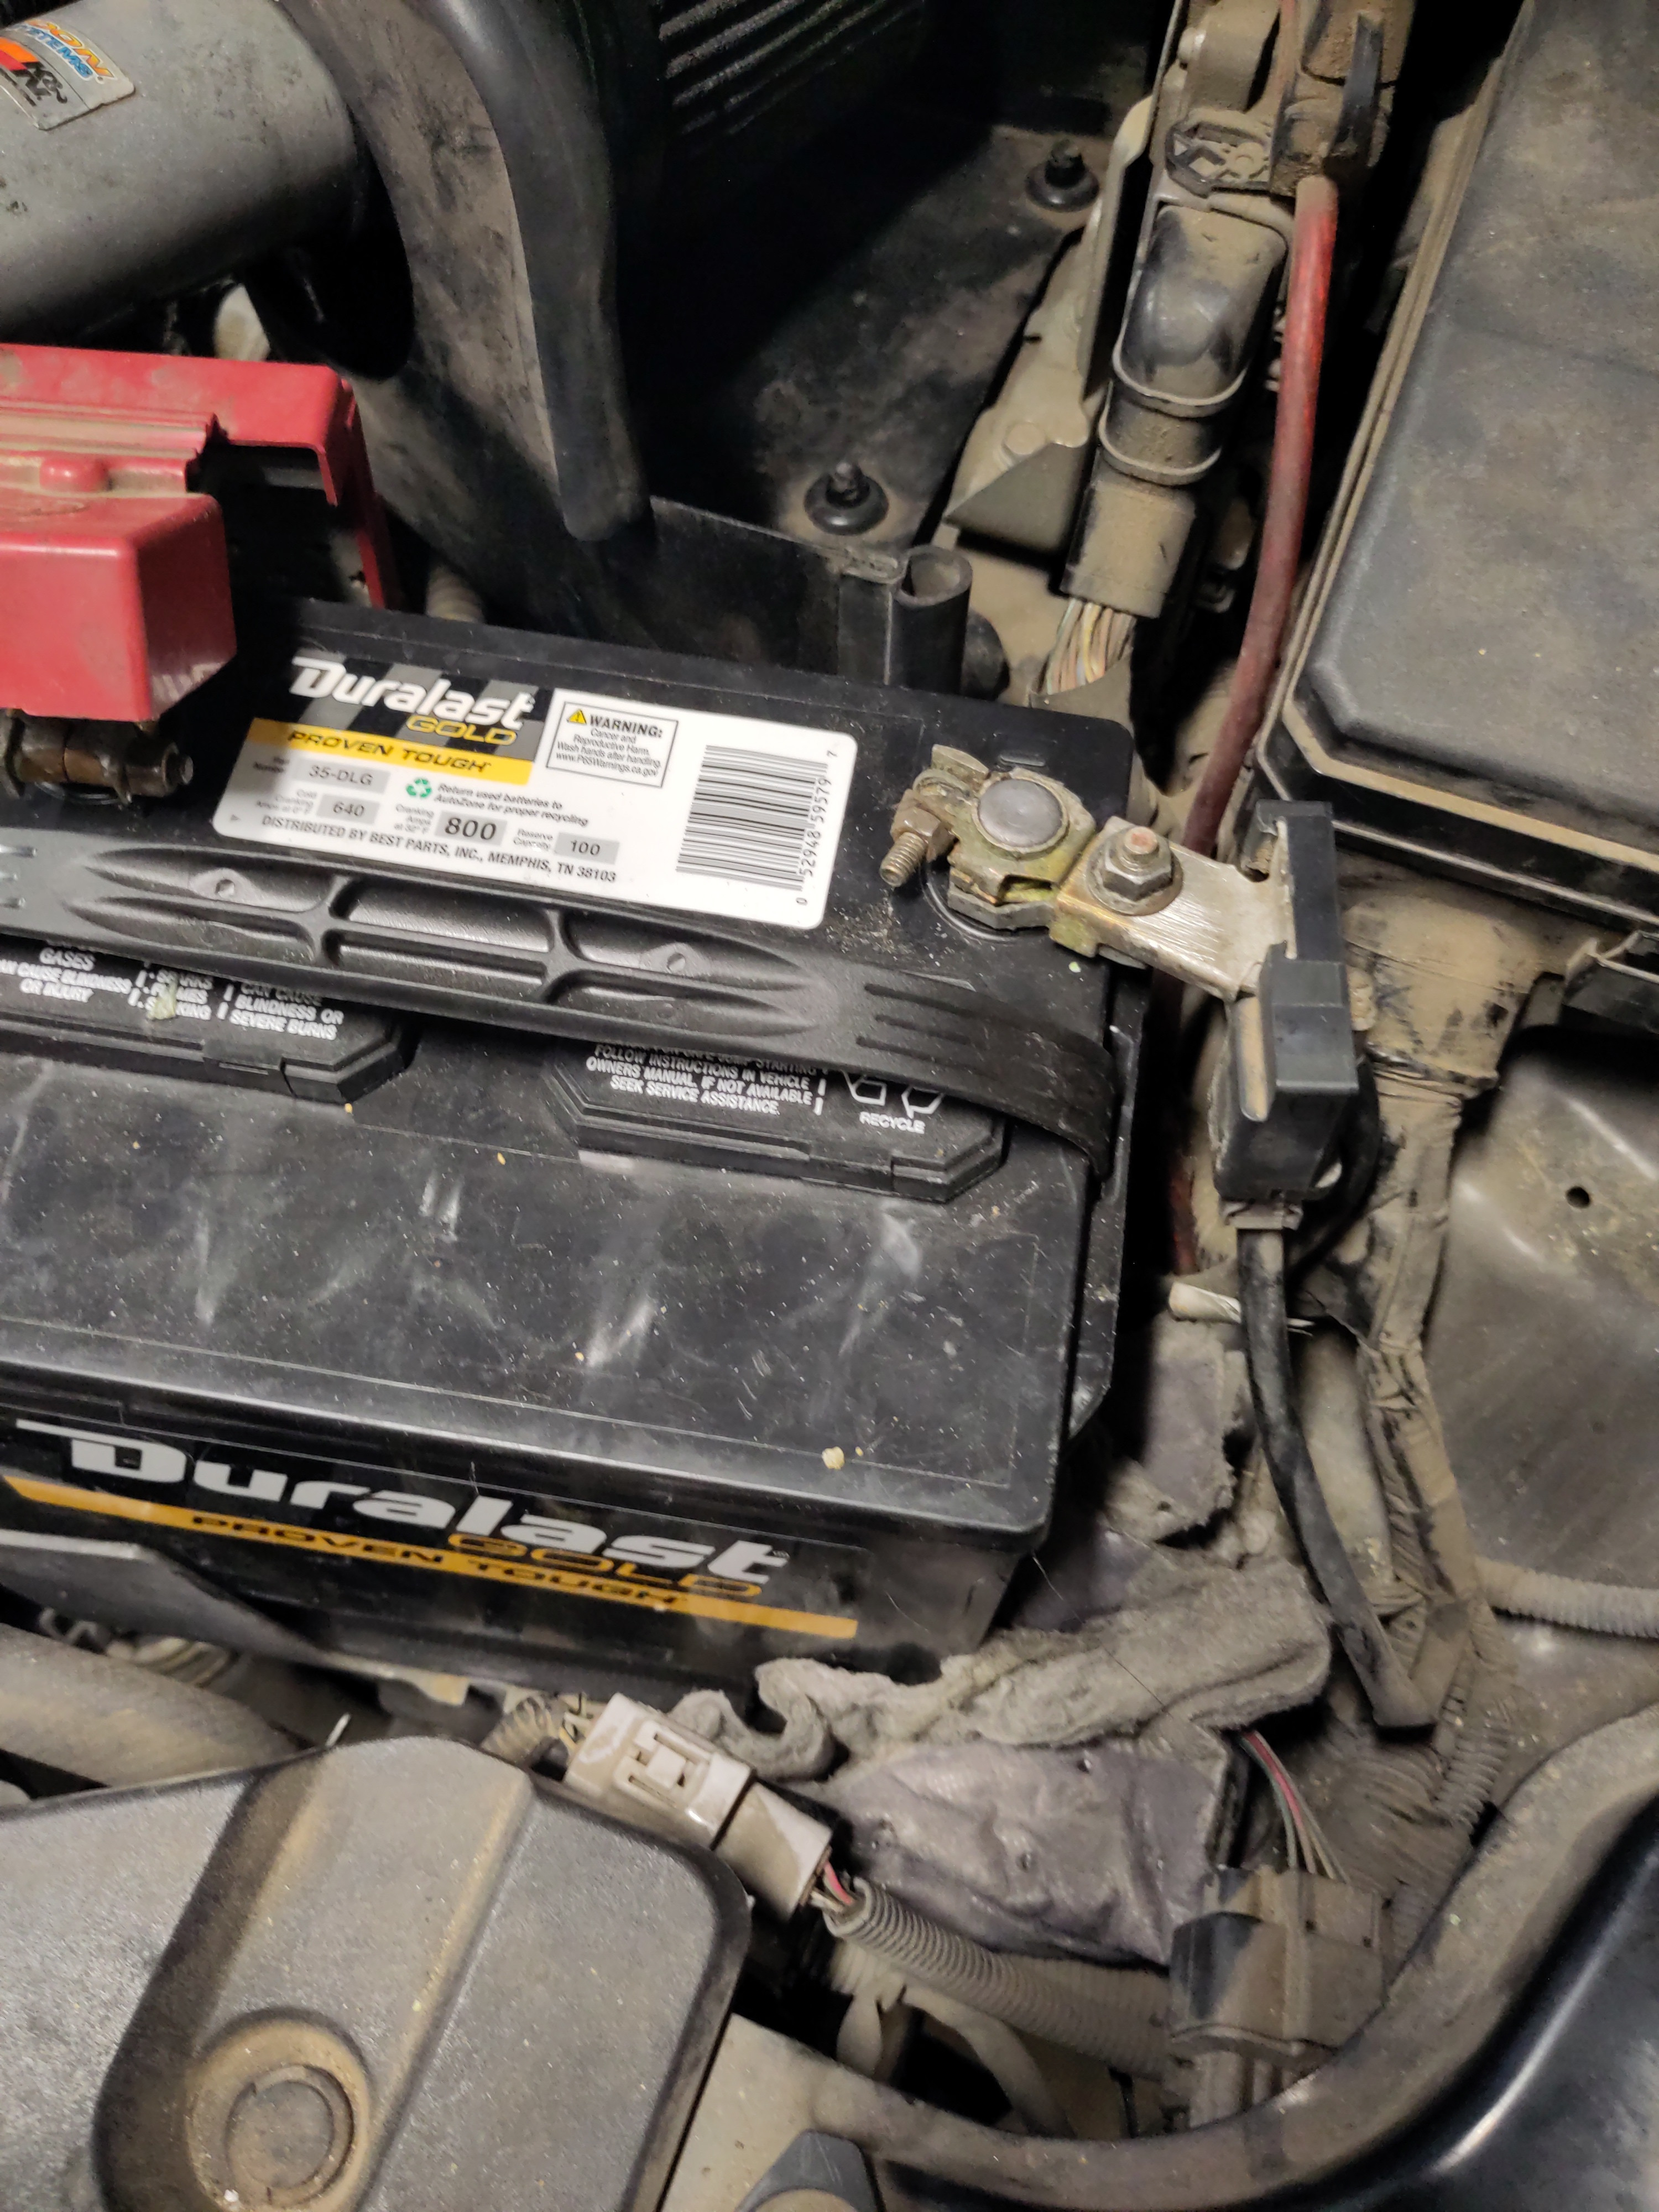
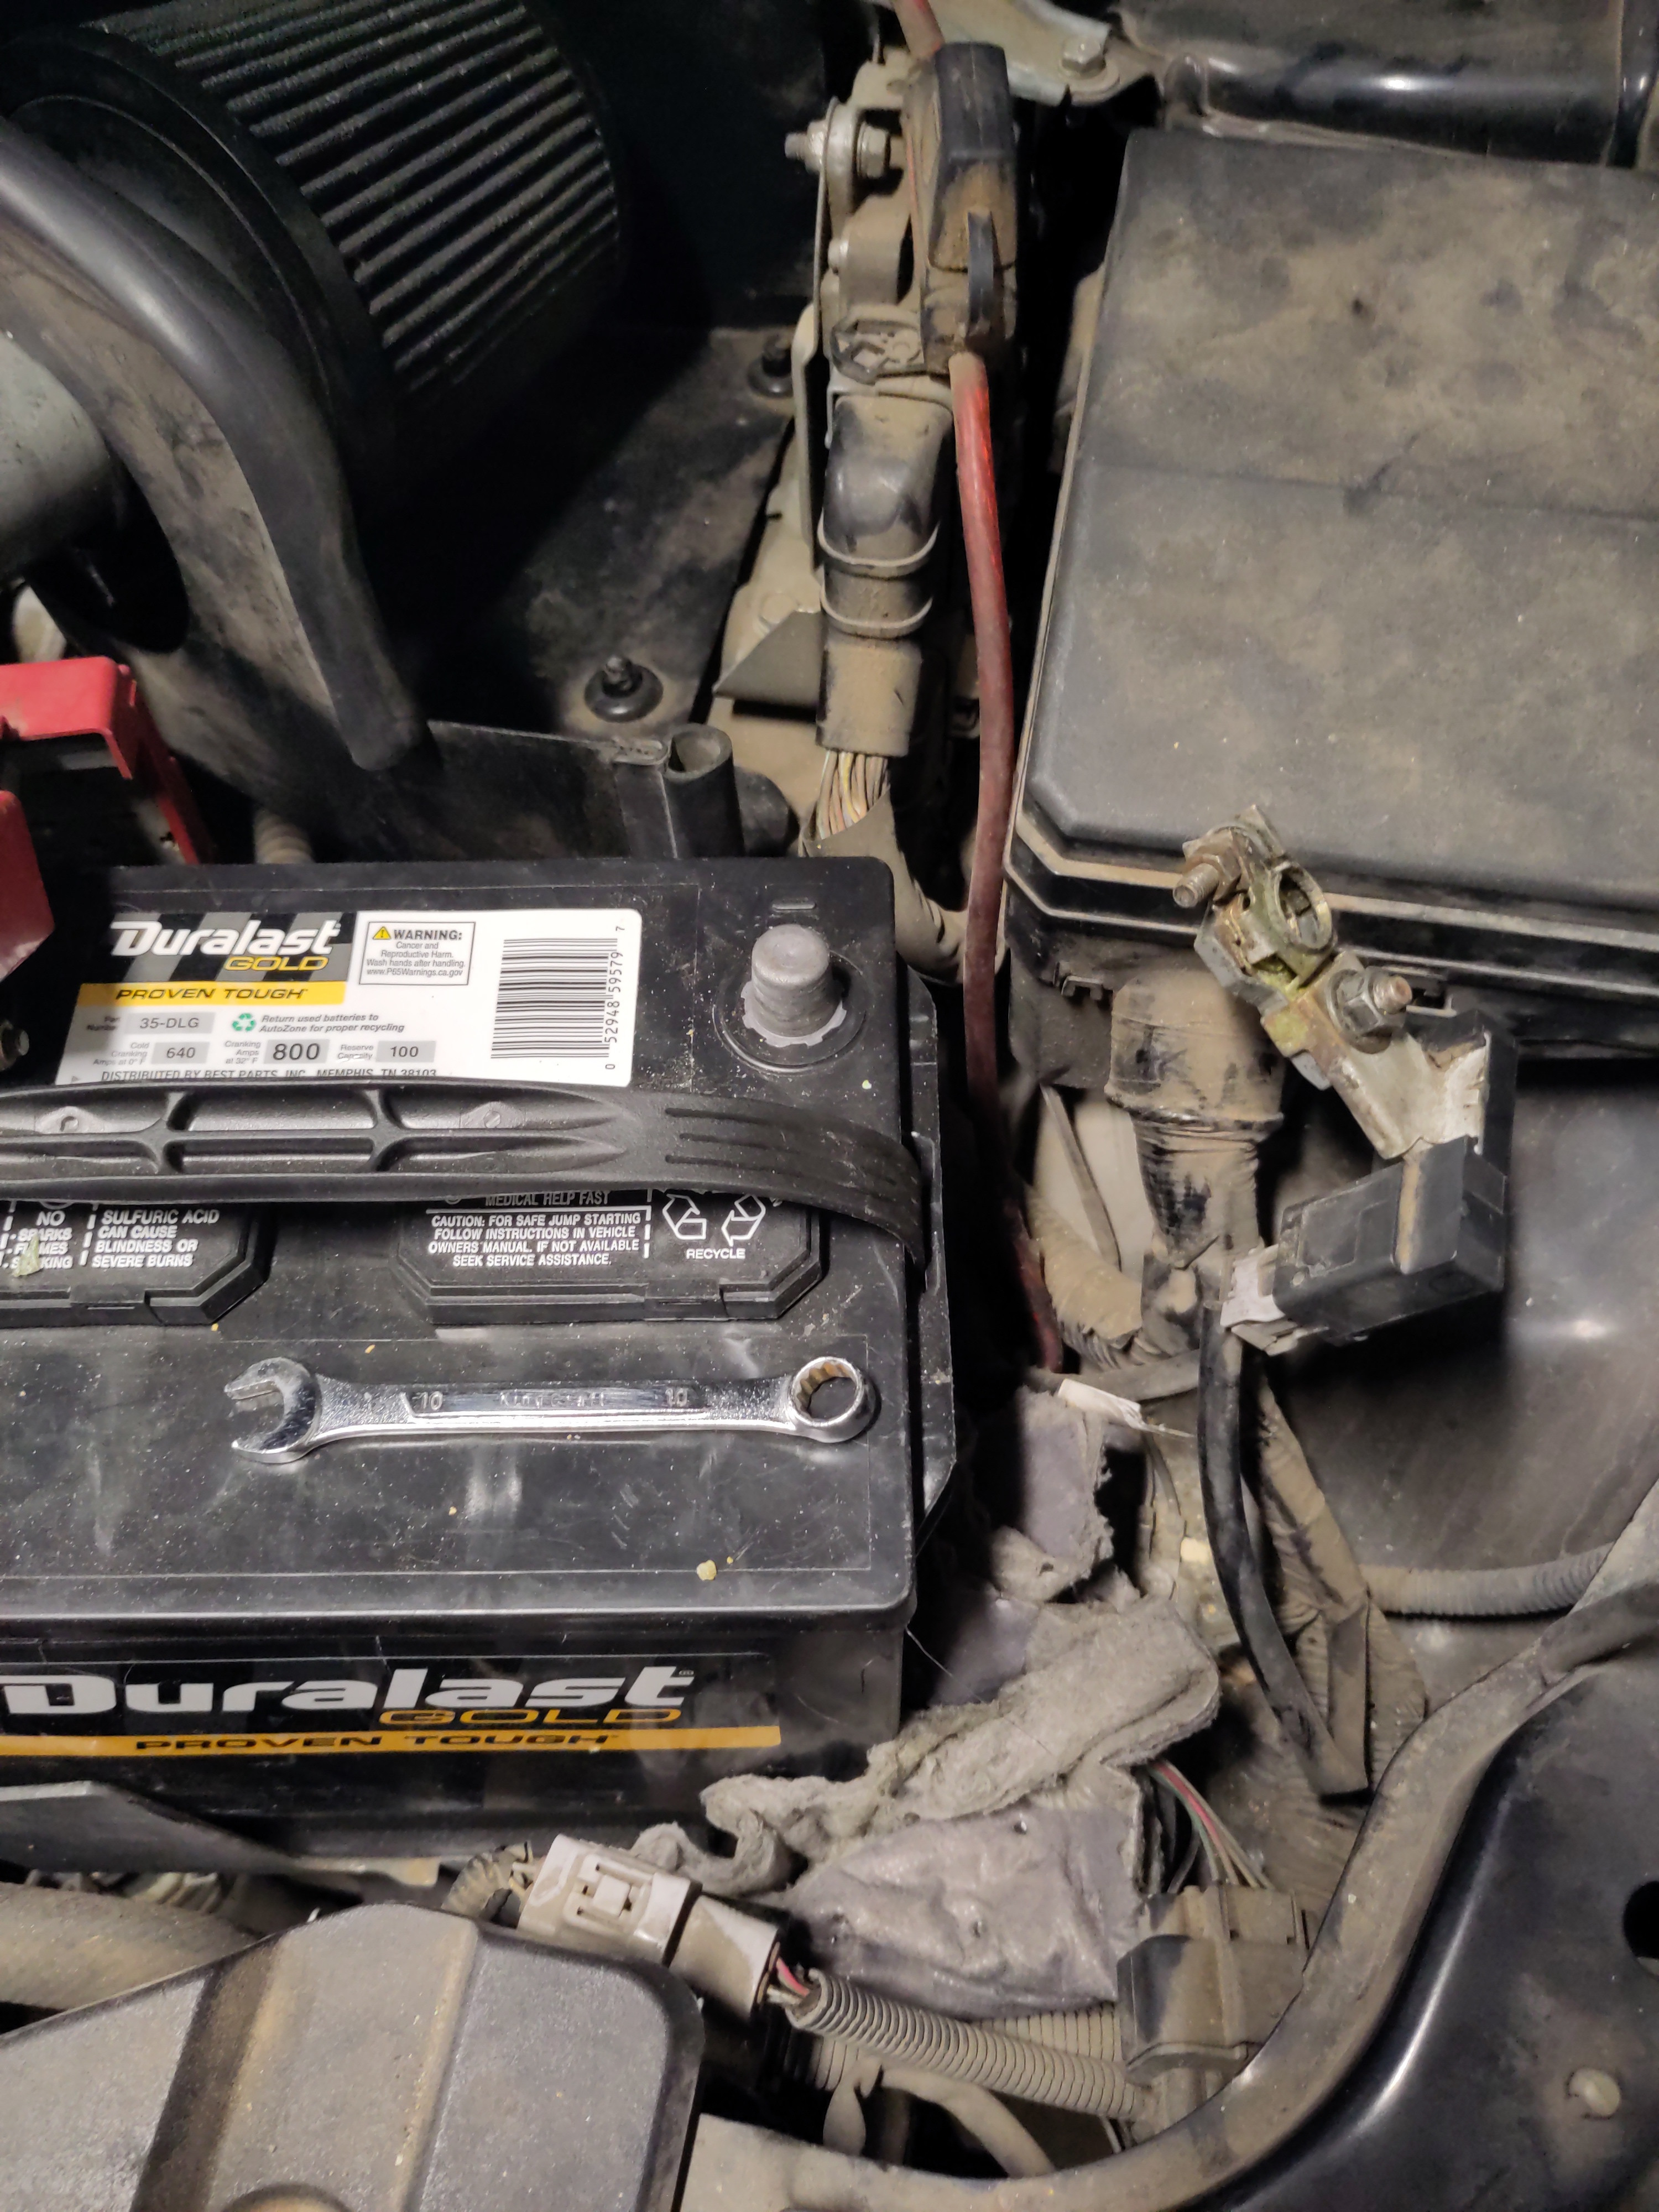
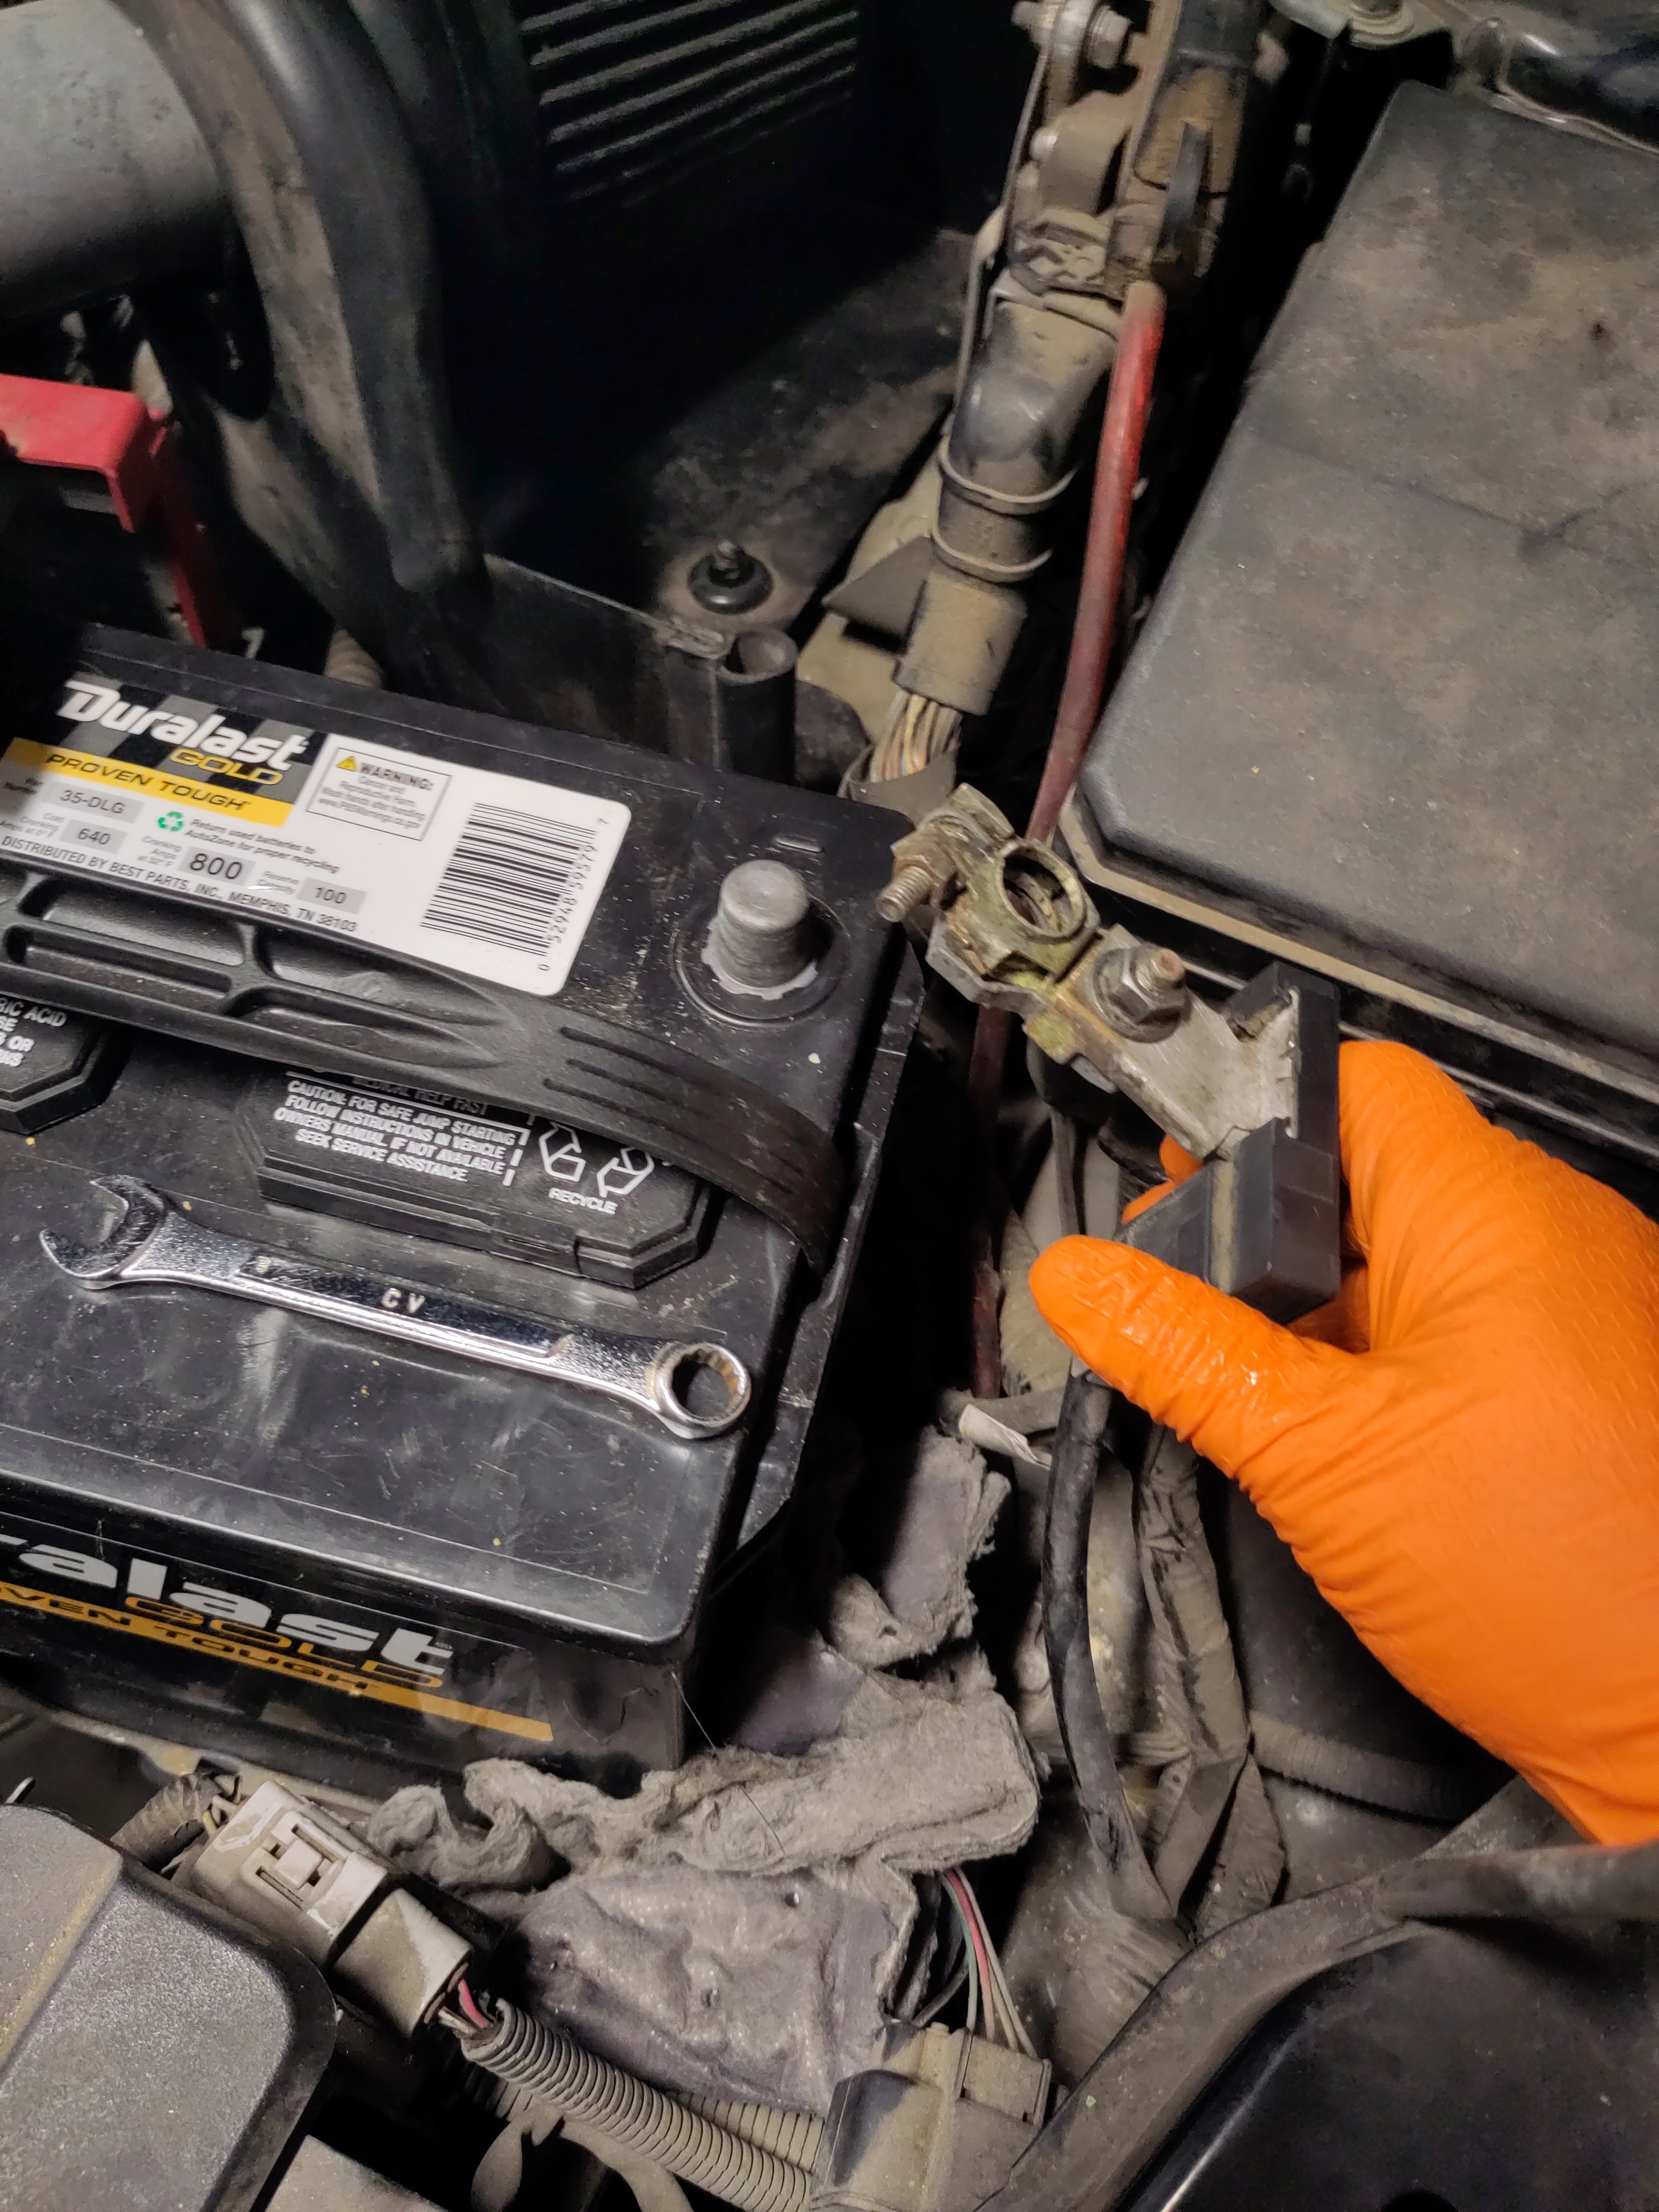
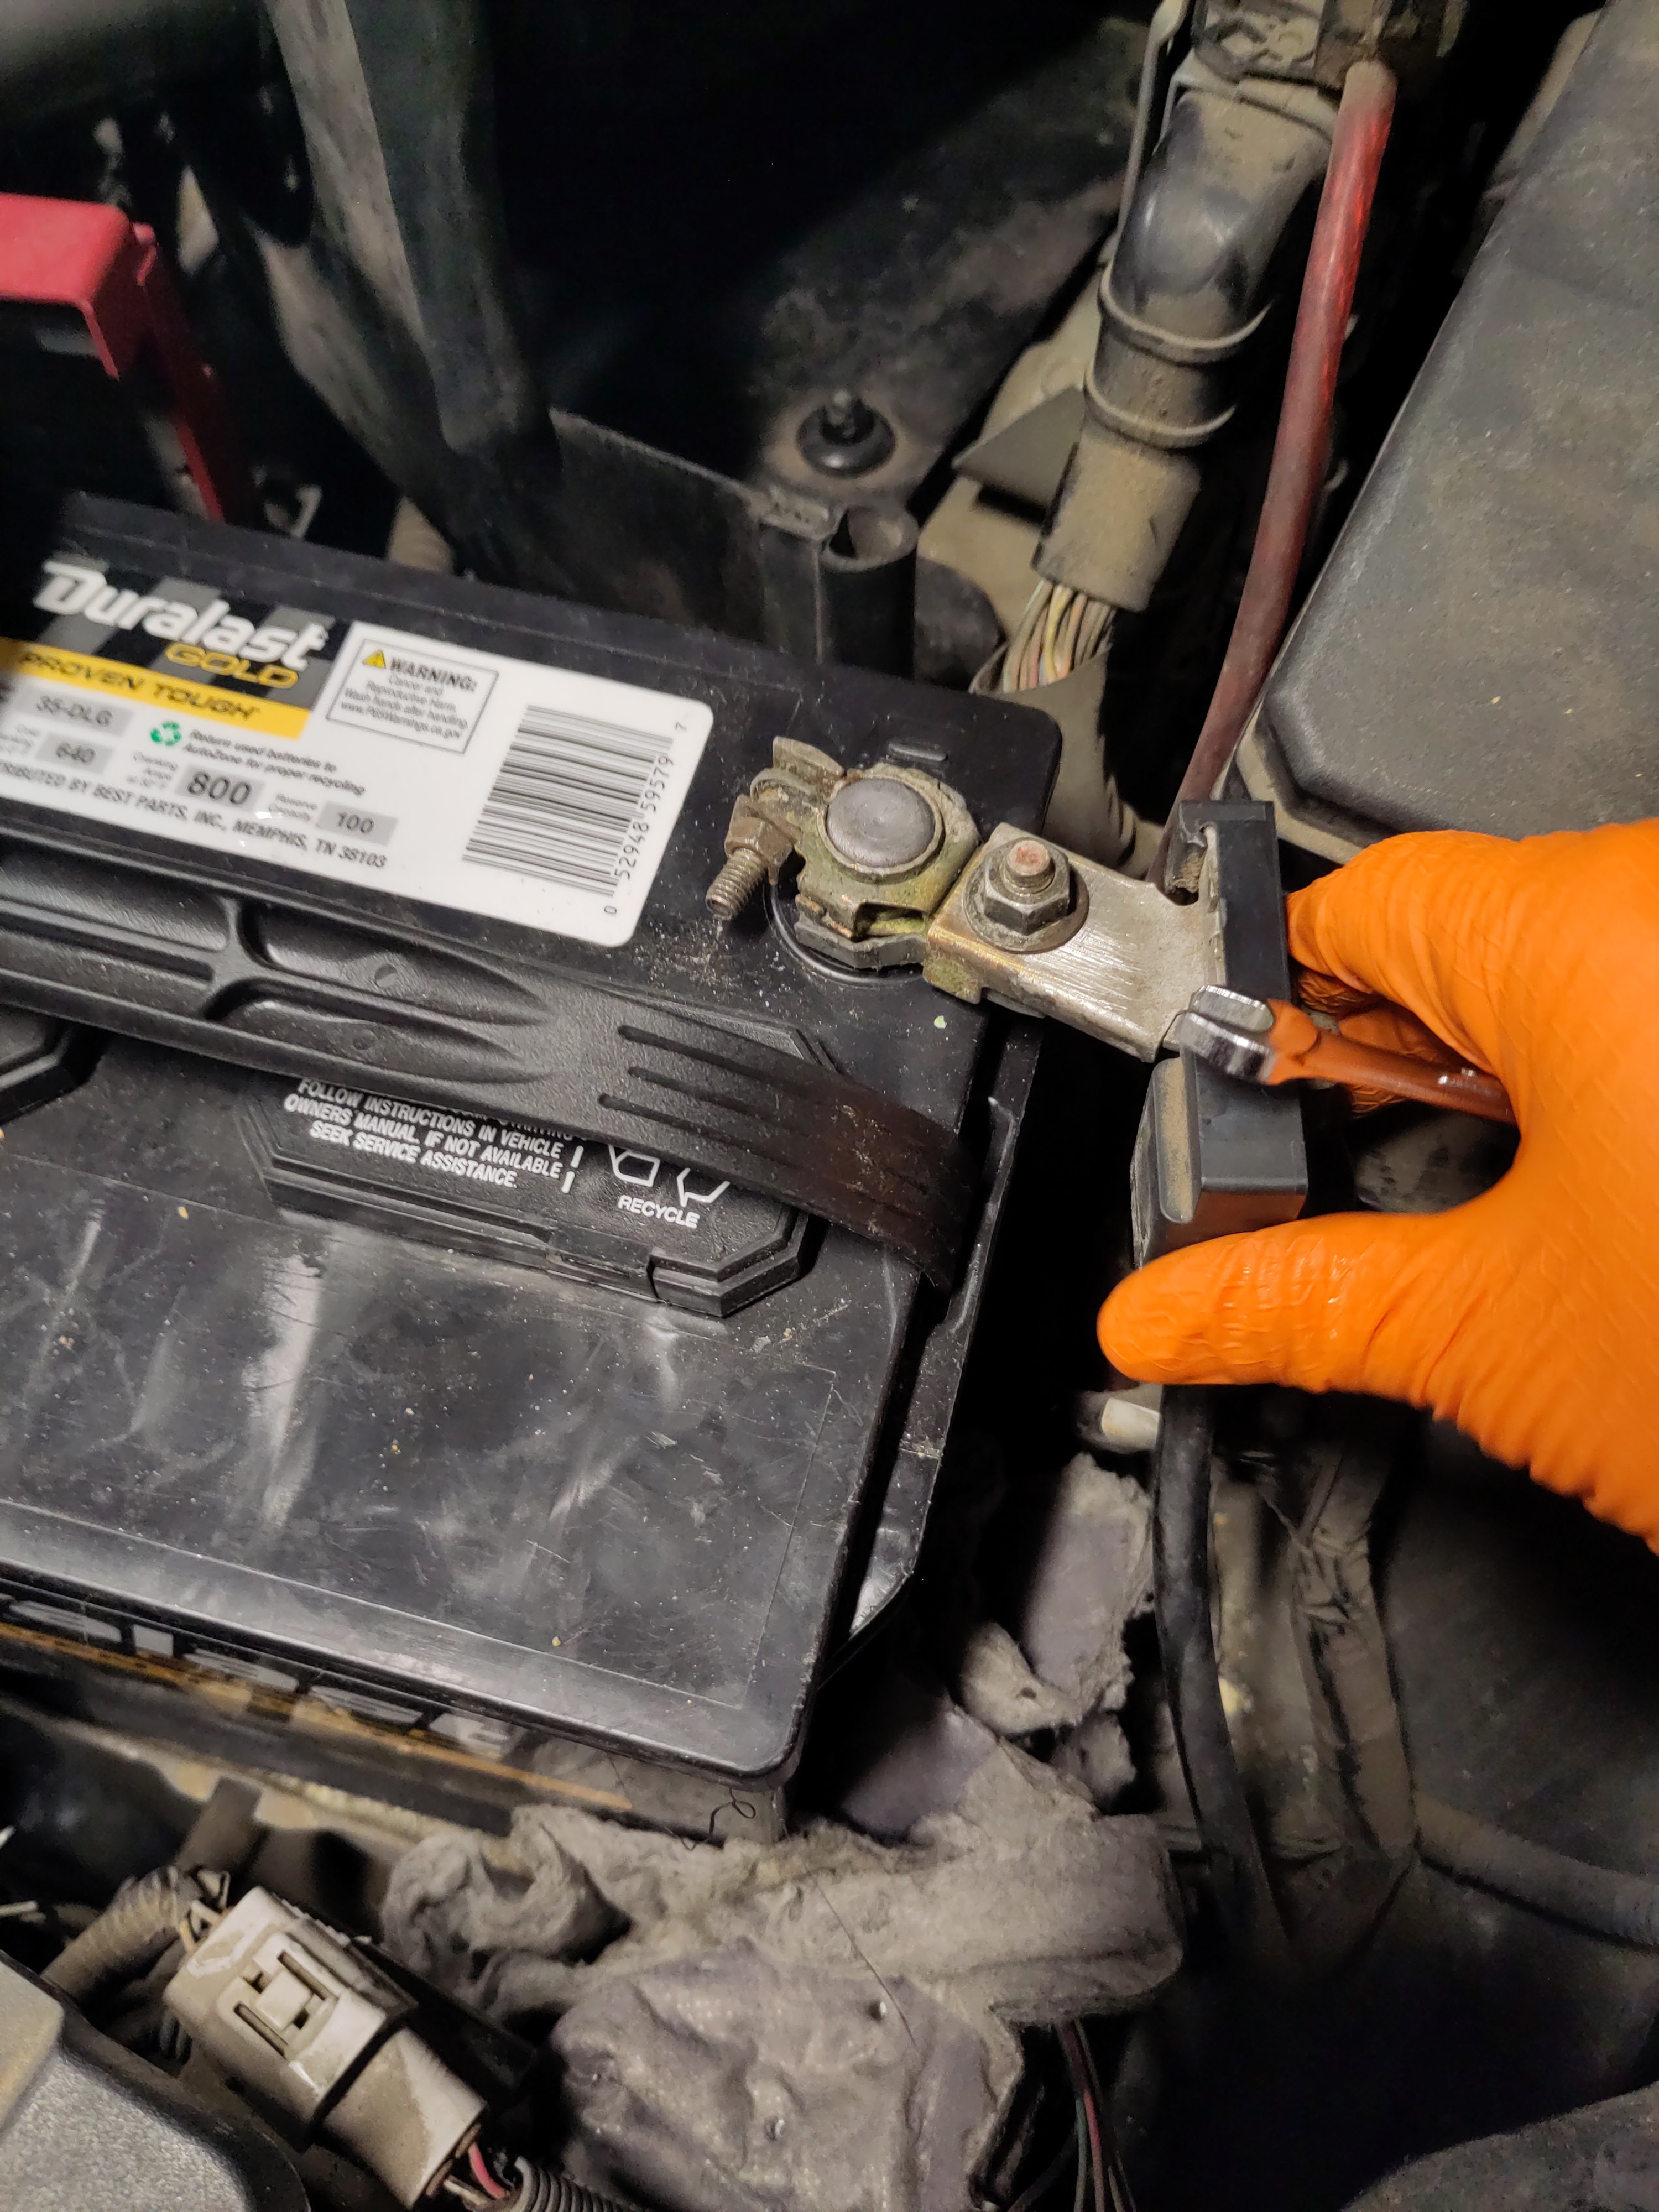
- Loosen and remove negative battery terminal 10mm nut using a 10mm wrench
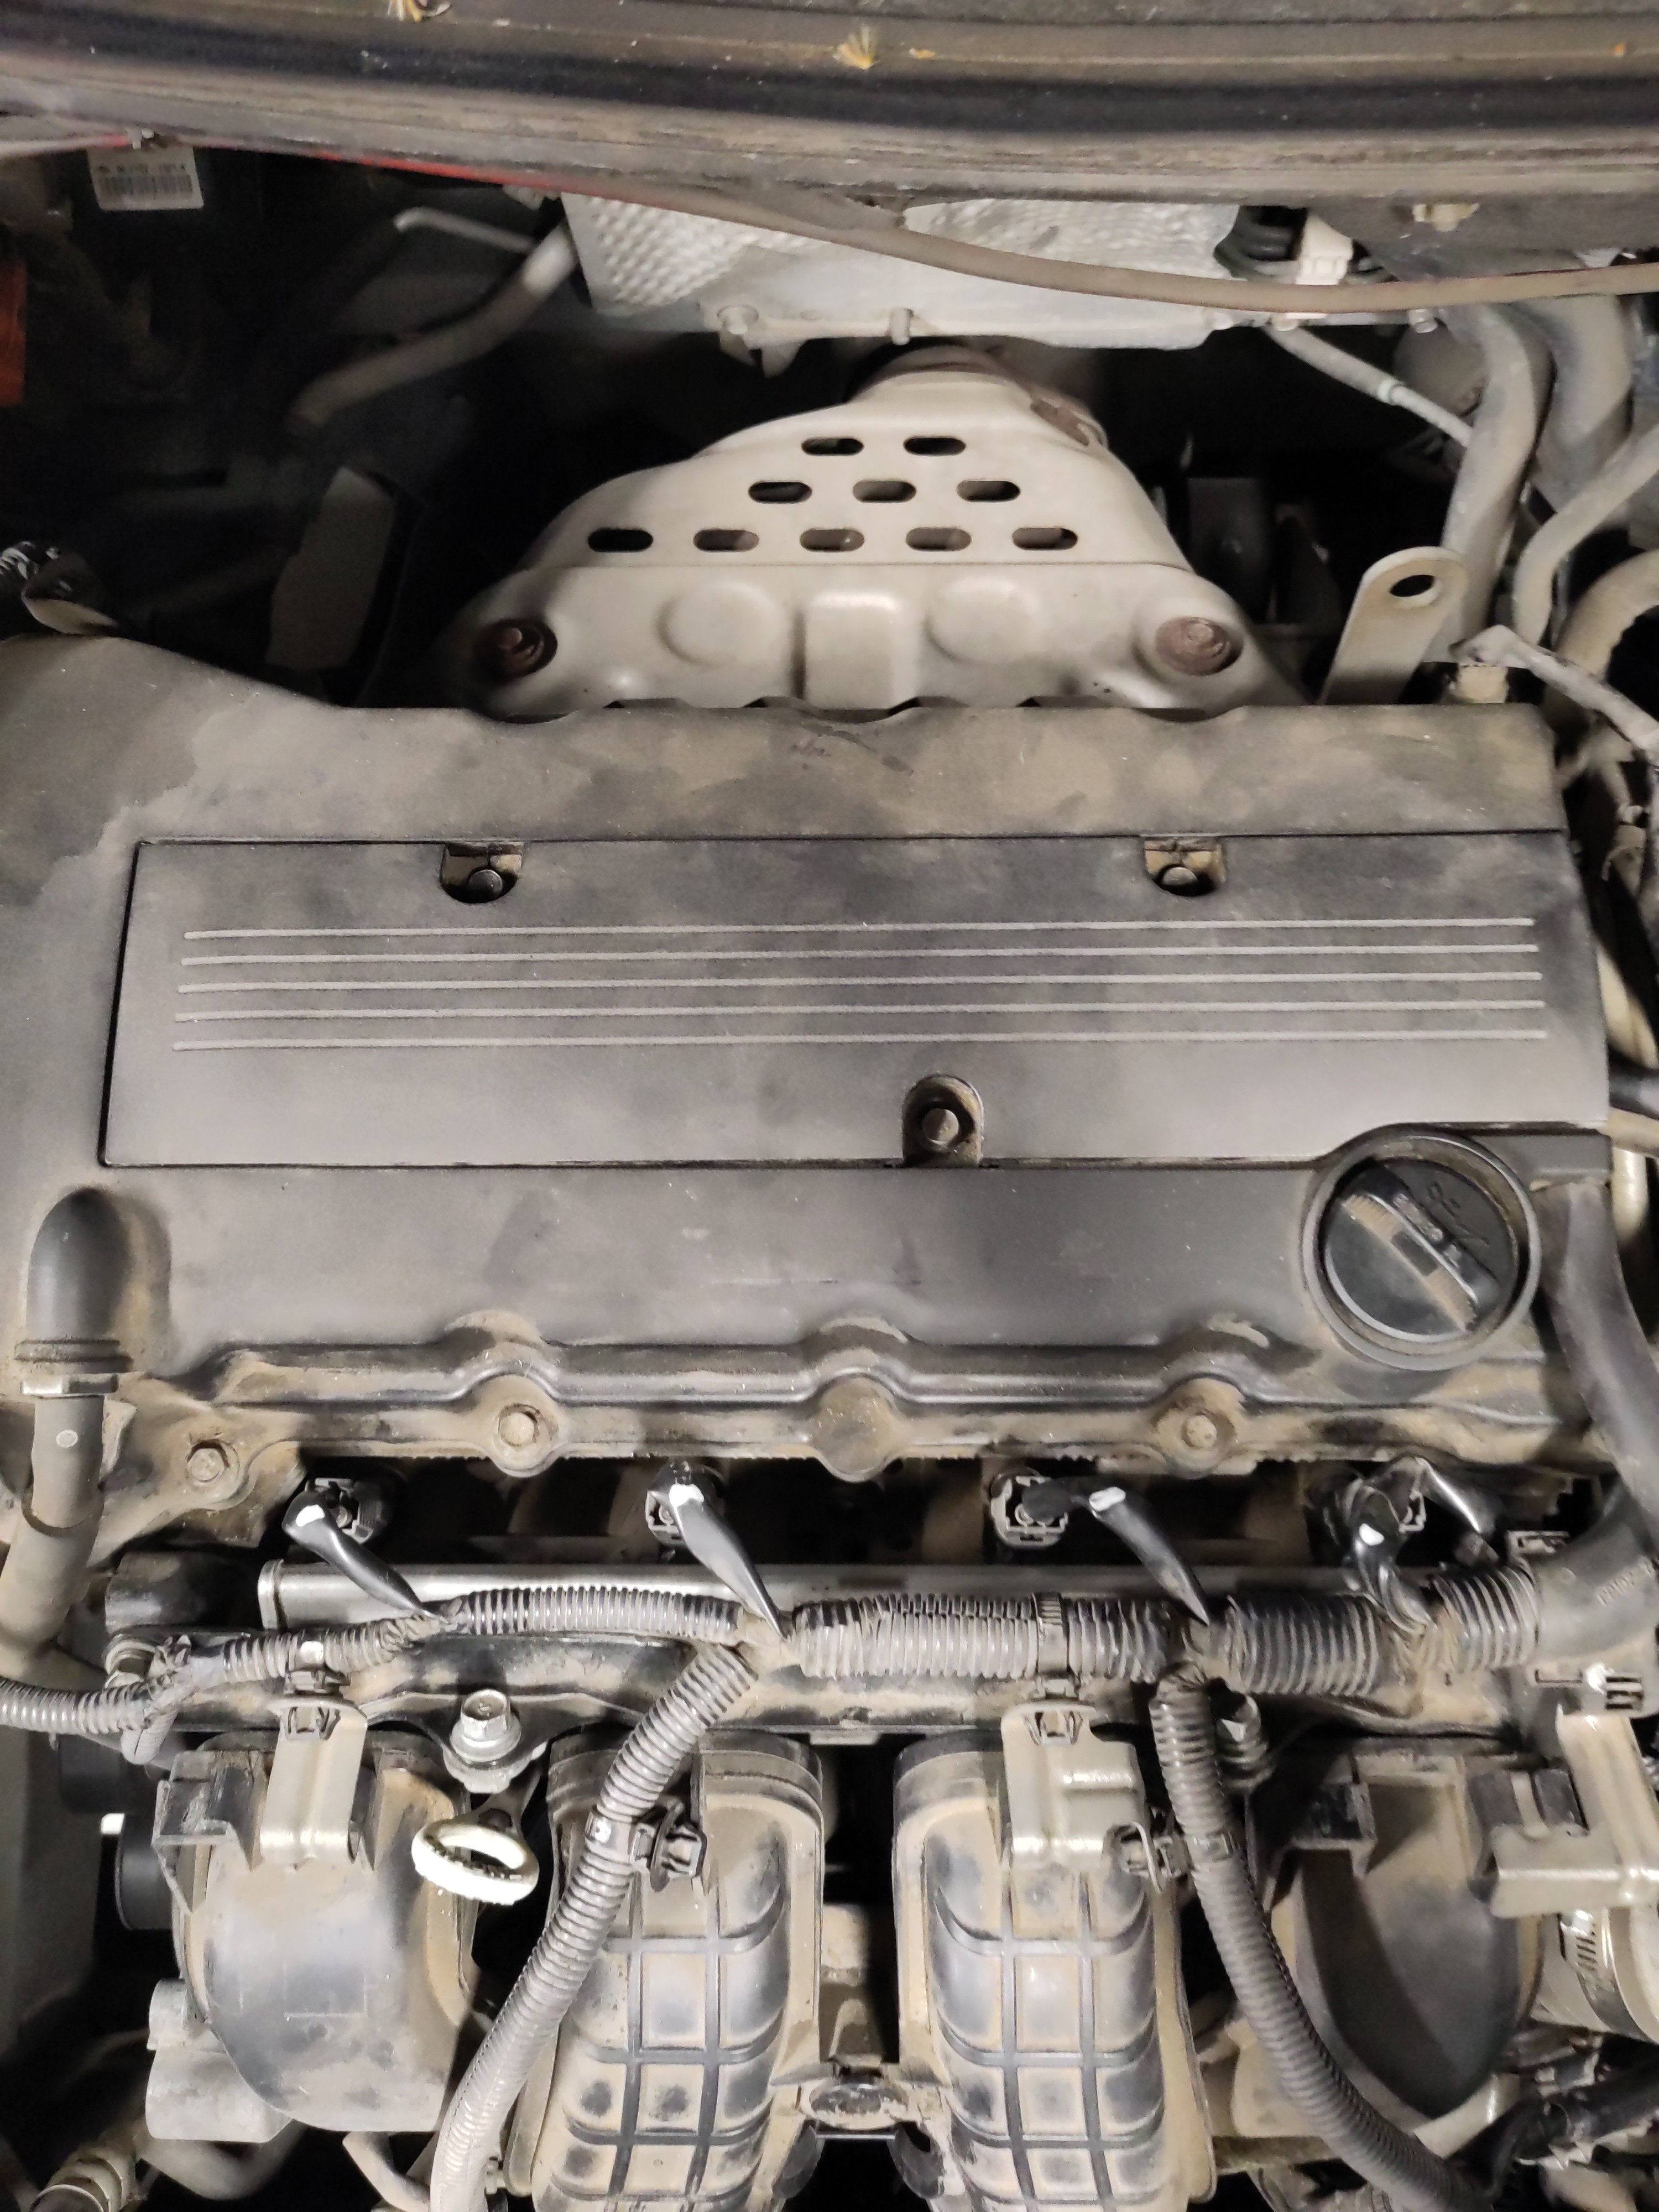
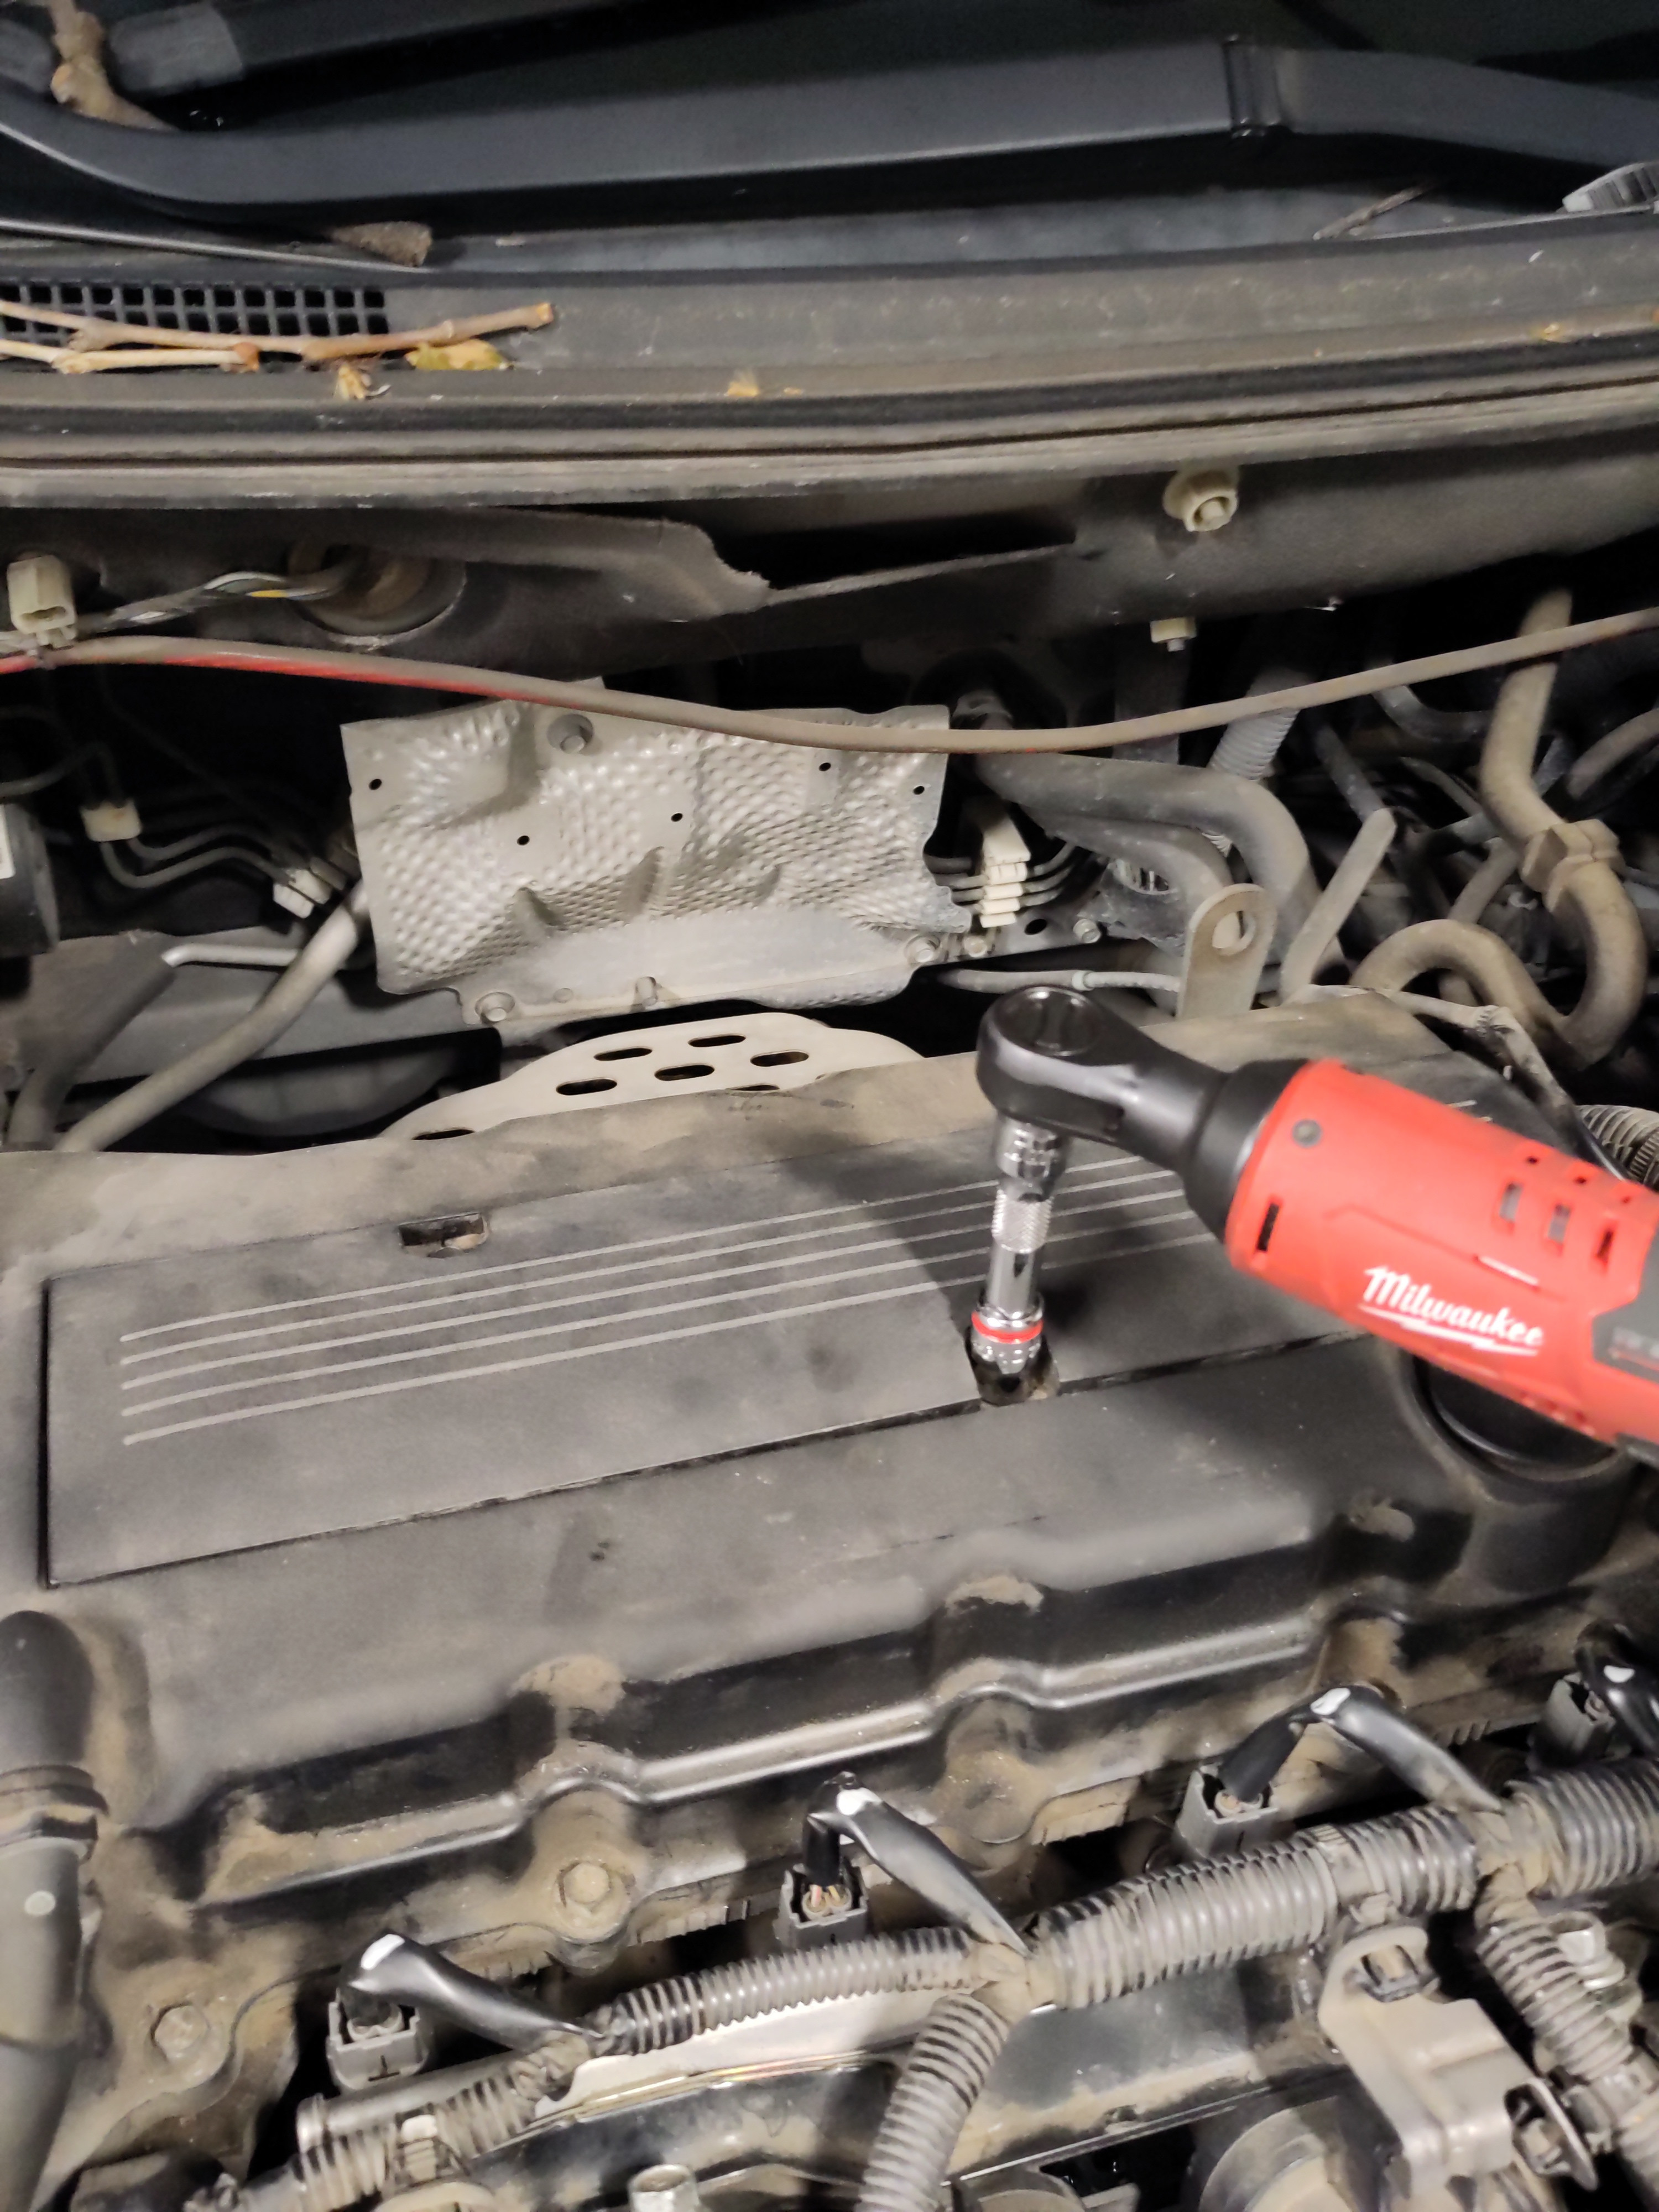
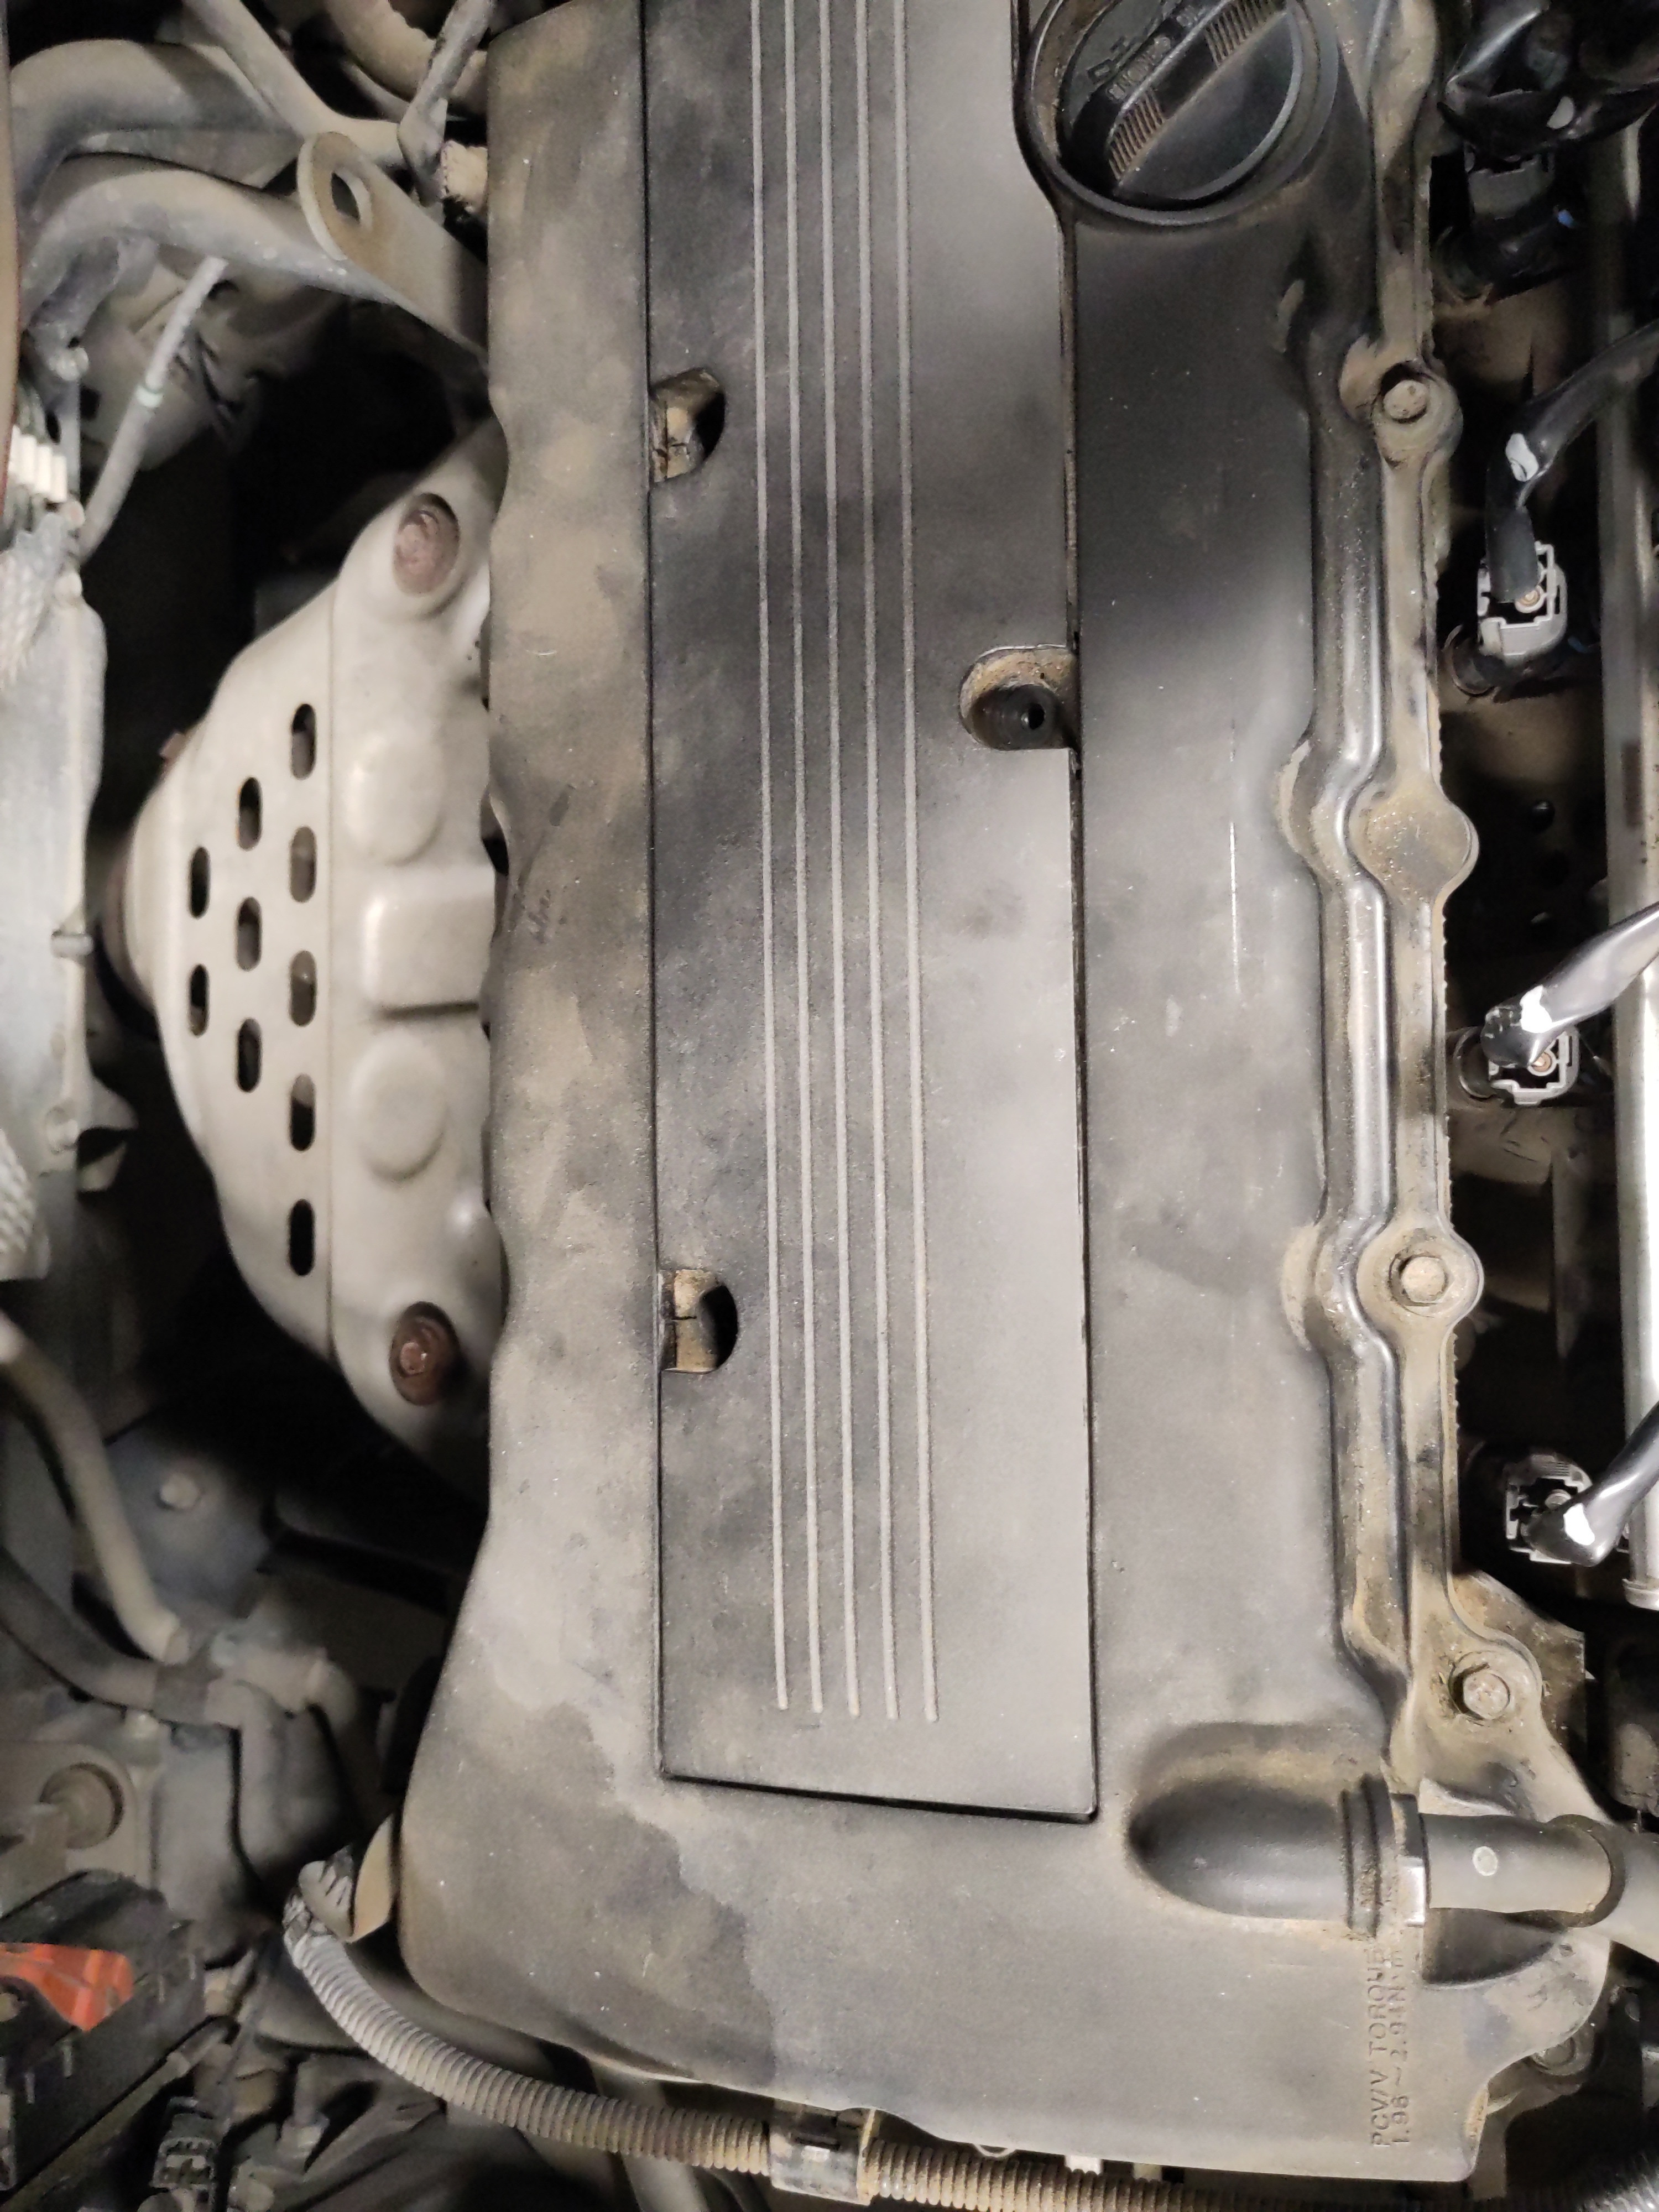
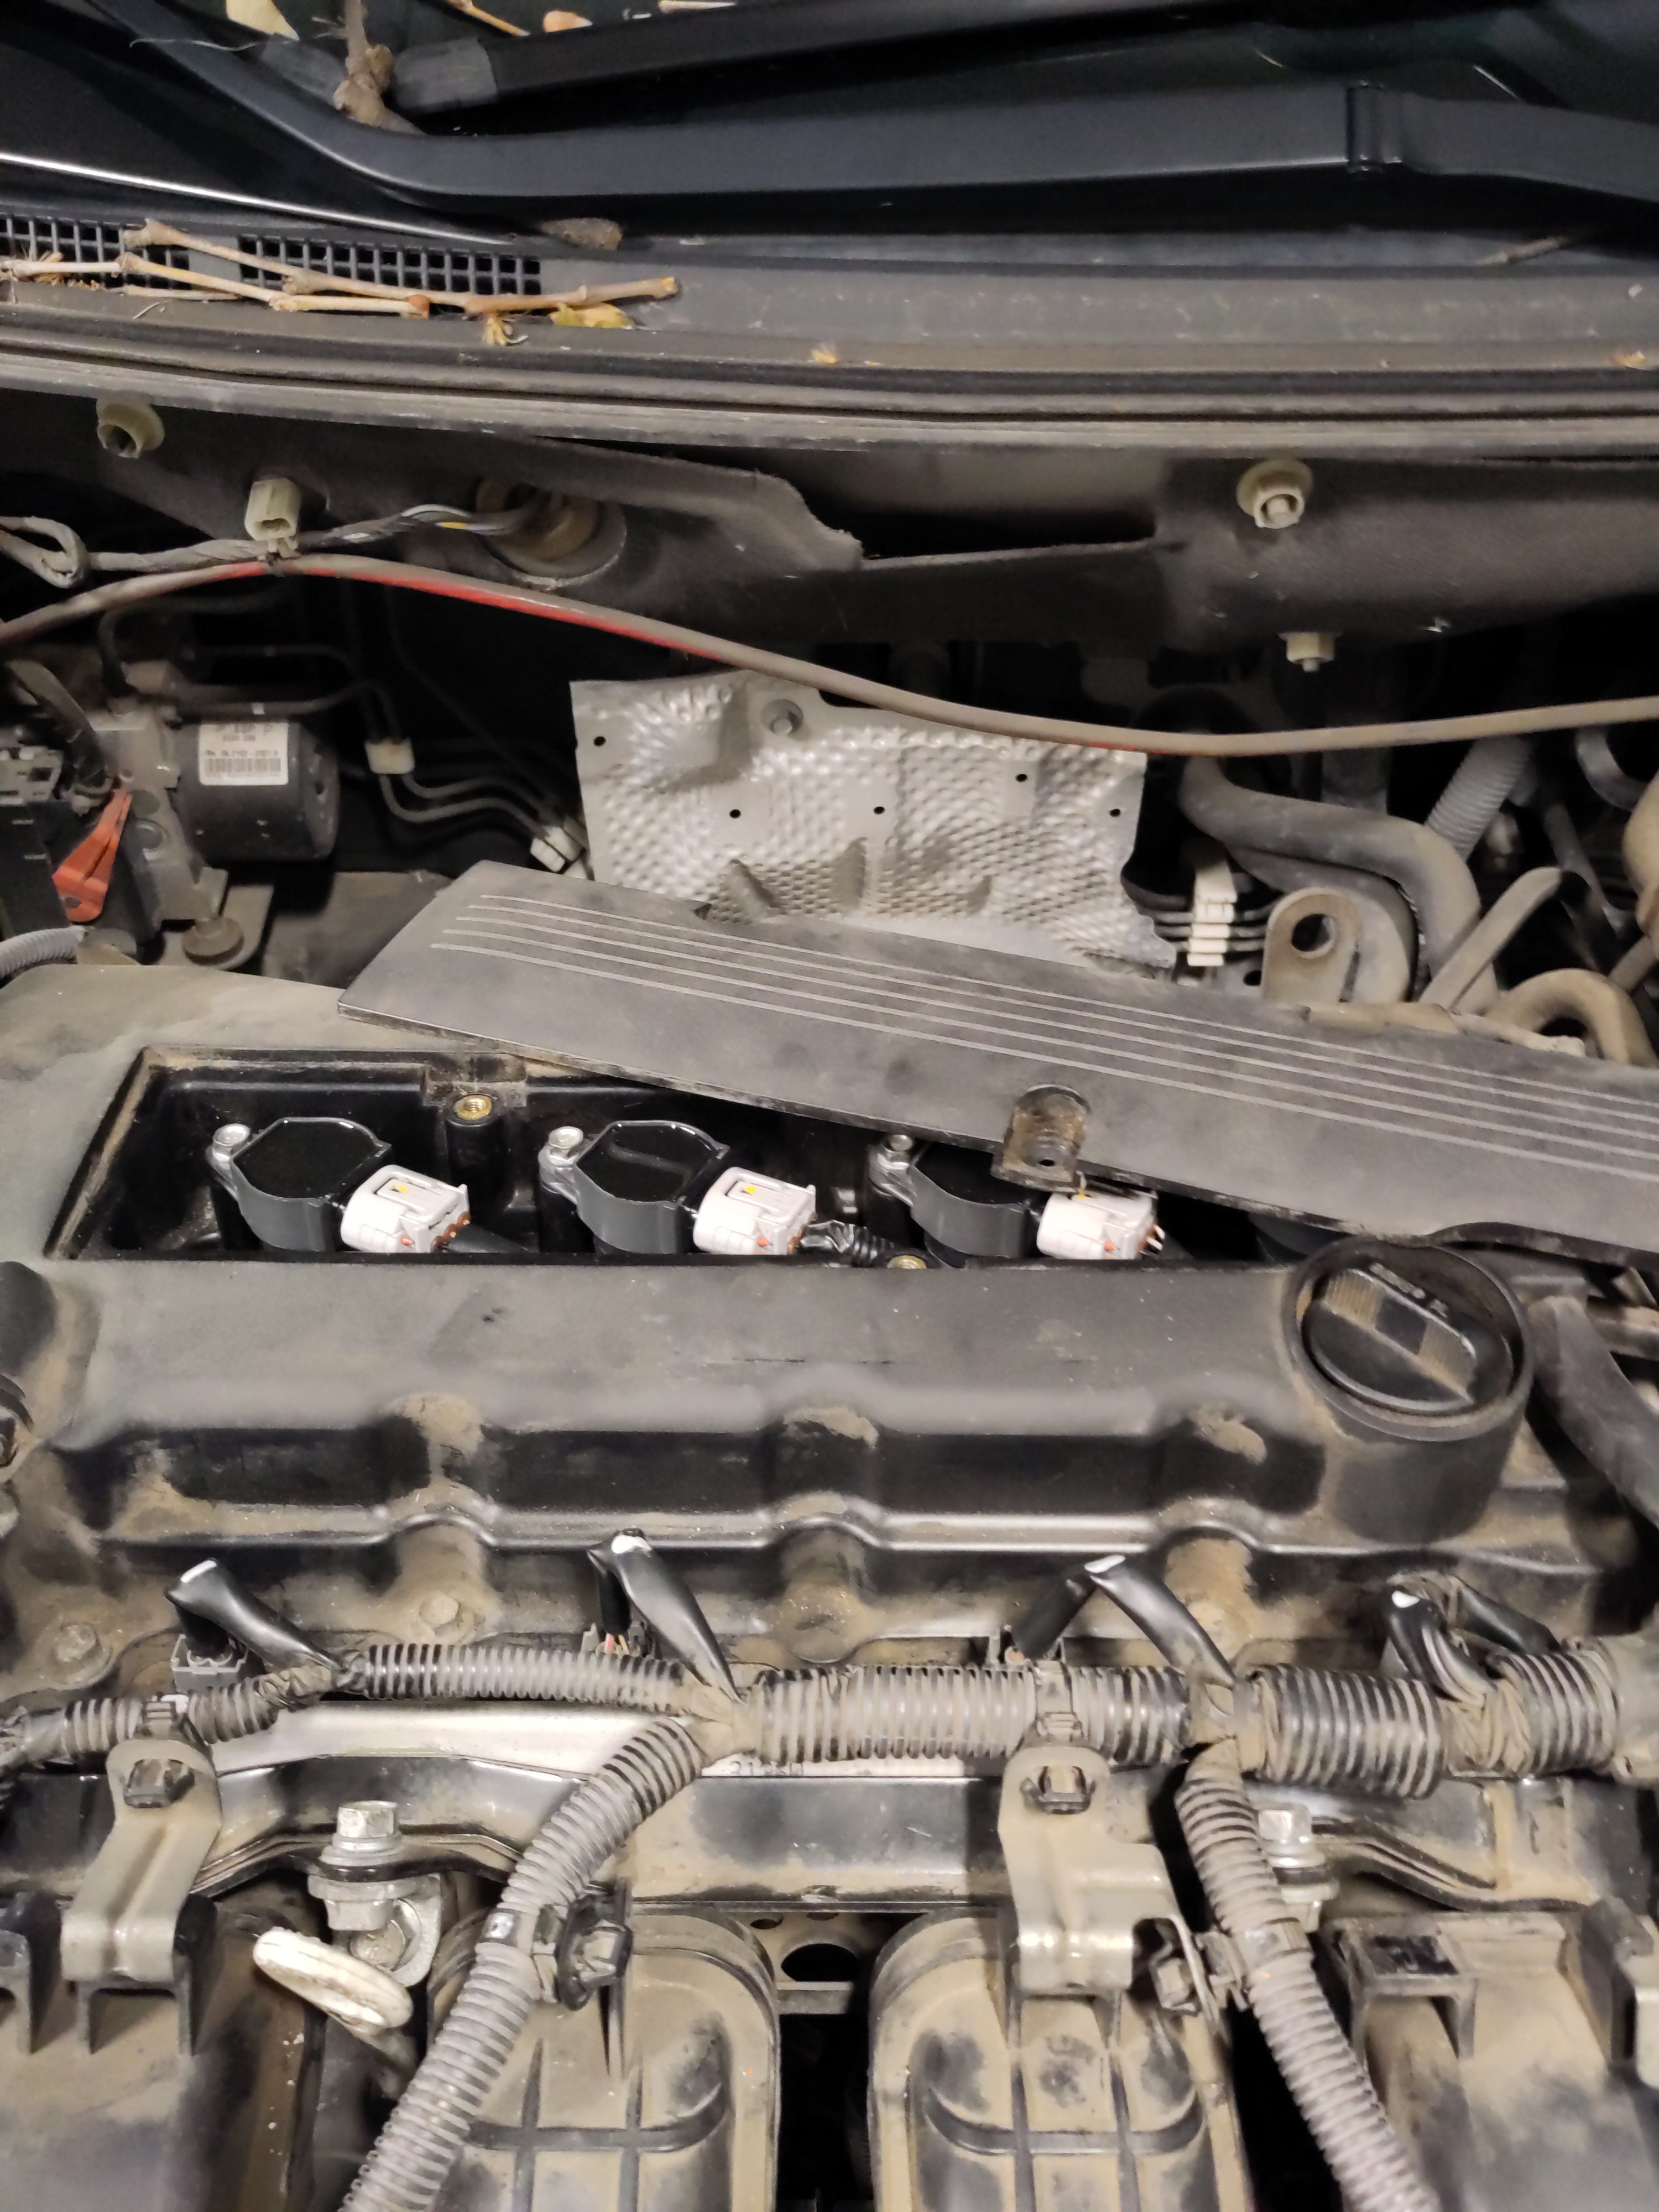
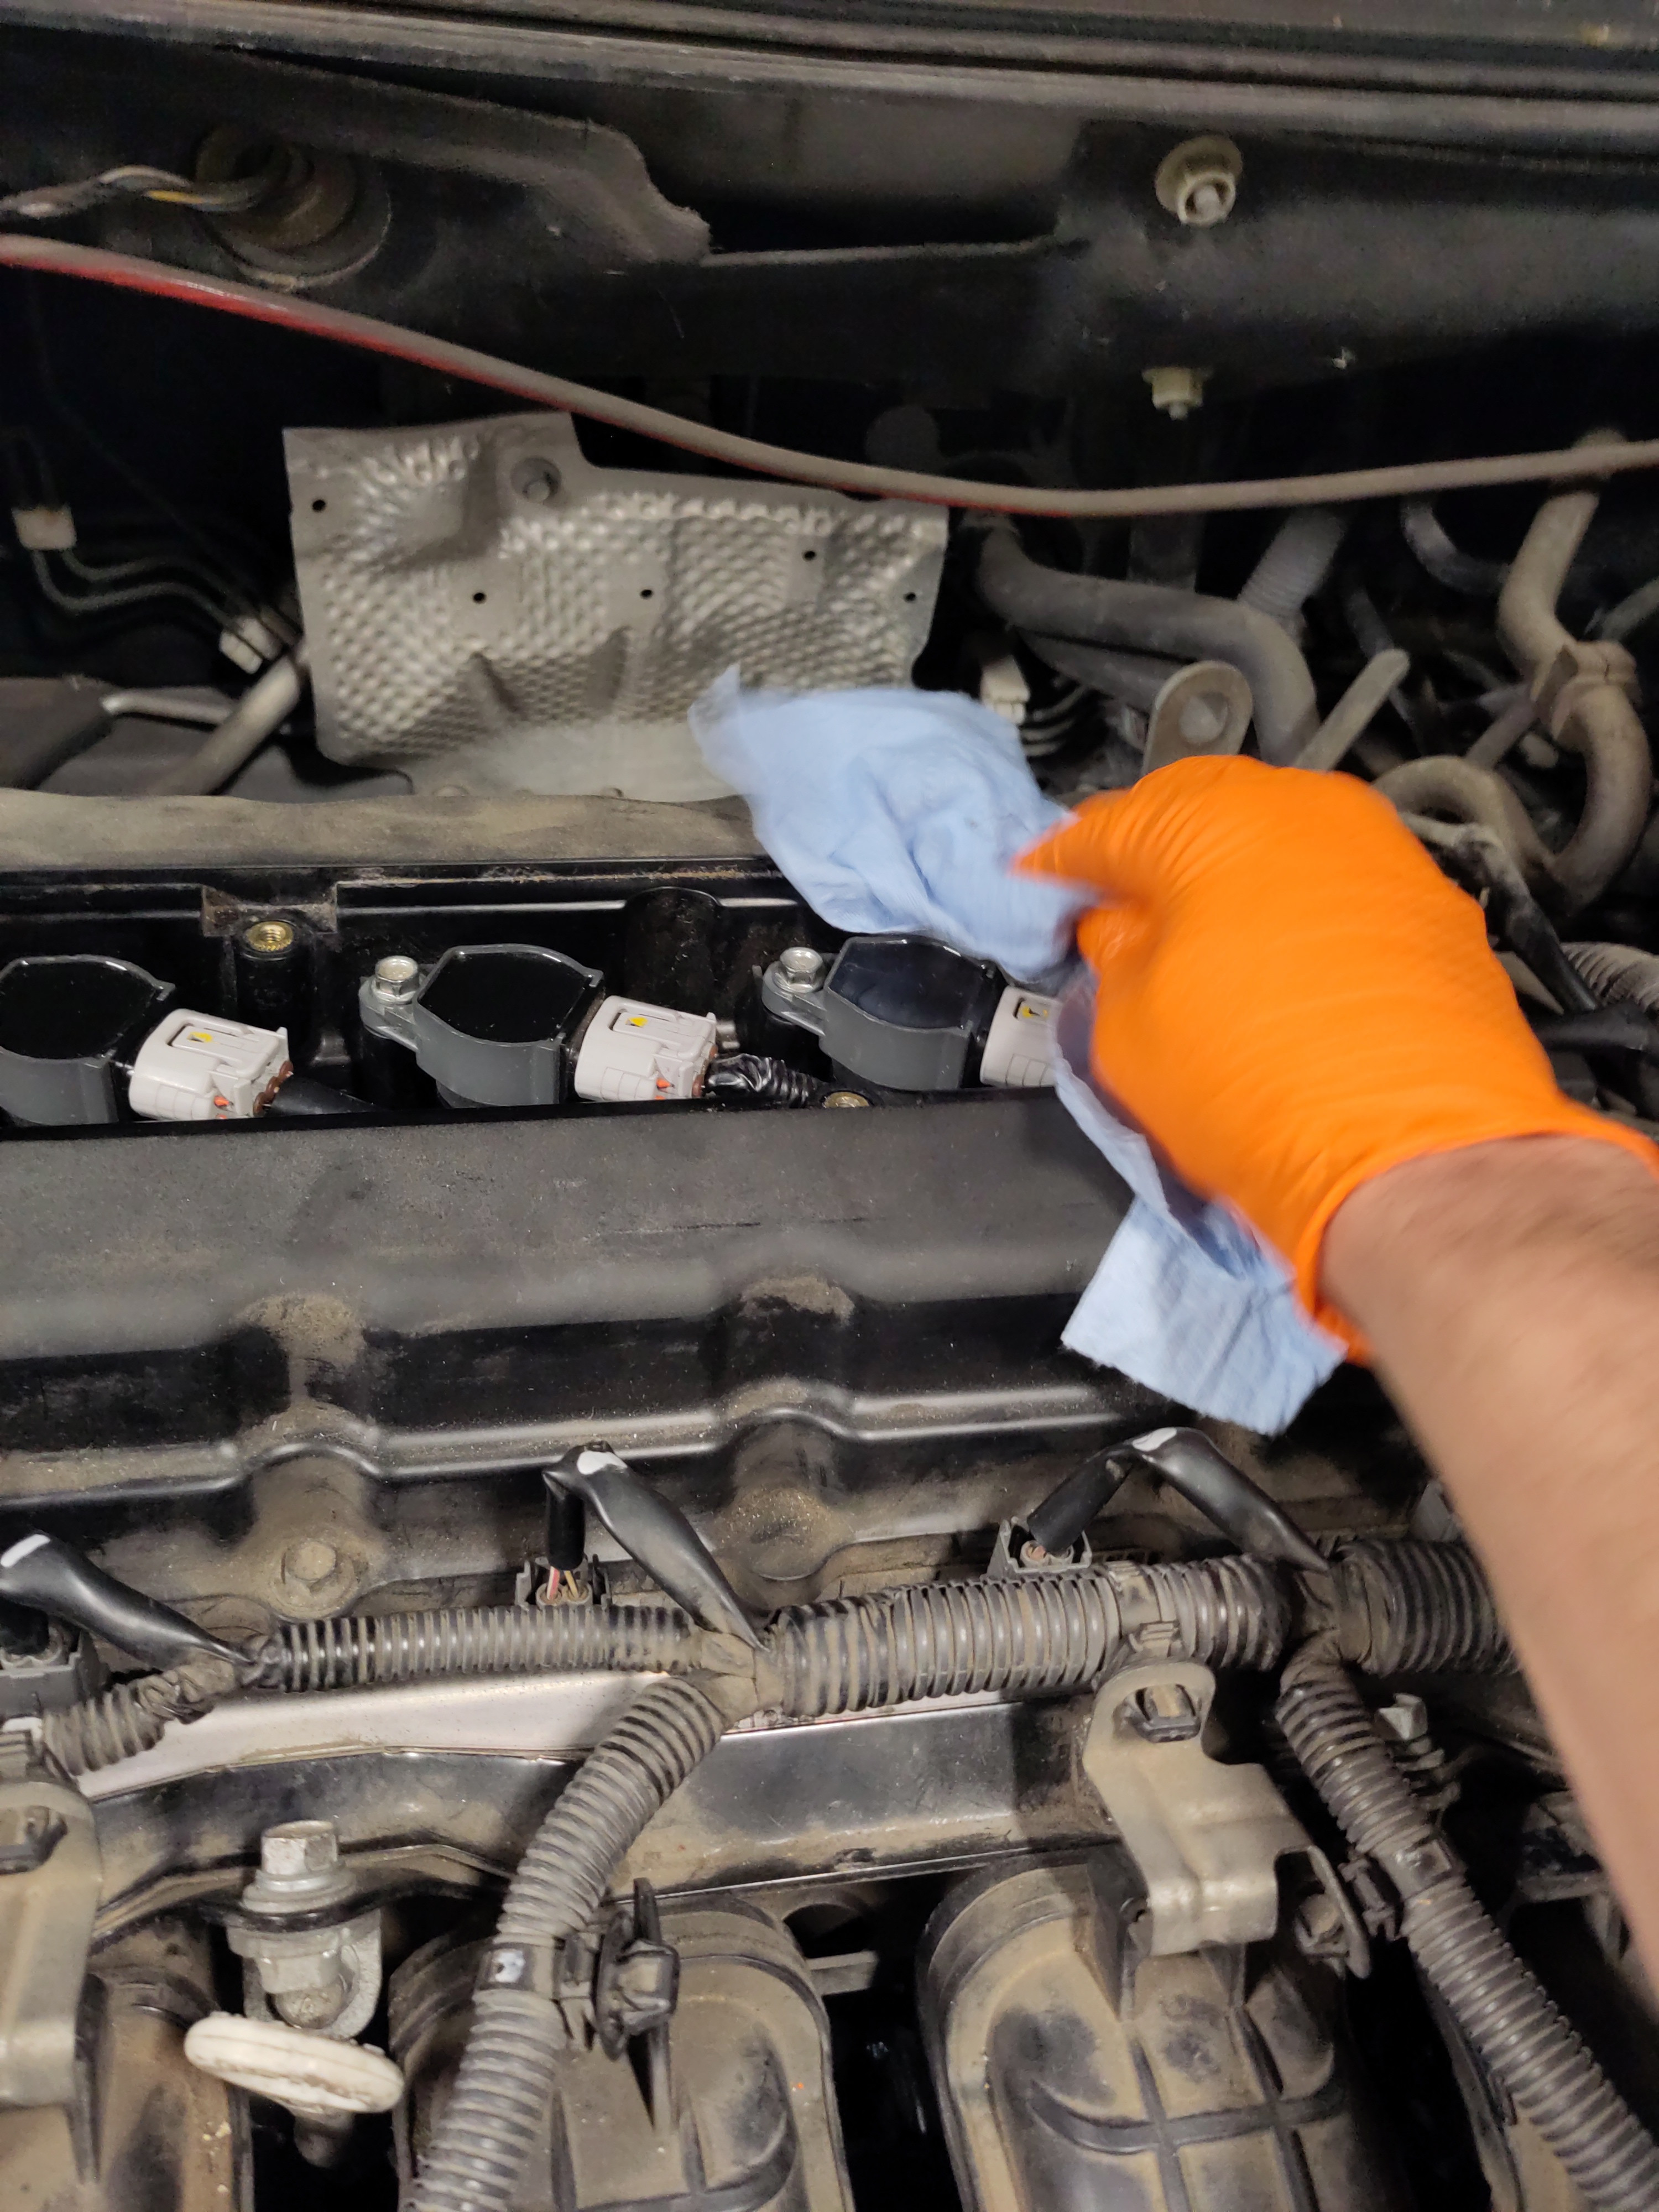
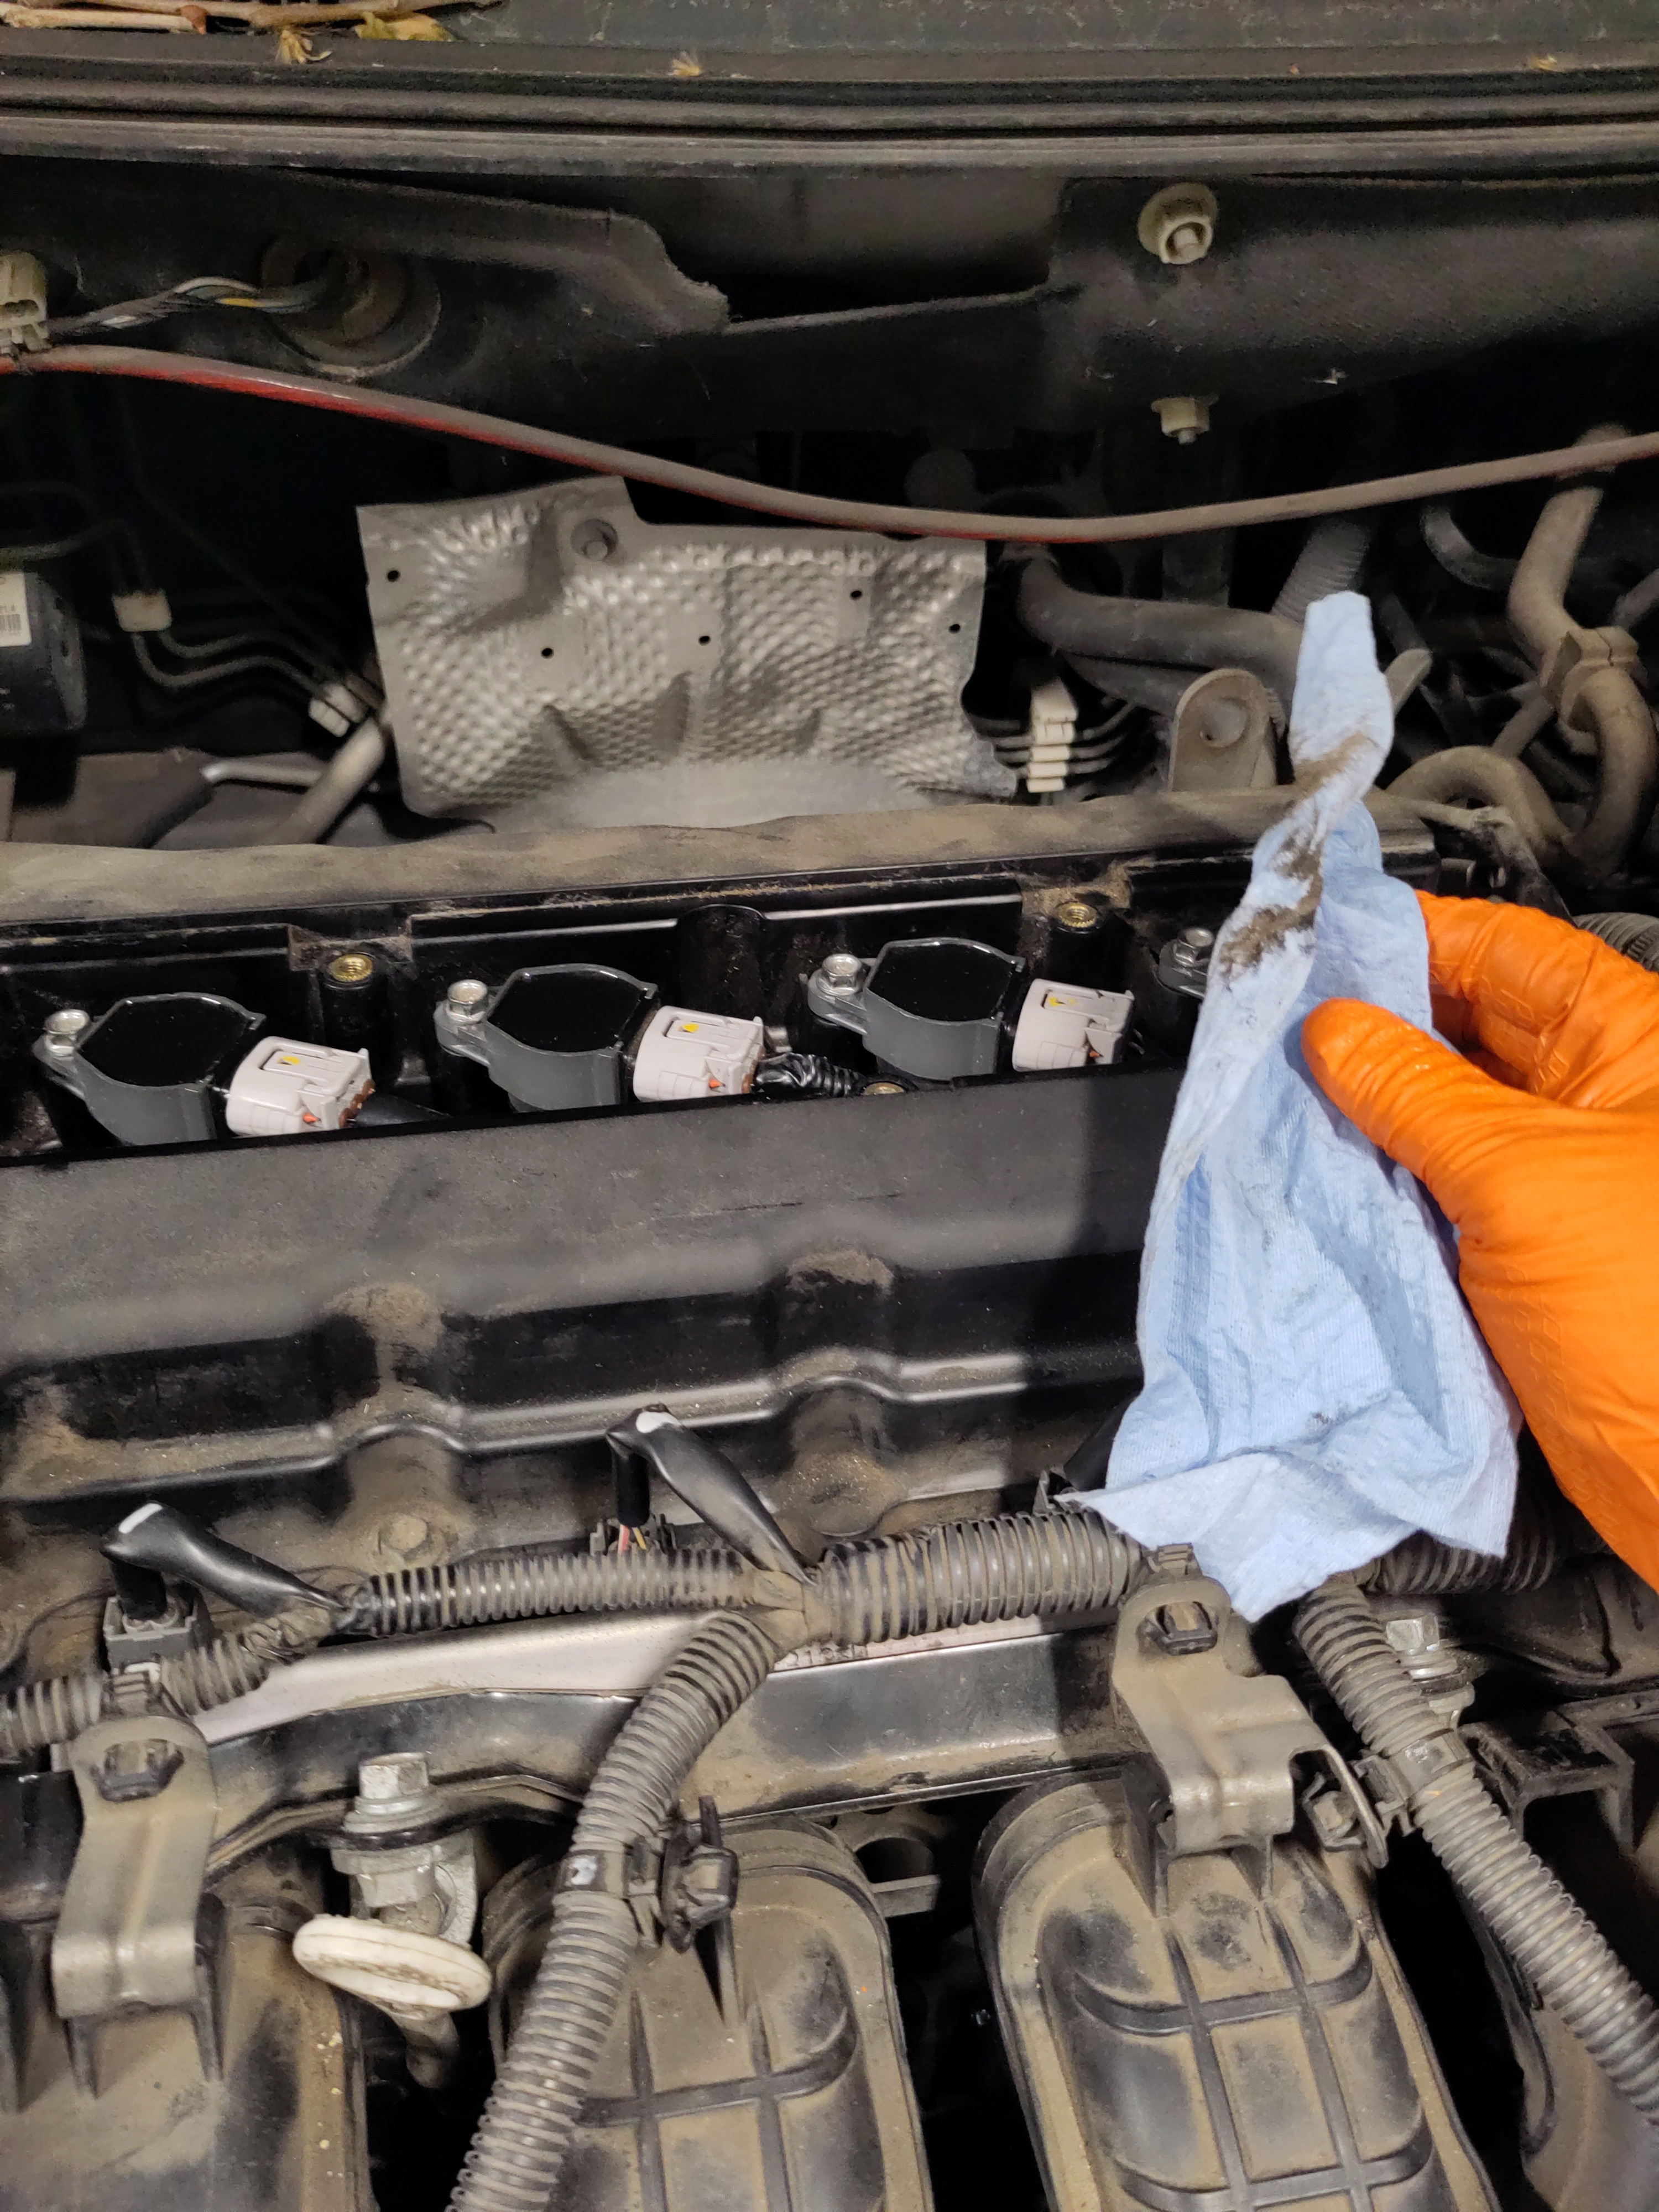
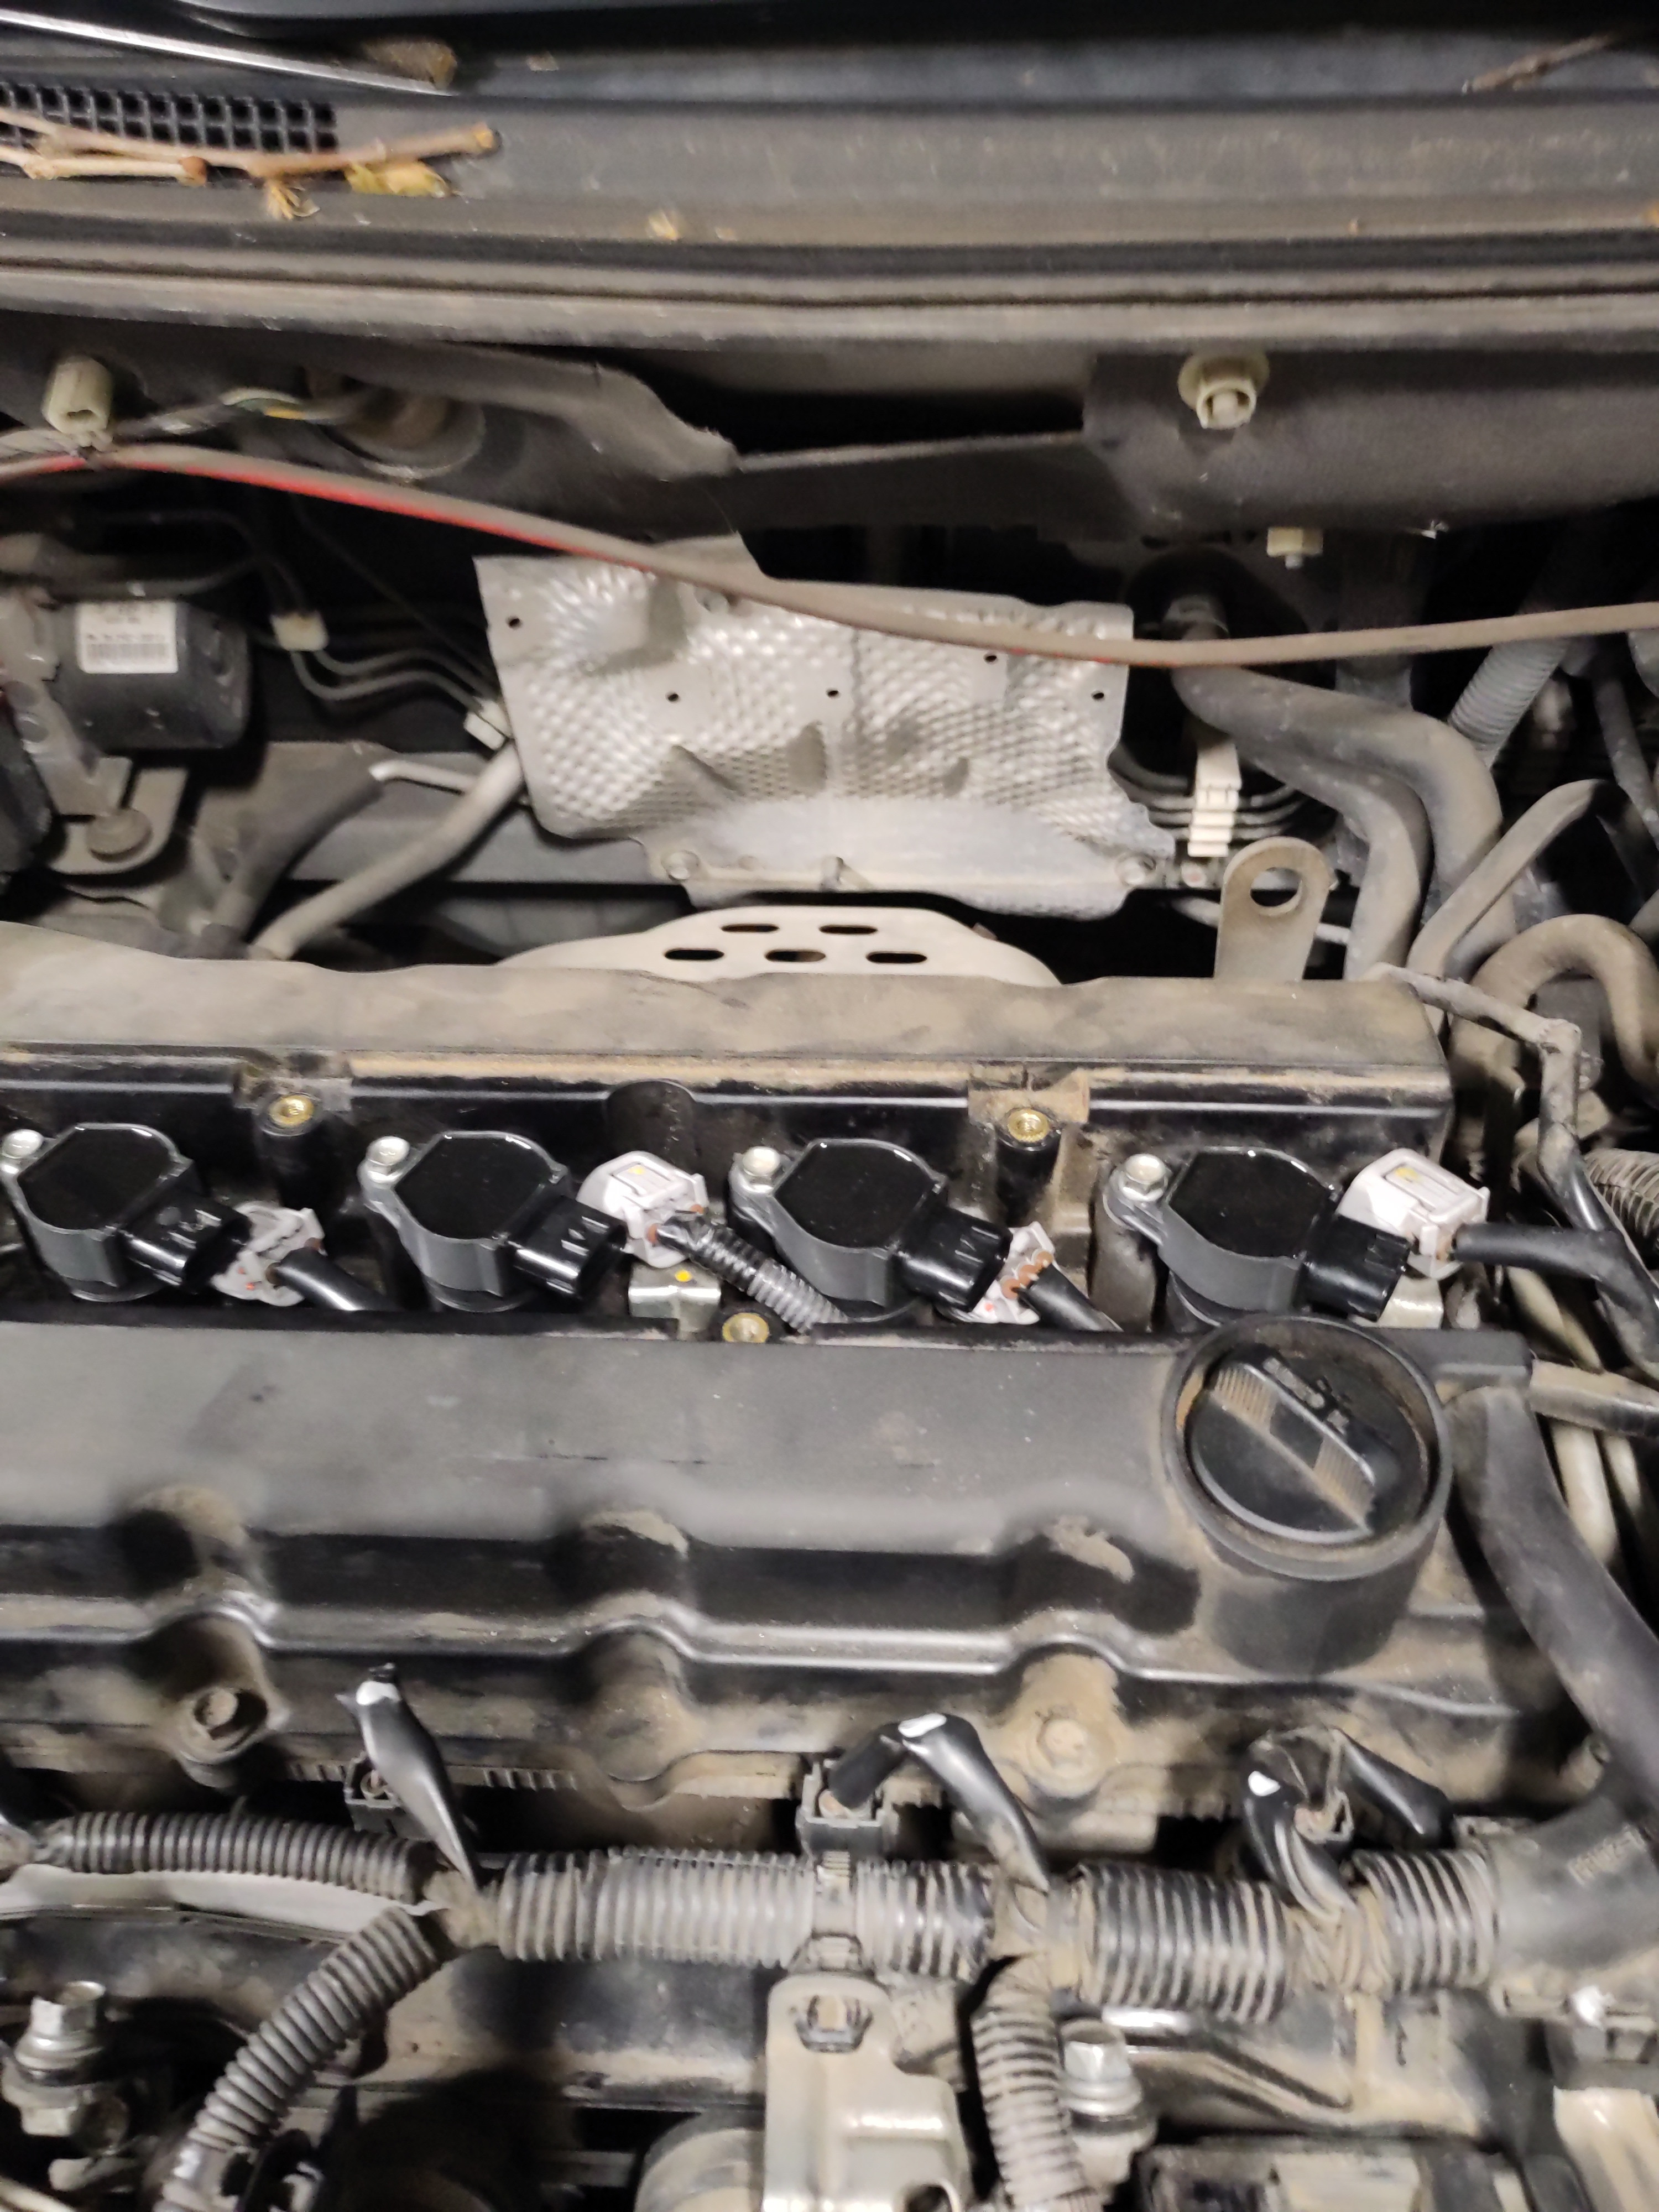
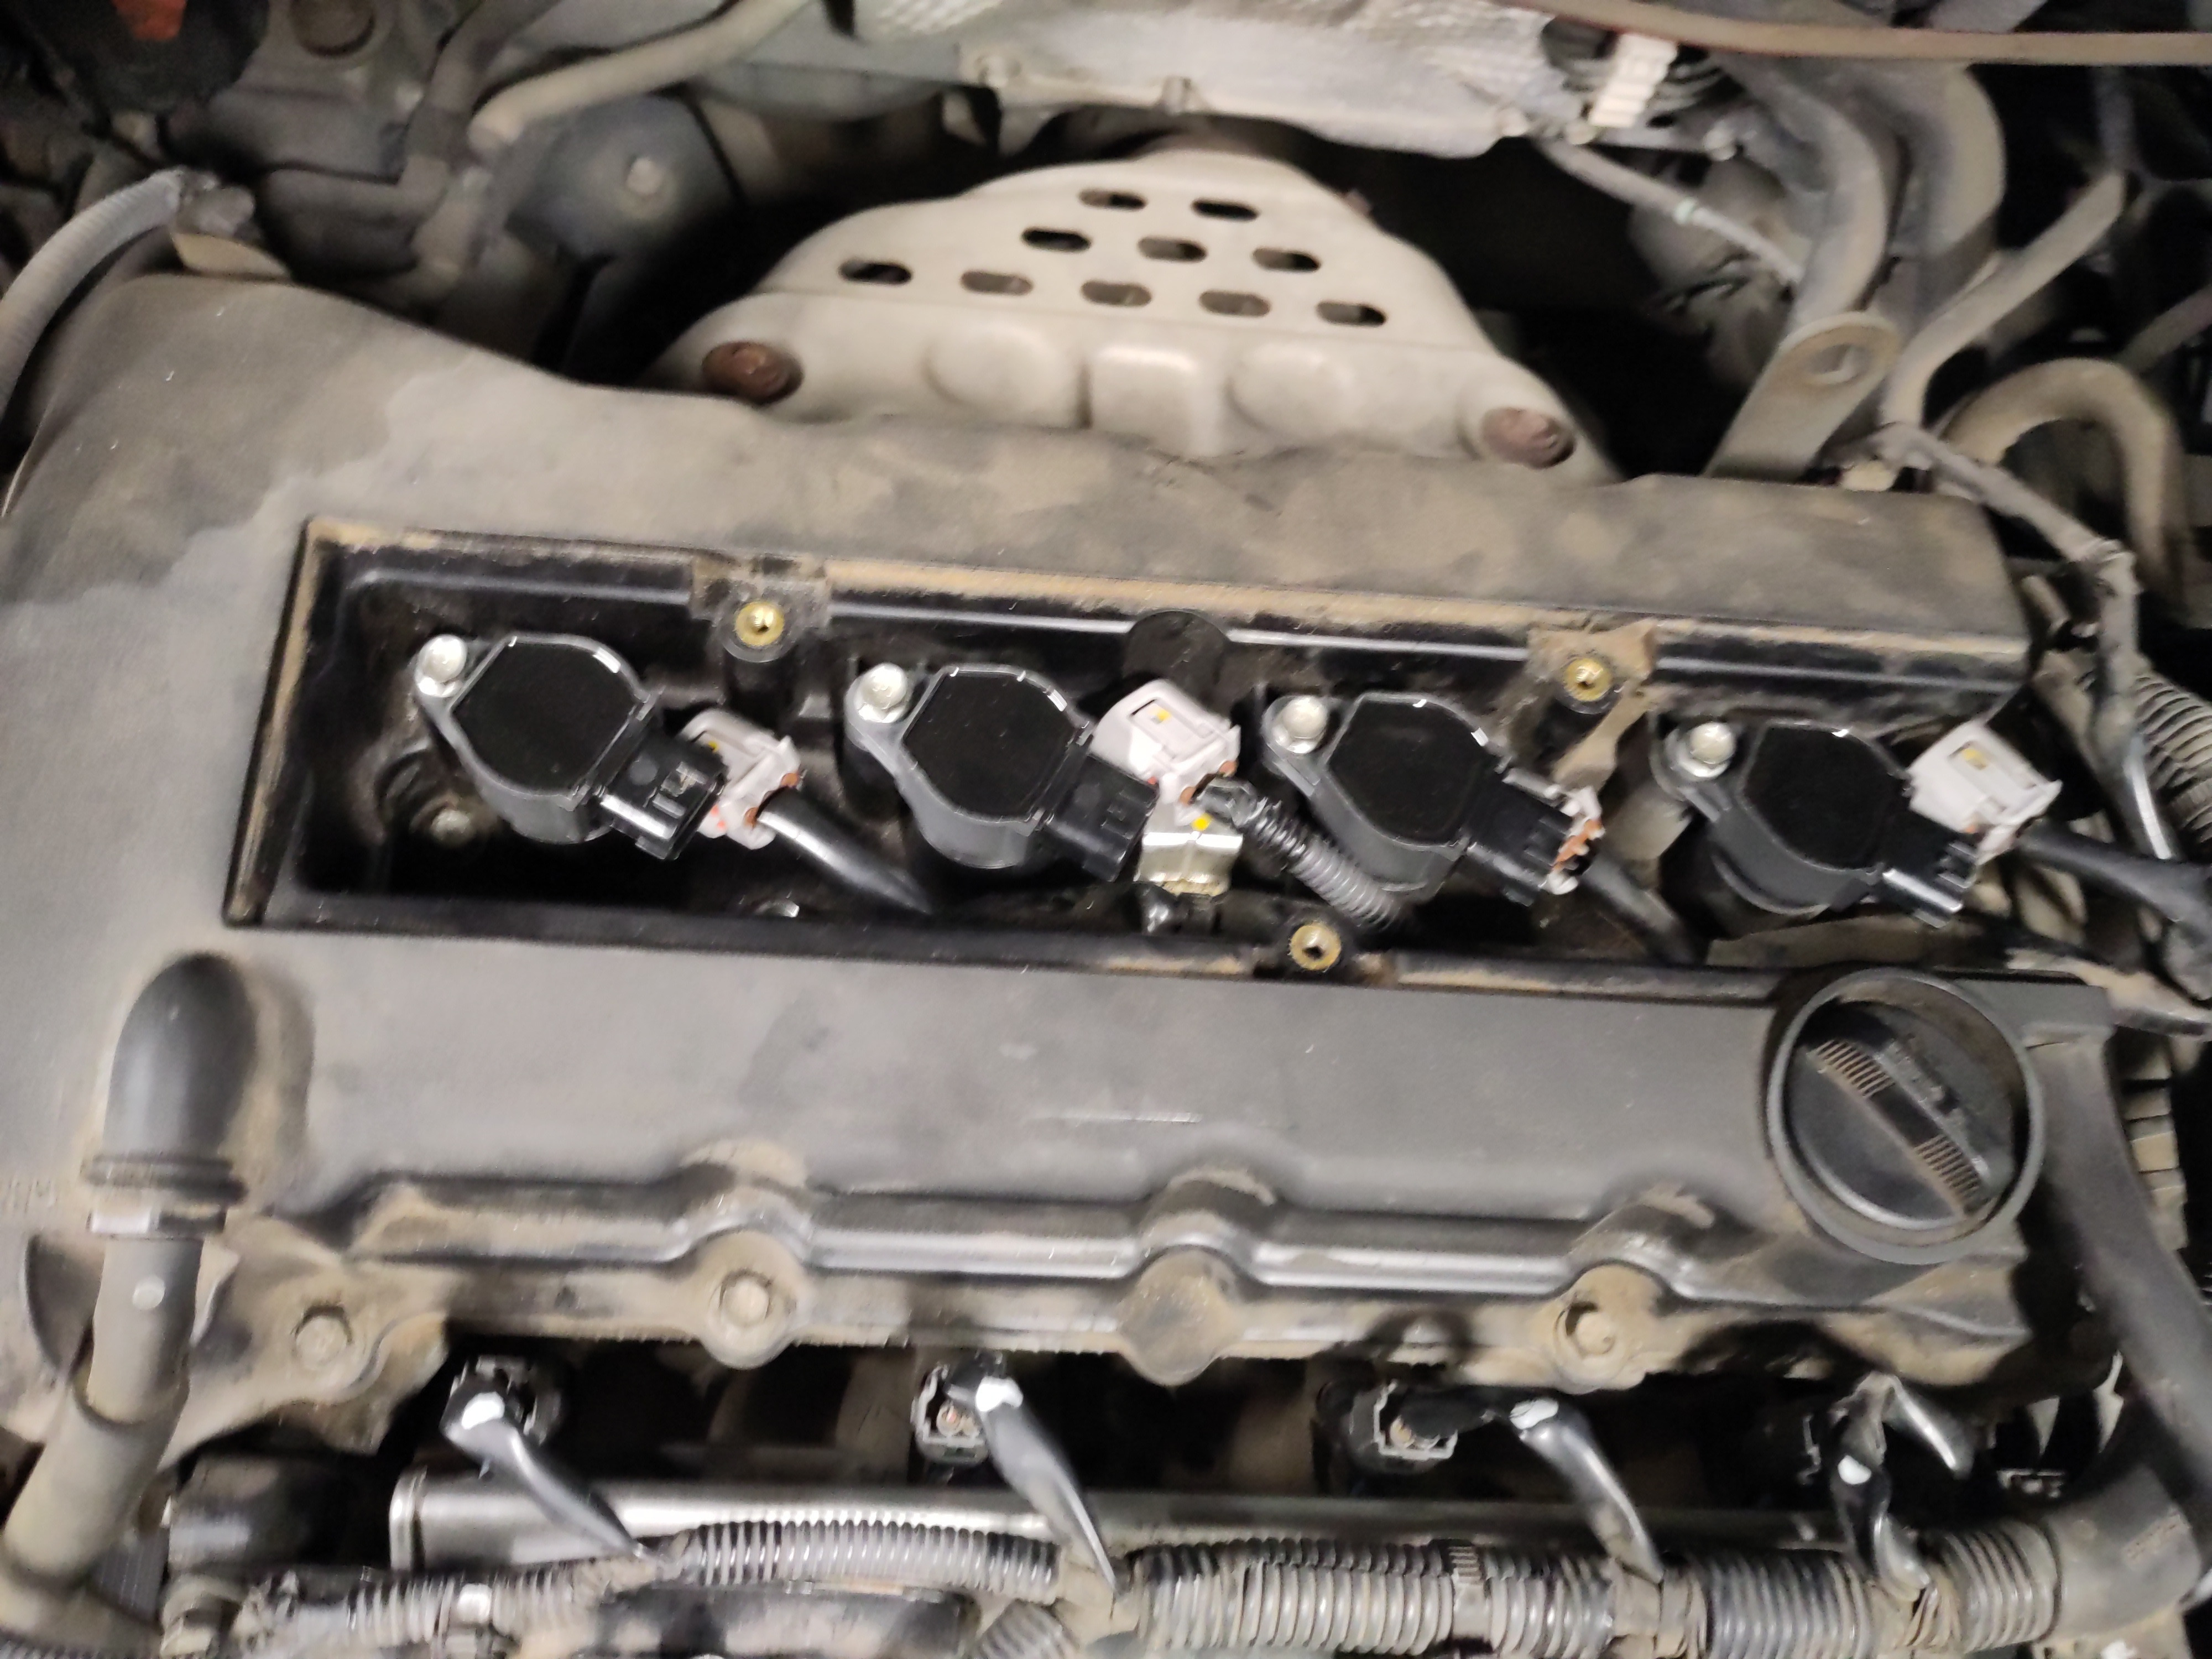
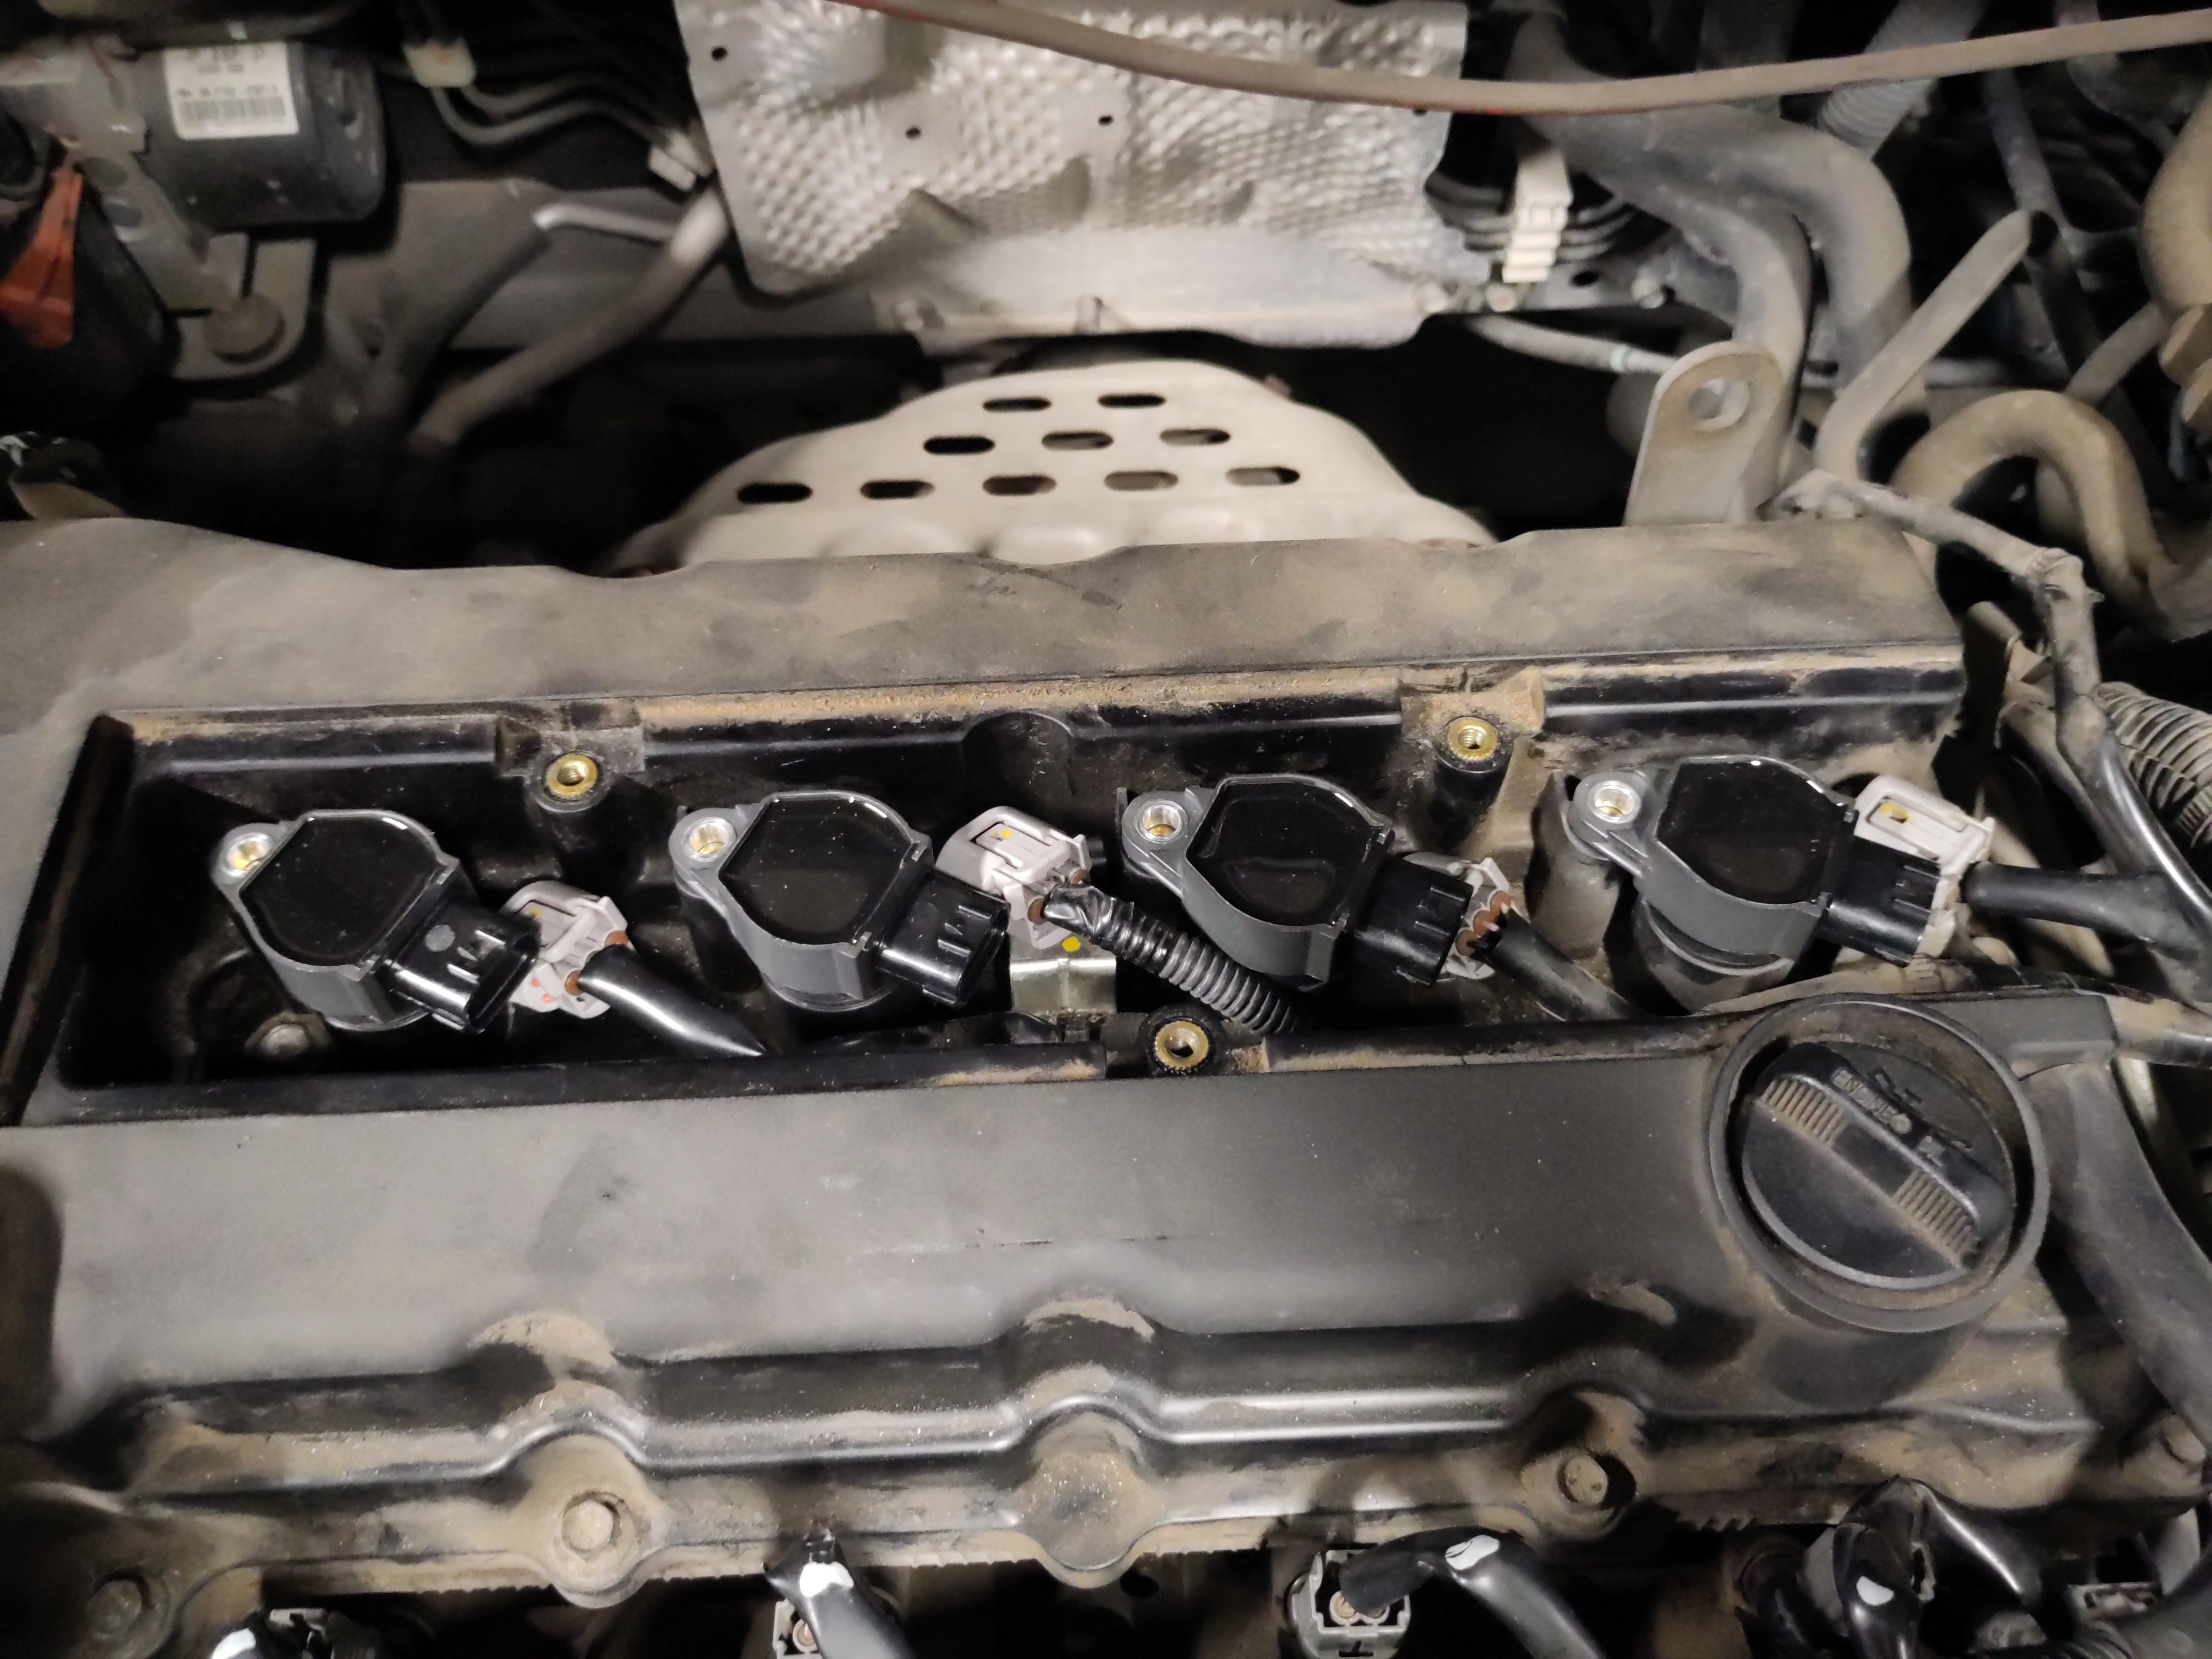
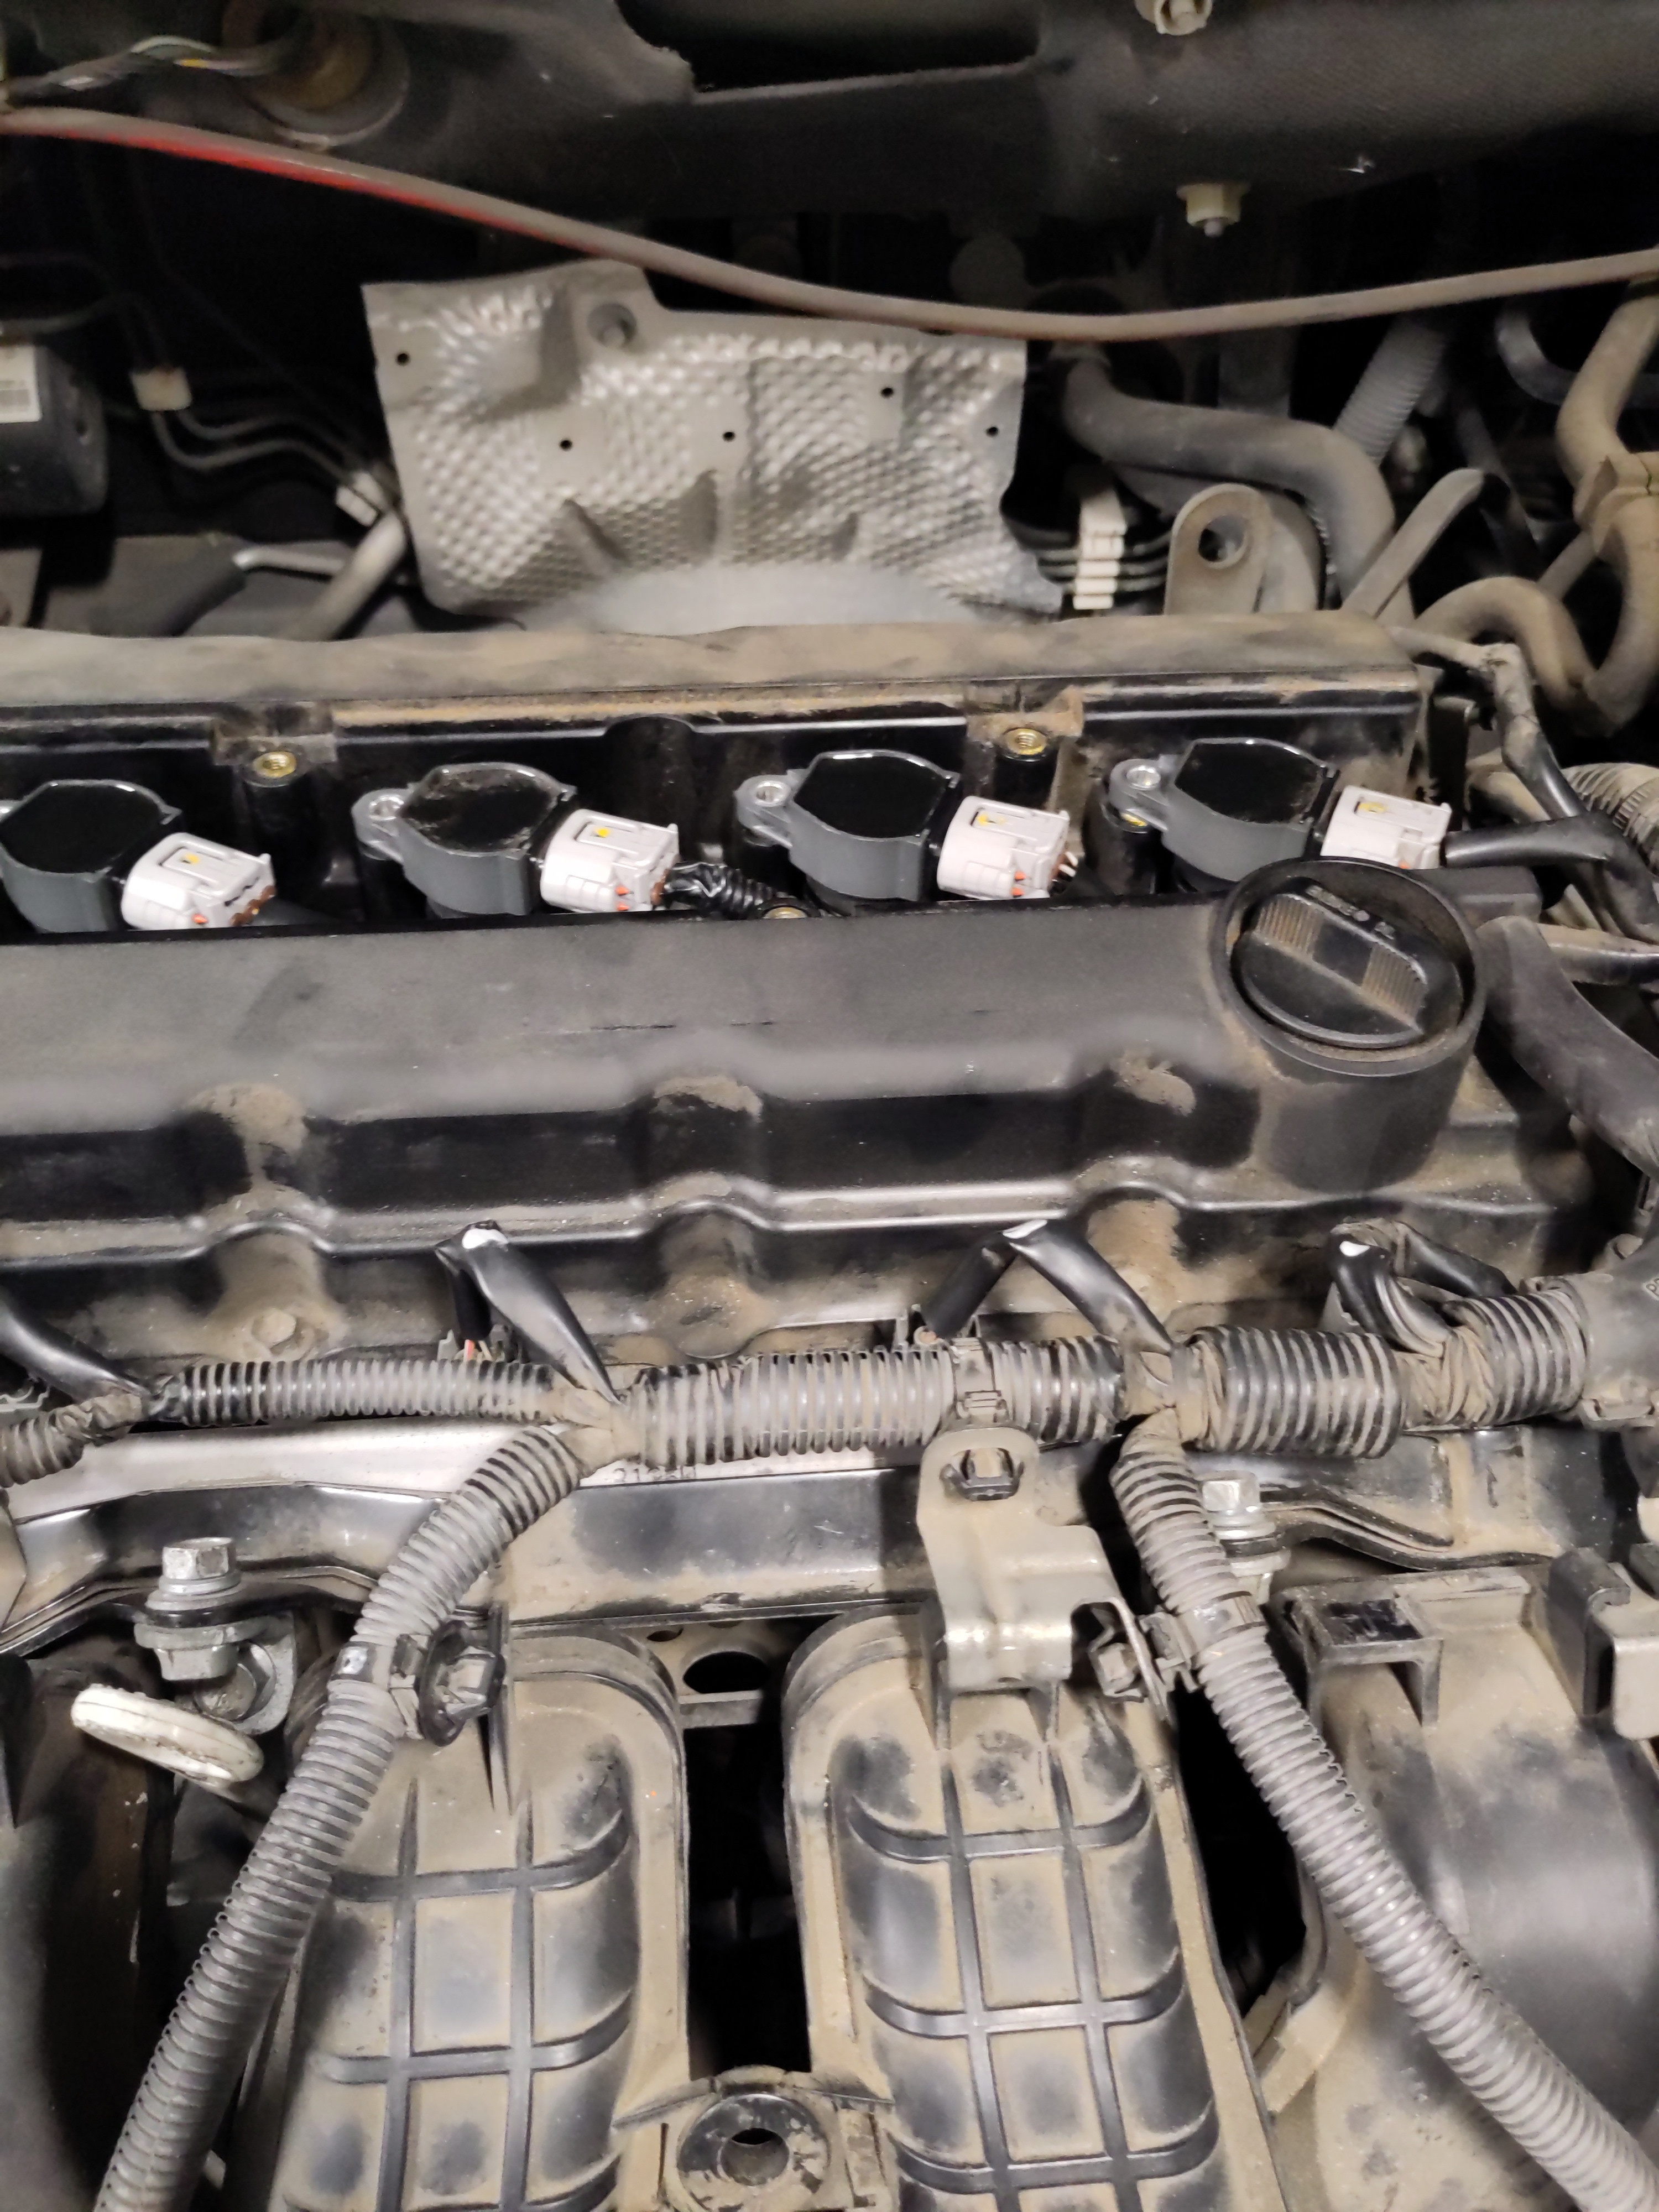
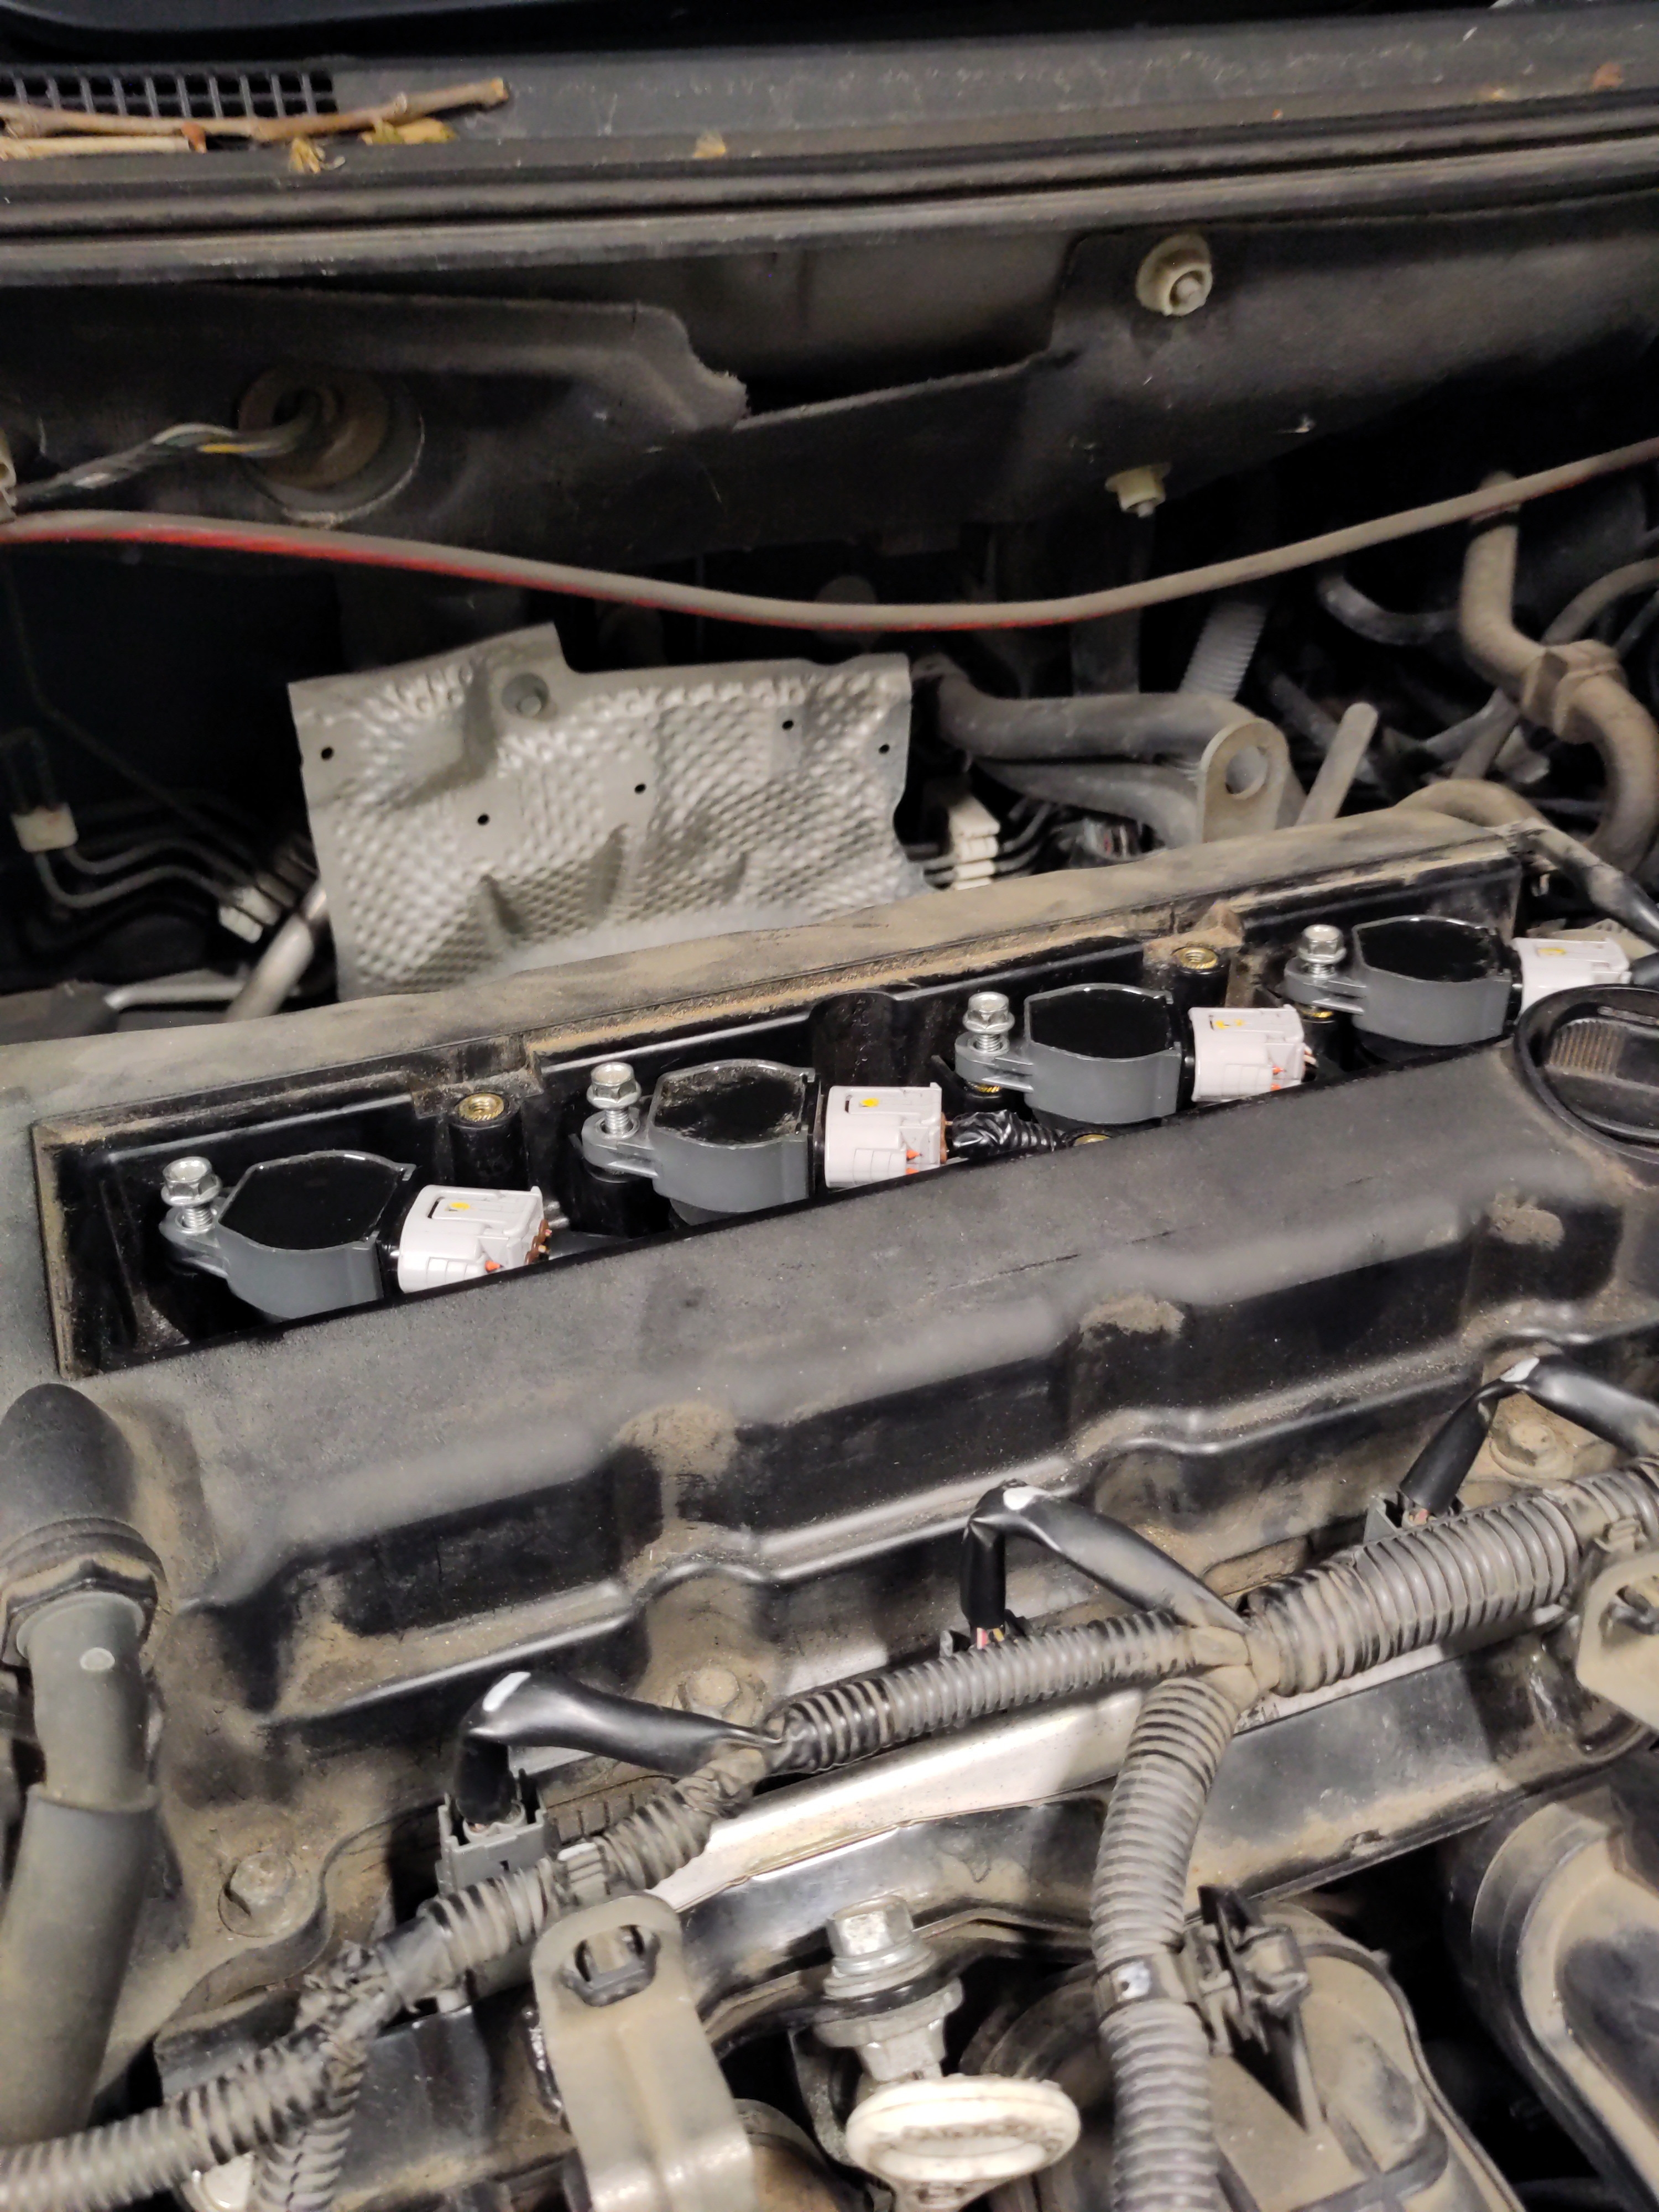
- Remove 3x 10mm bolts from plastic panel cover. Tip: it would be a good idea to wipe all of the debris off of the ignition coils and surrounding areas. Do this to mitigate debris from falling the chamber and potentially causing harm.
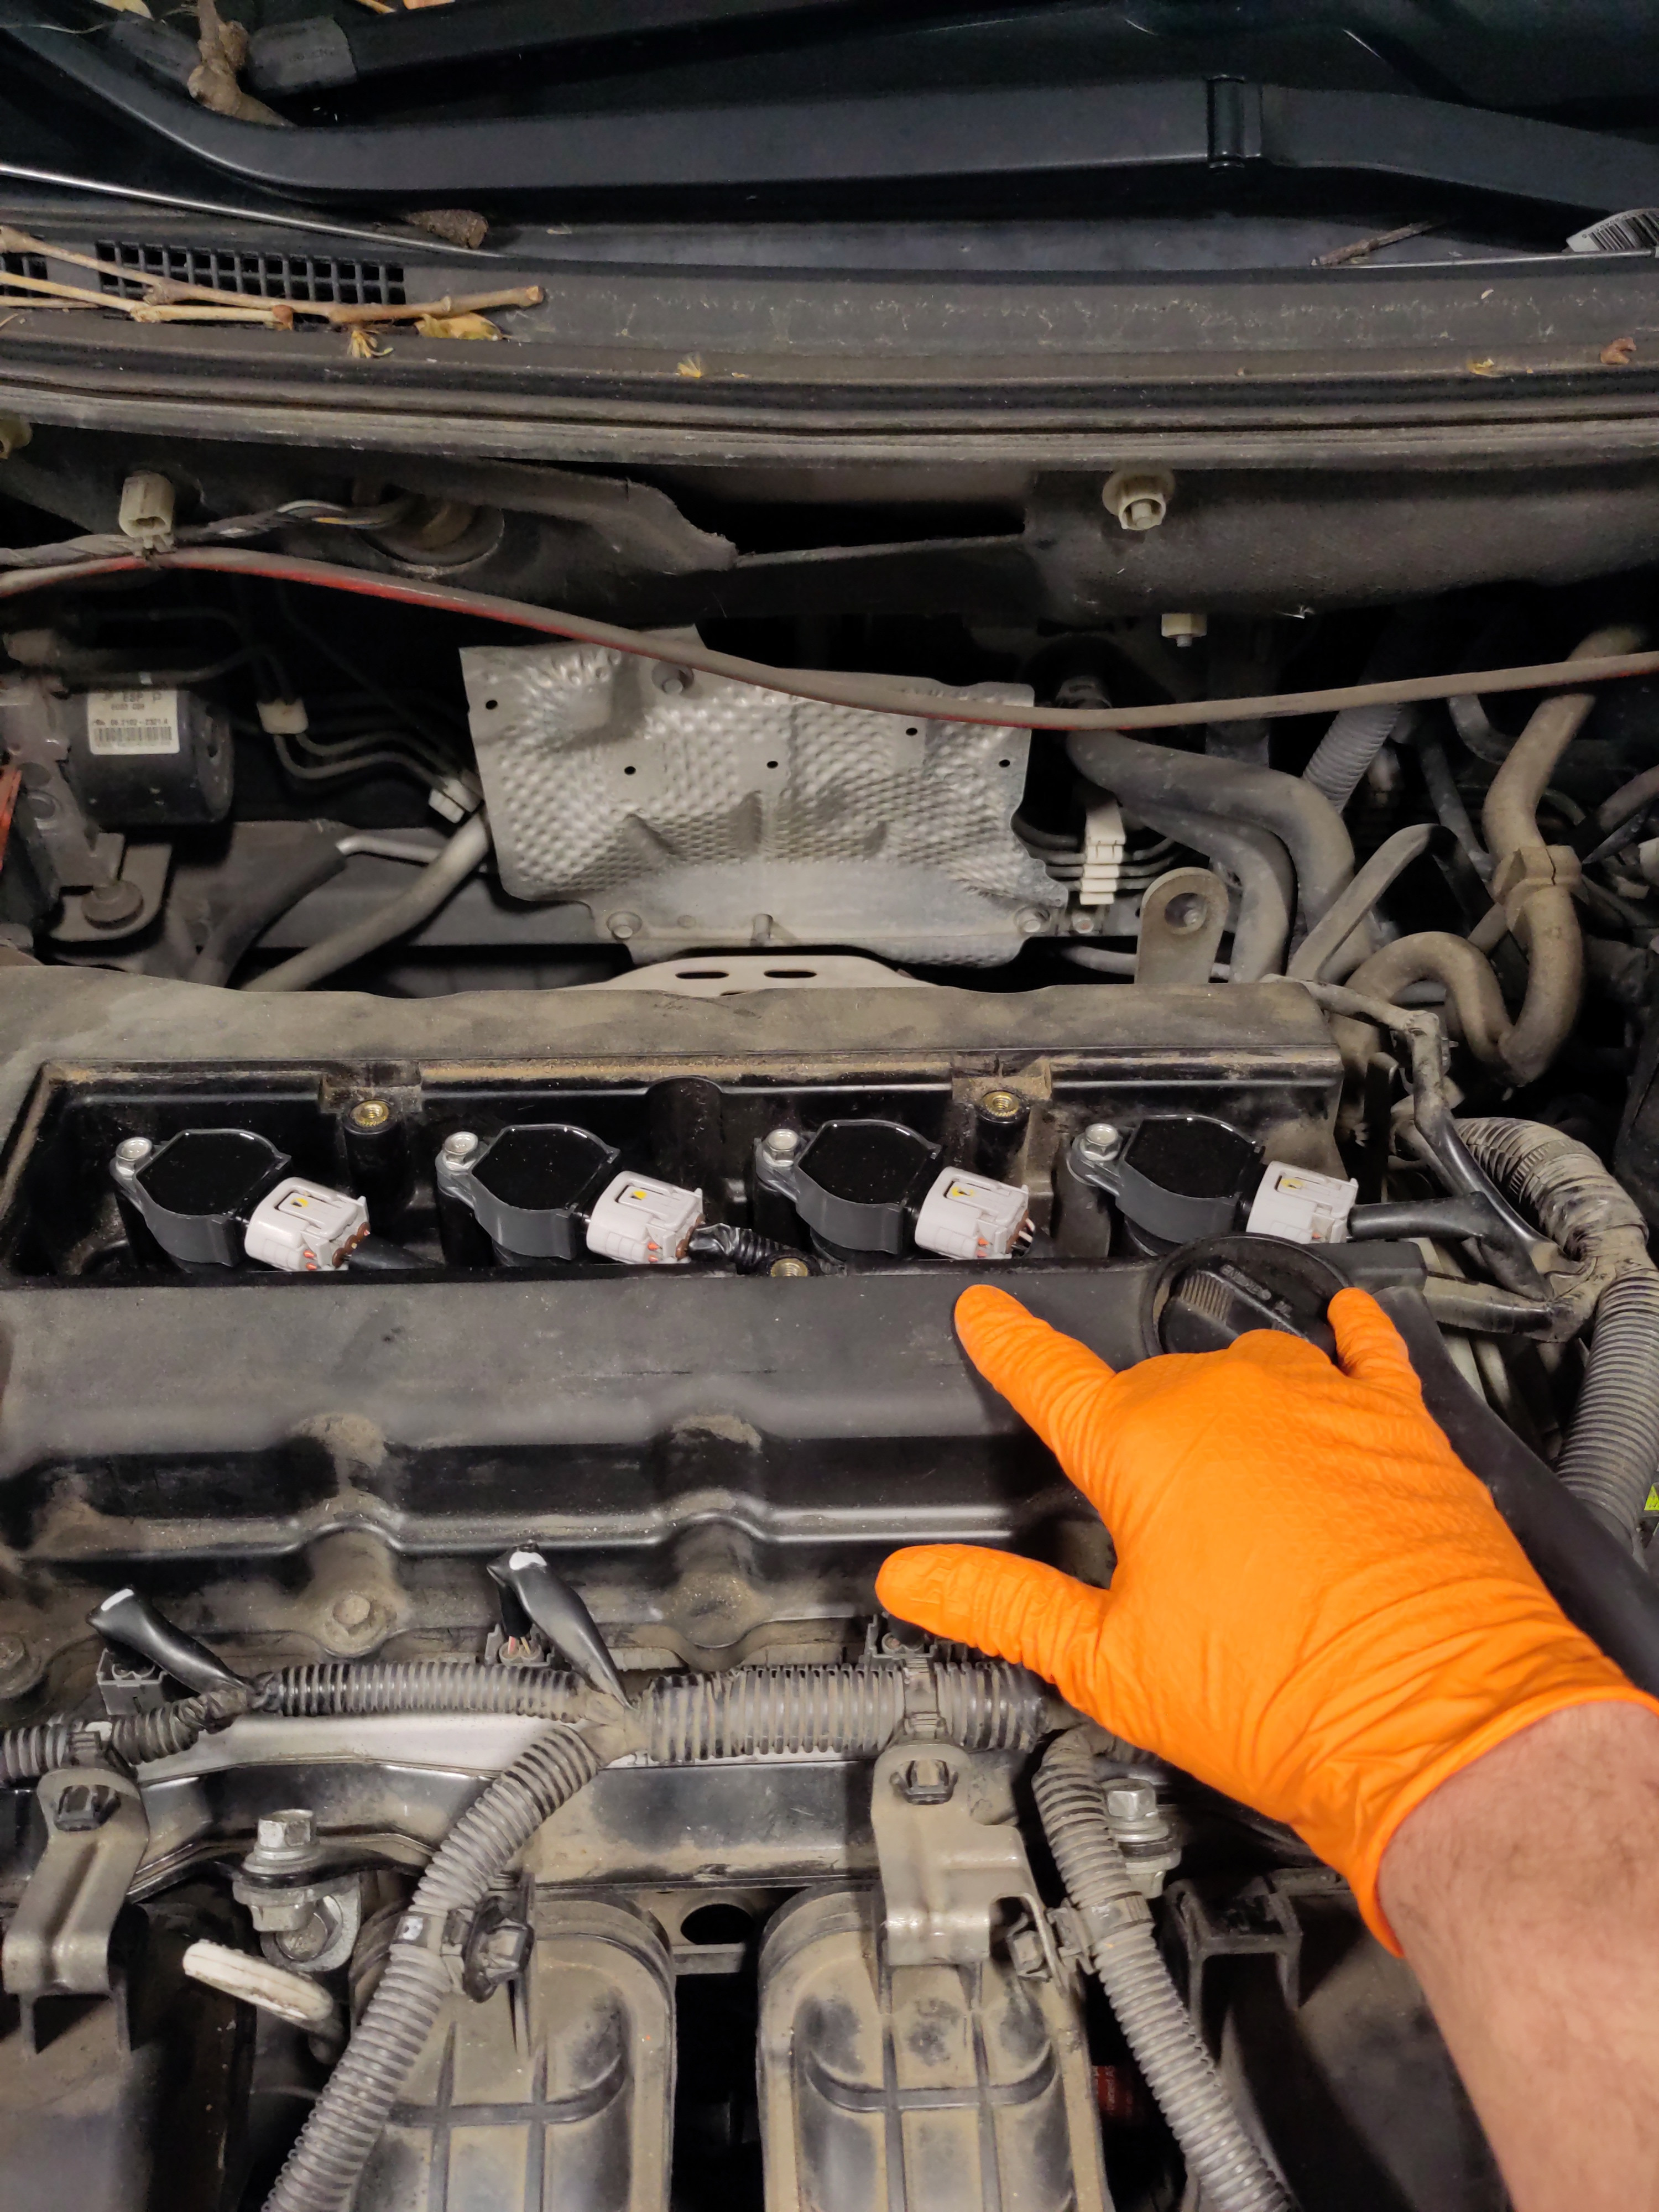
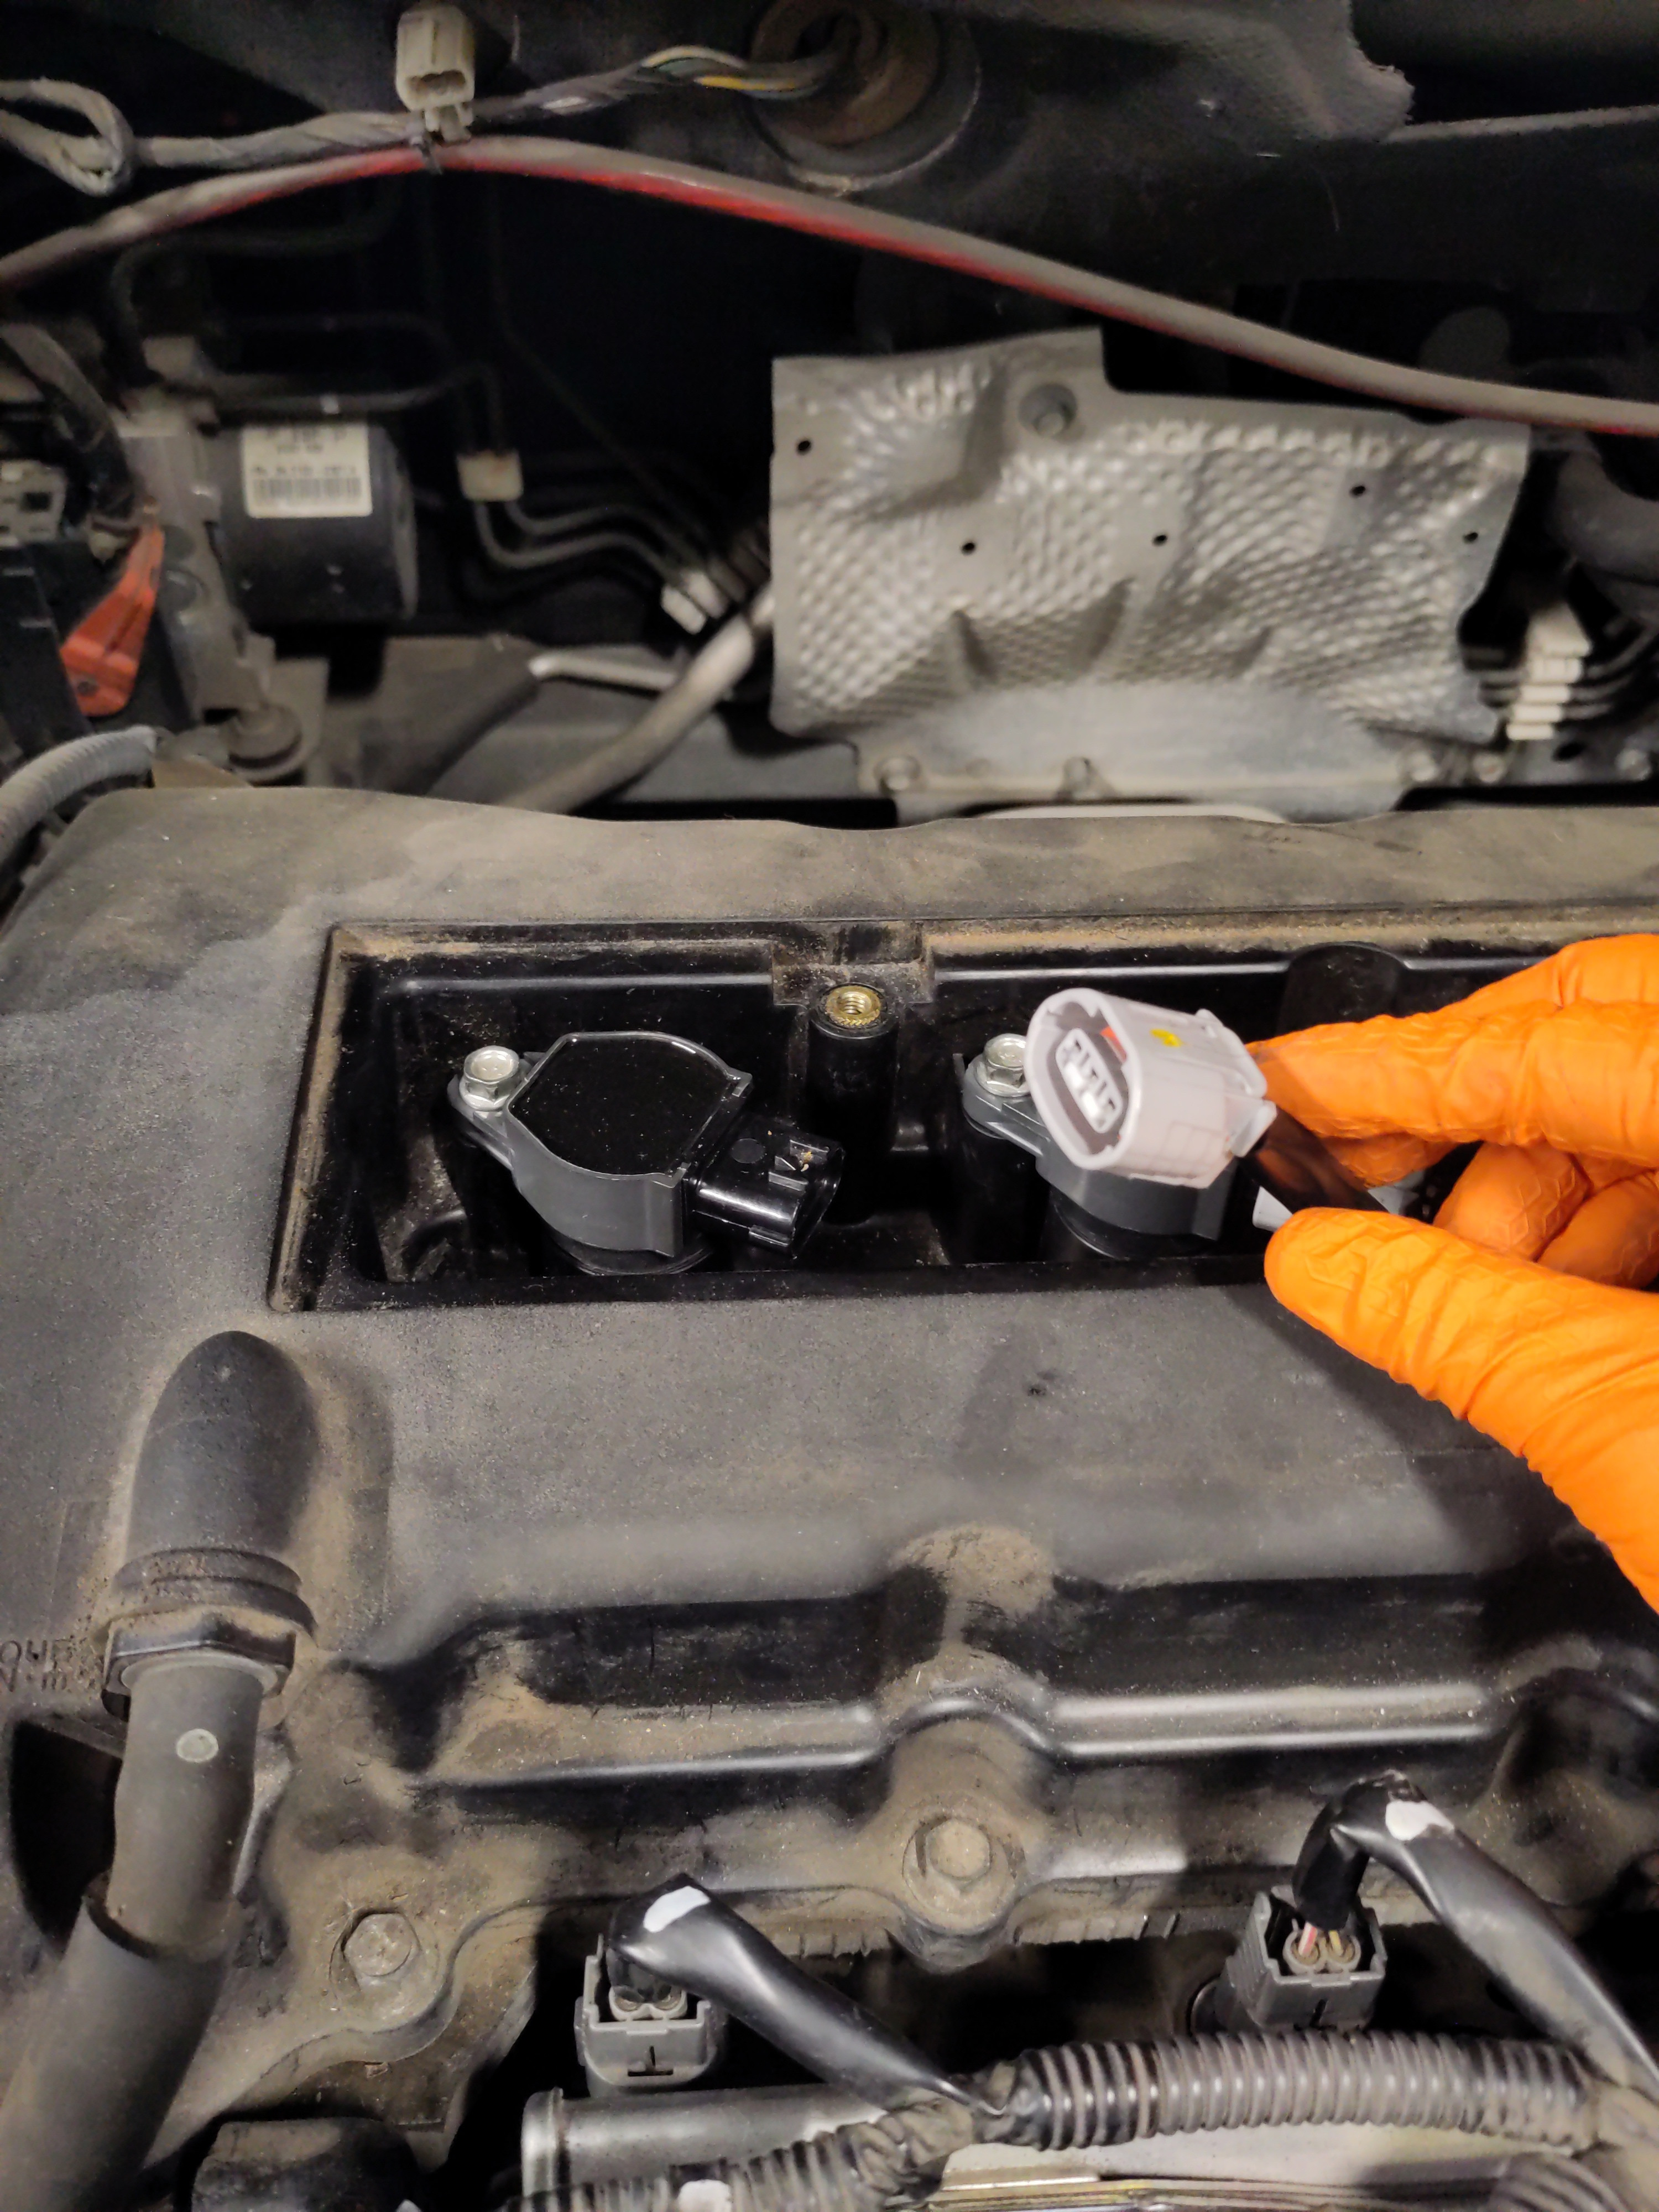
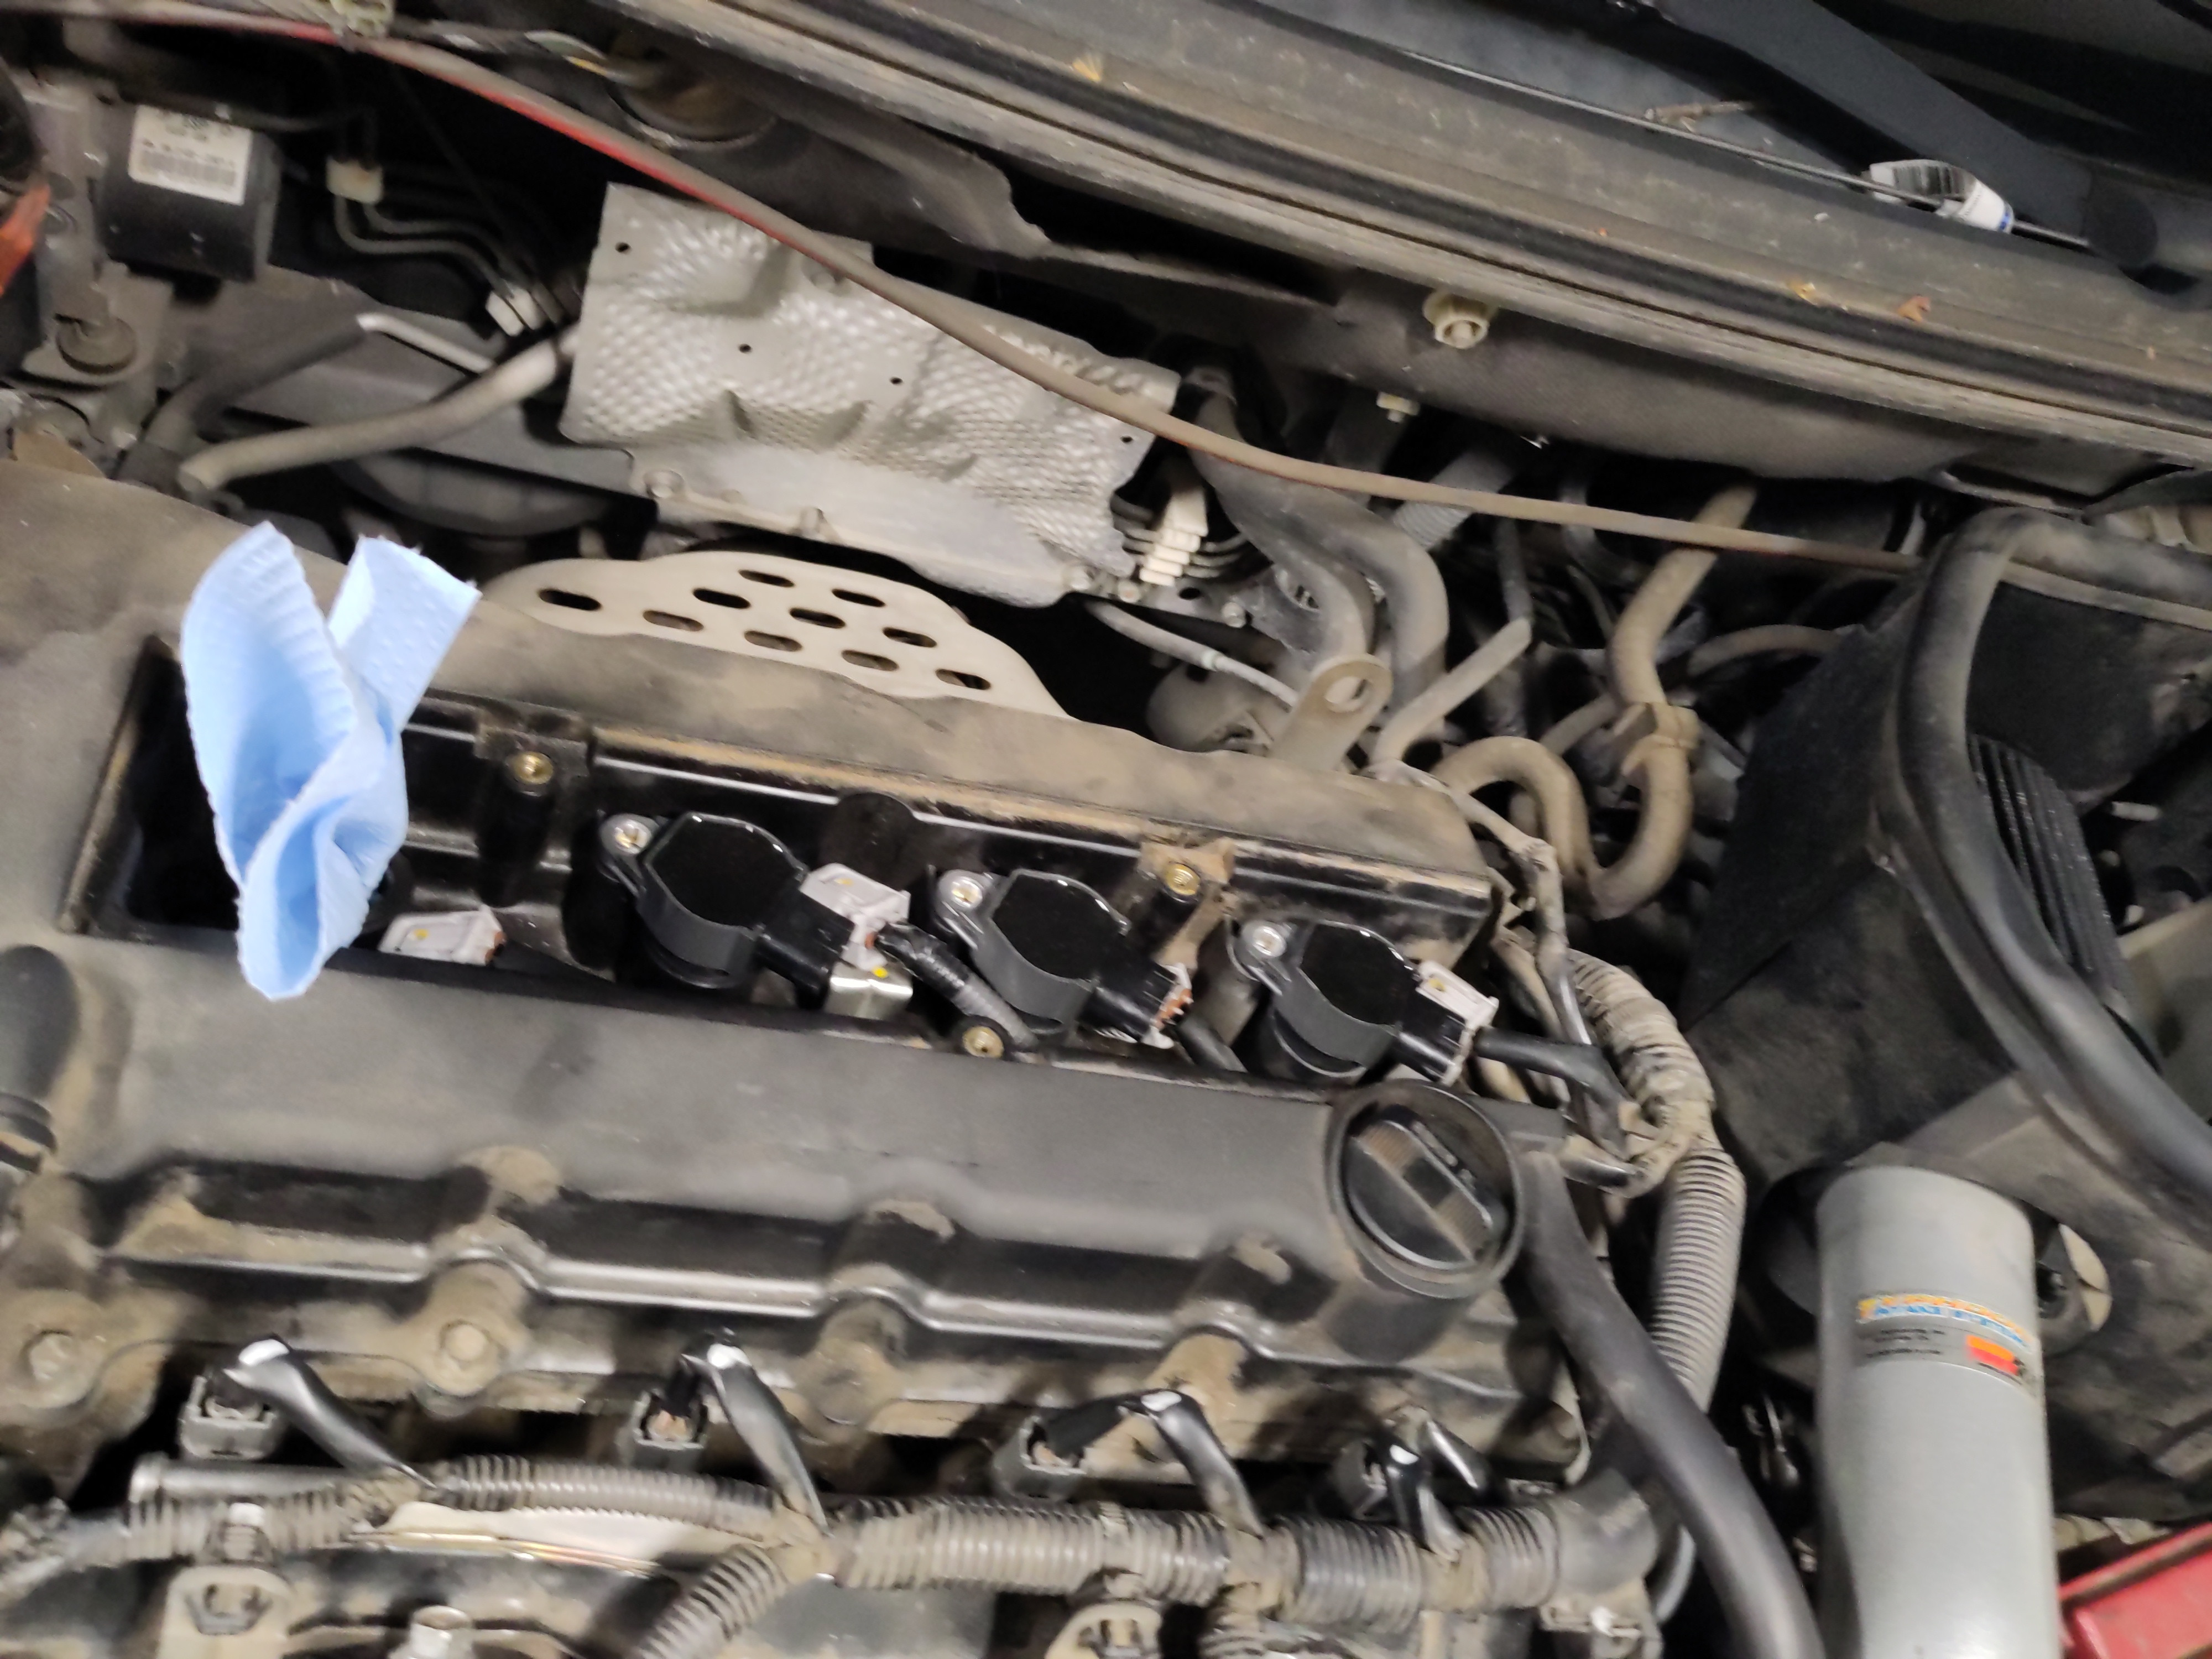
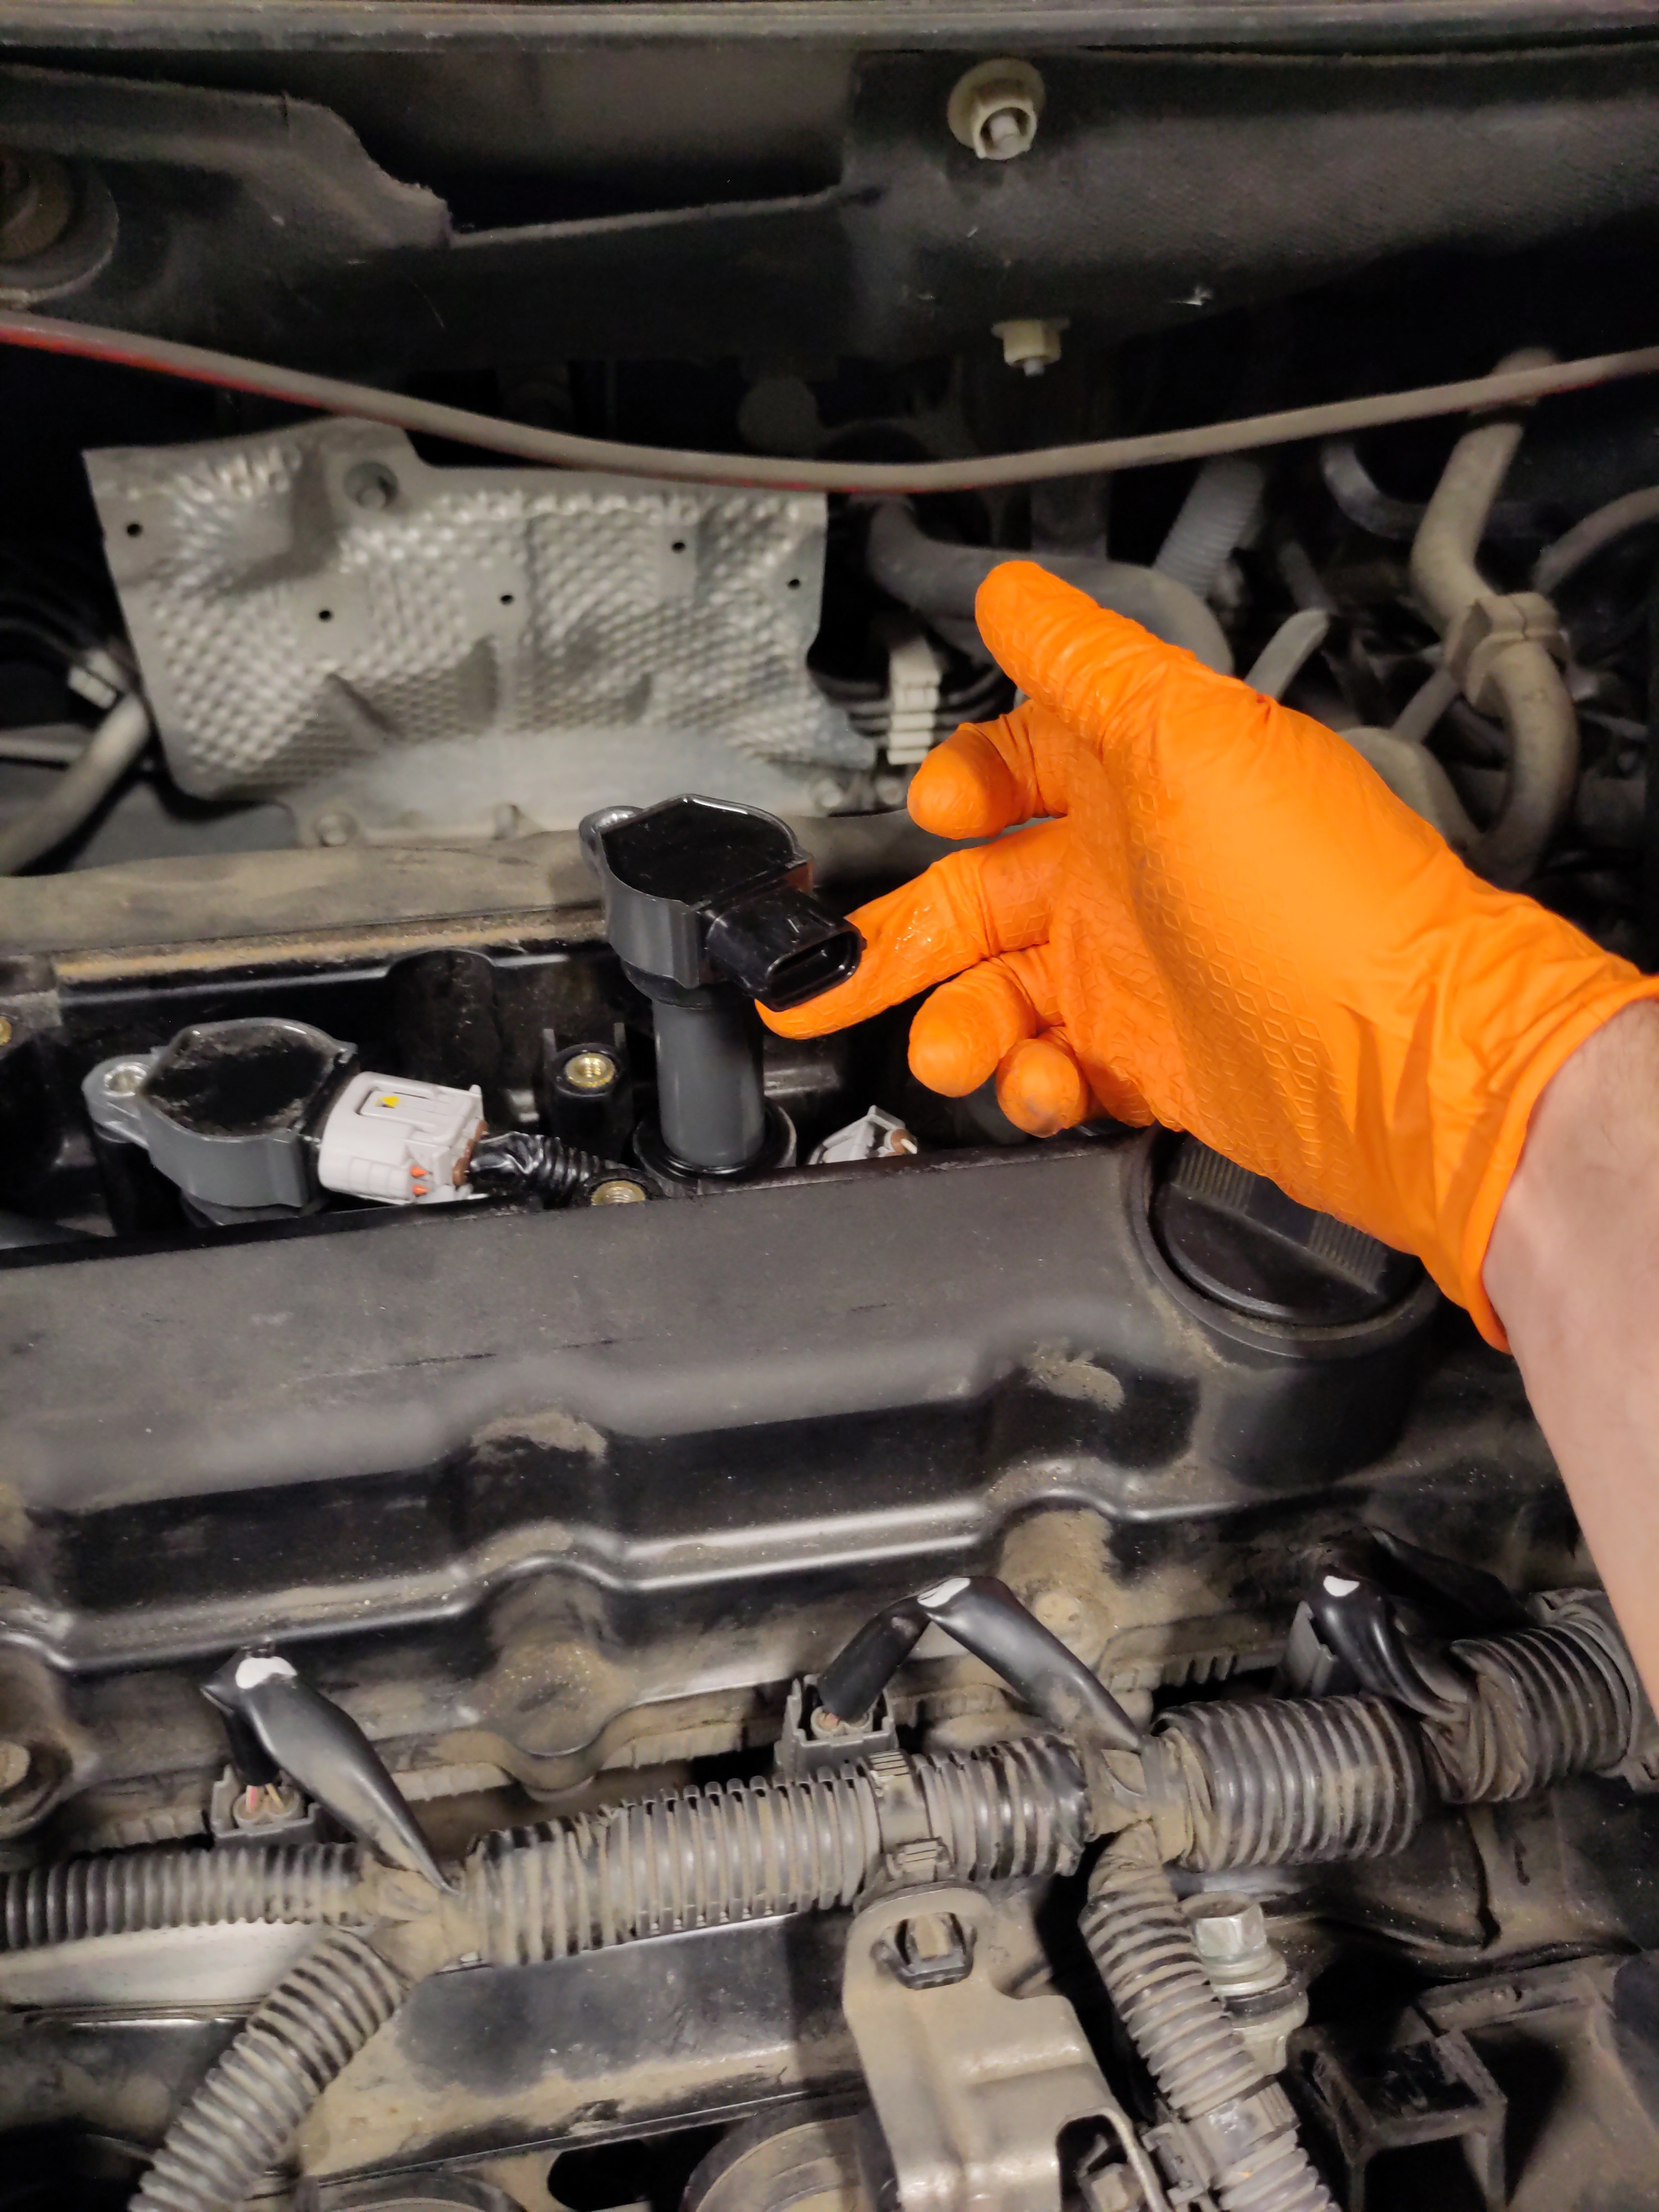
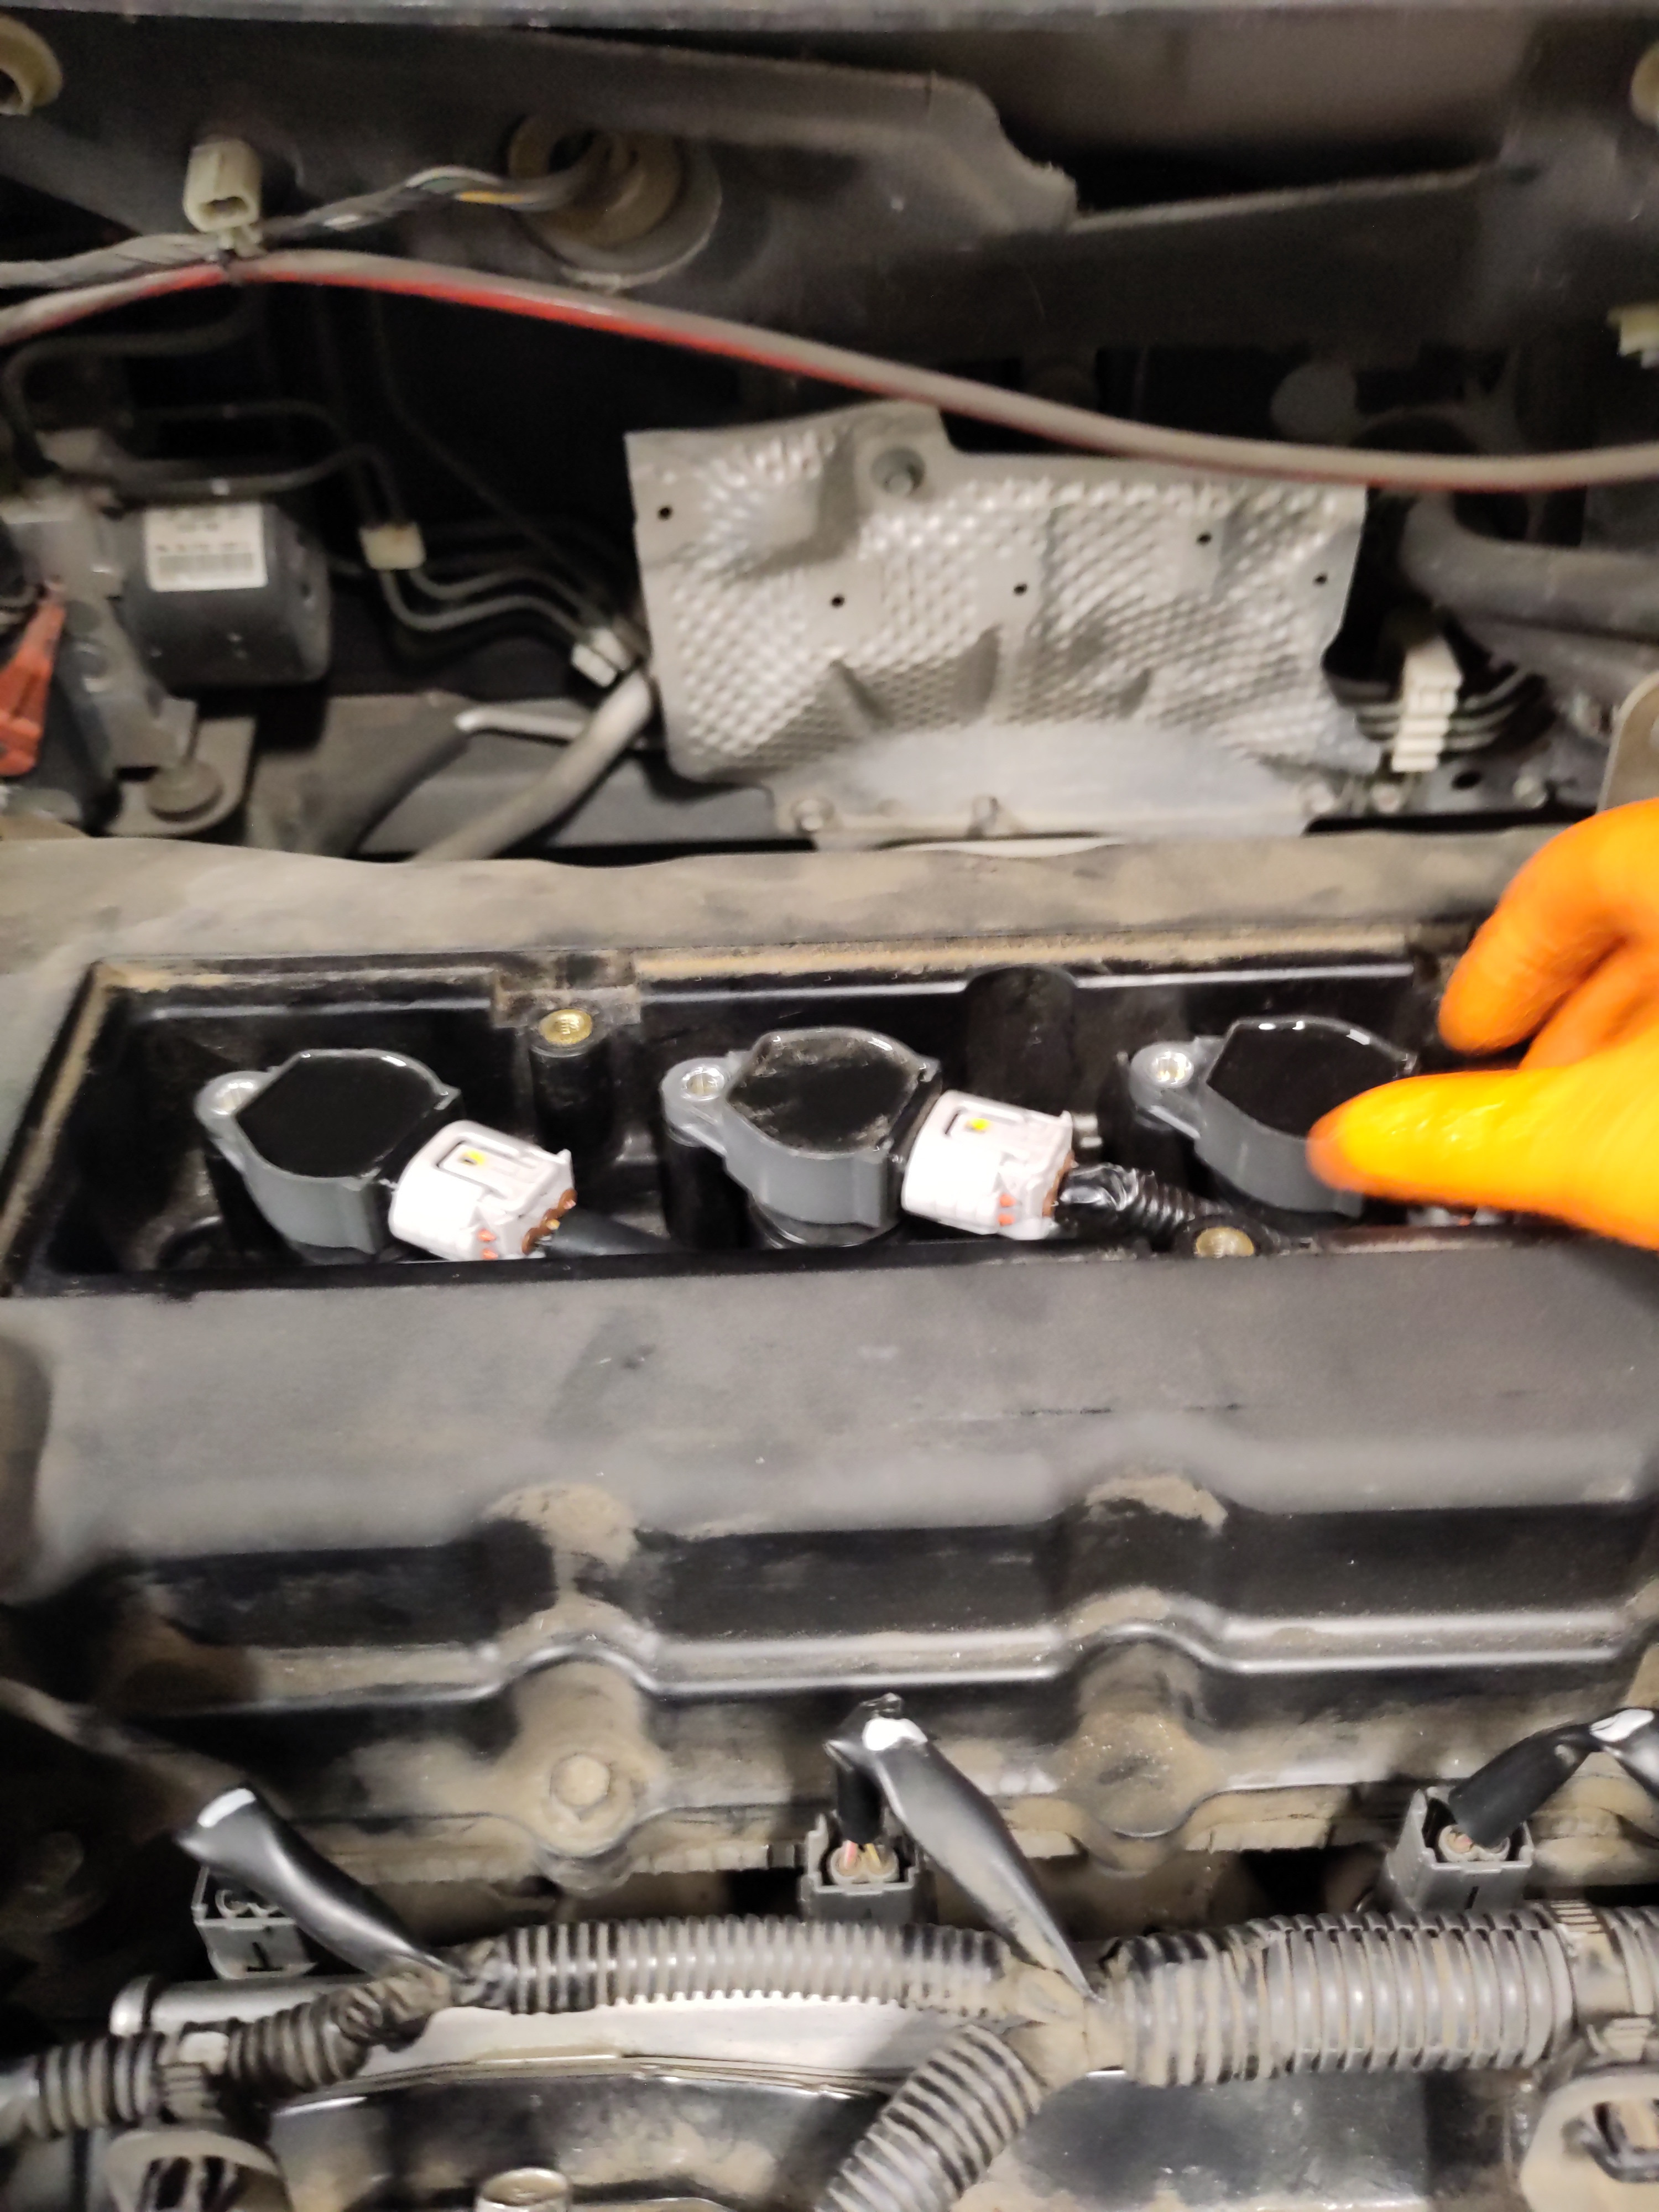
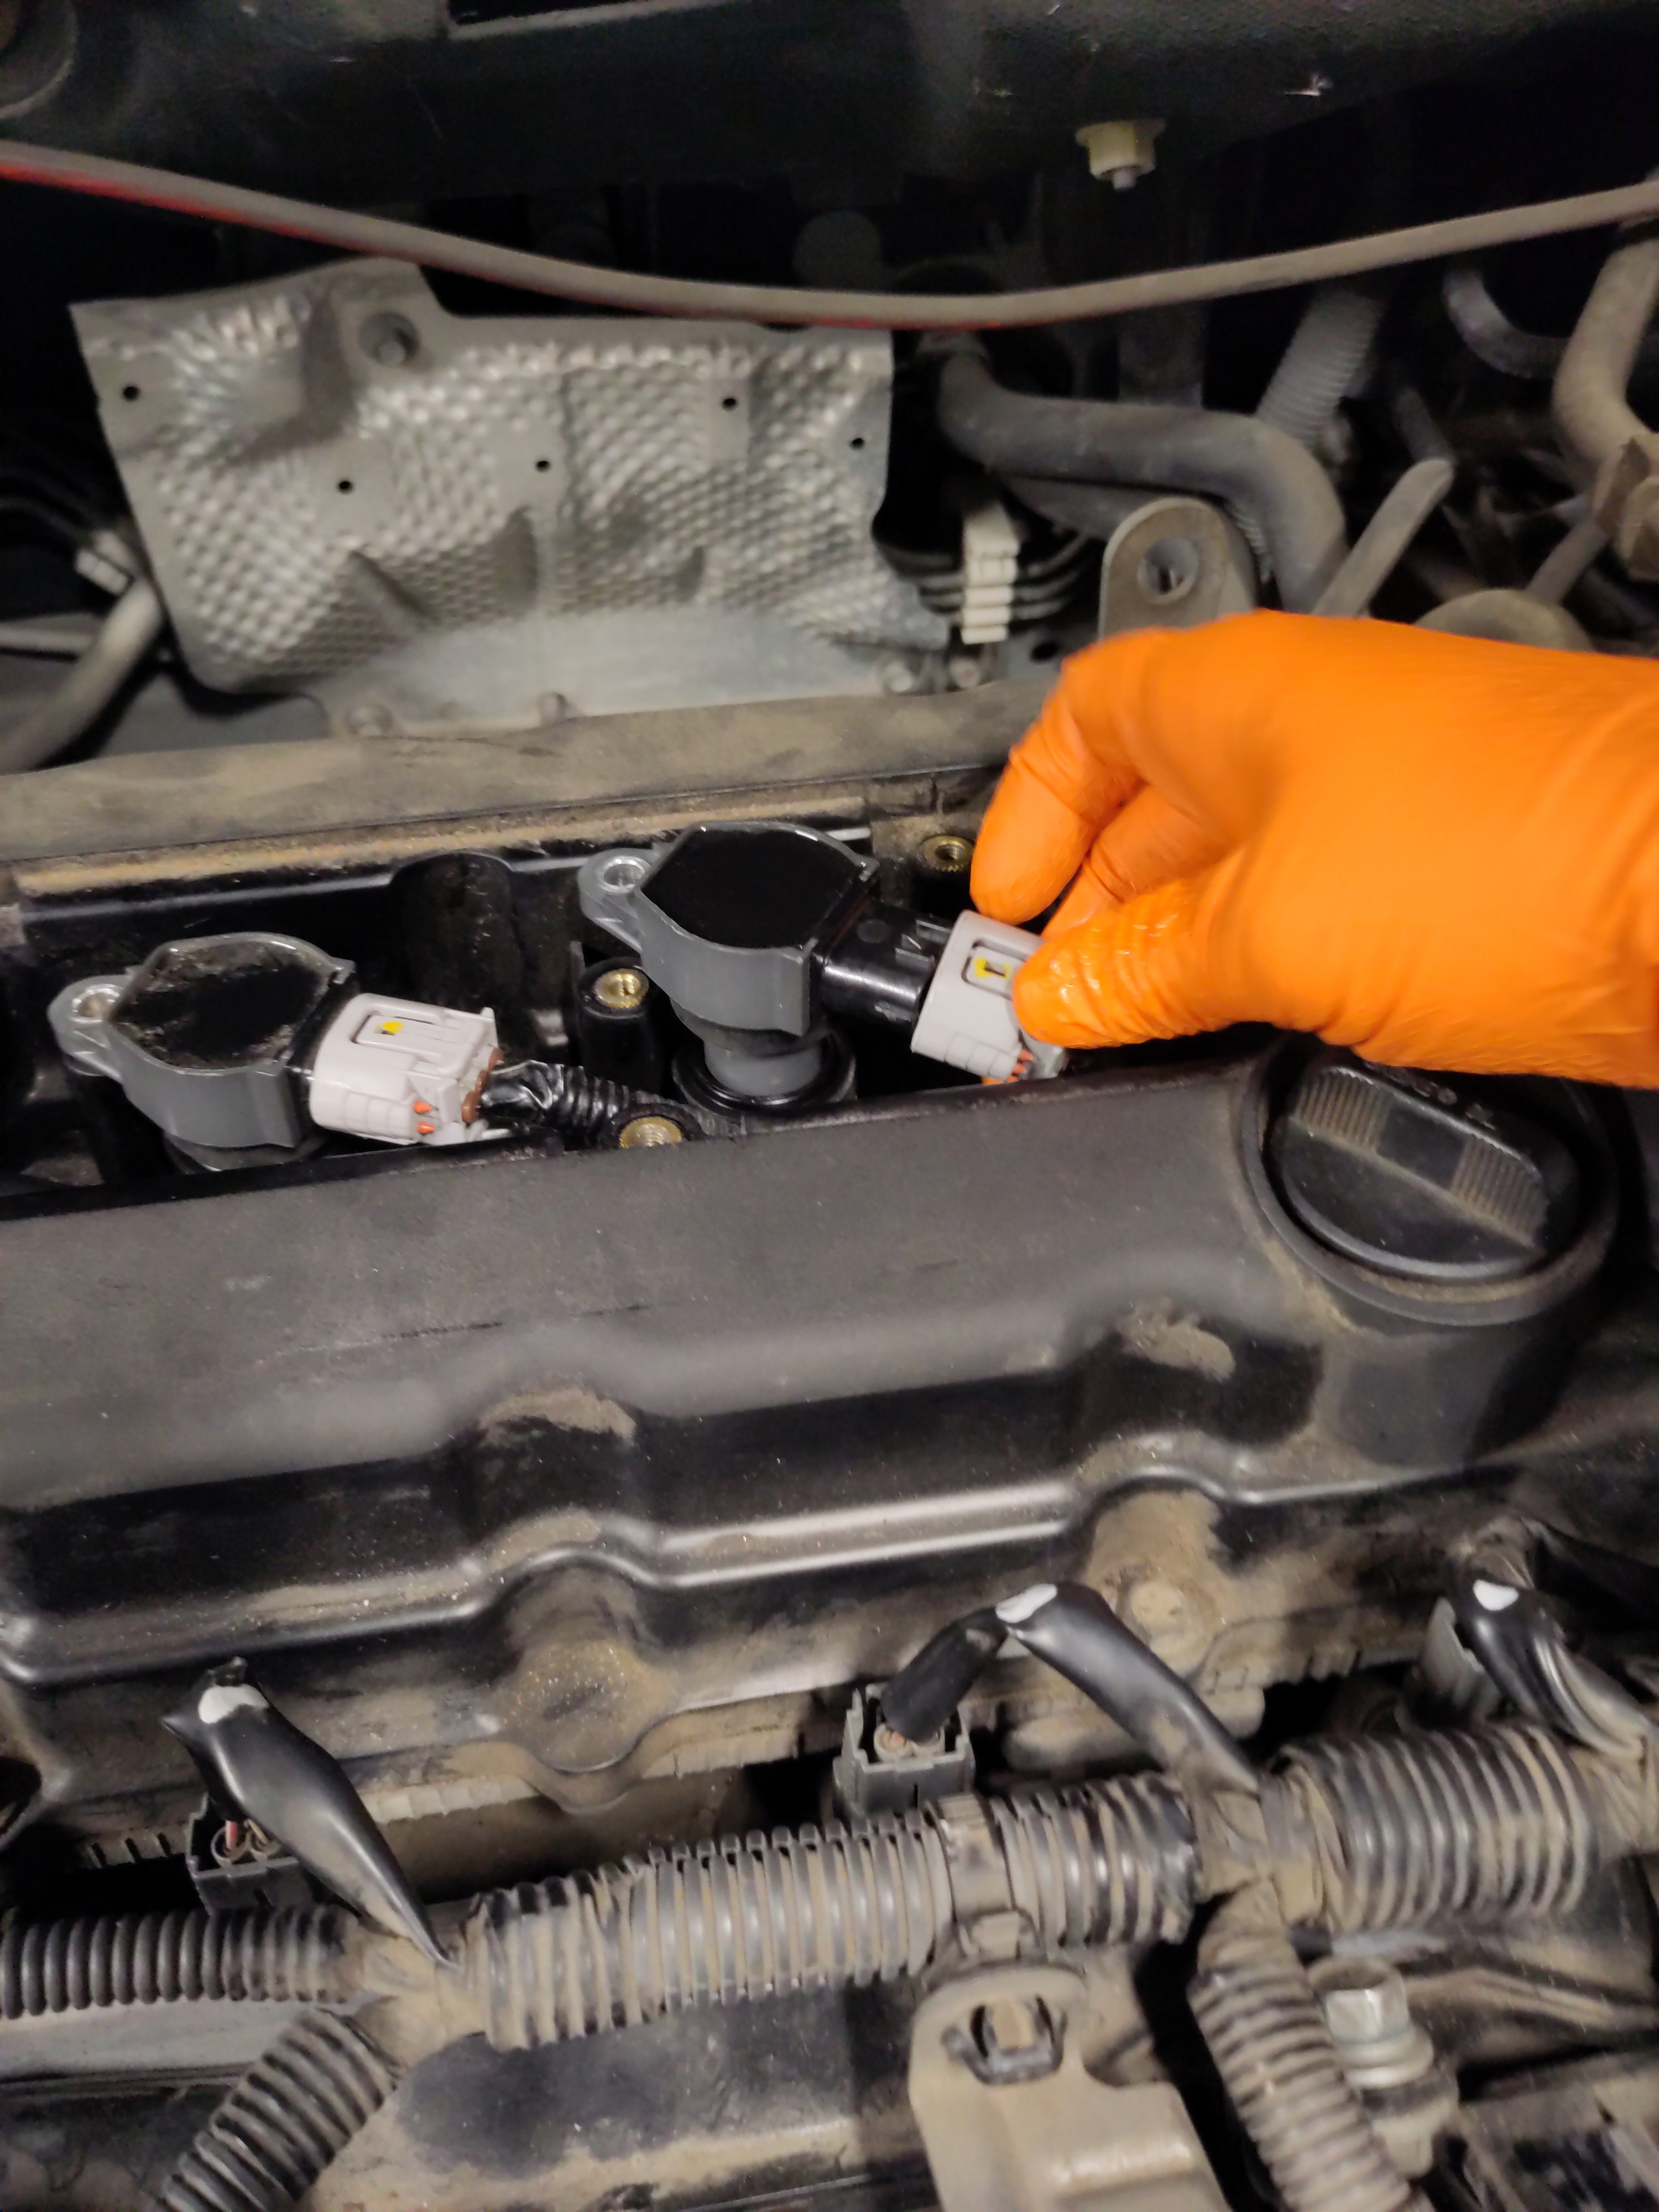
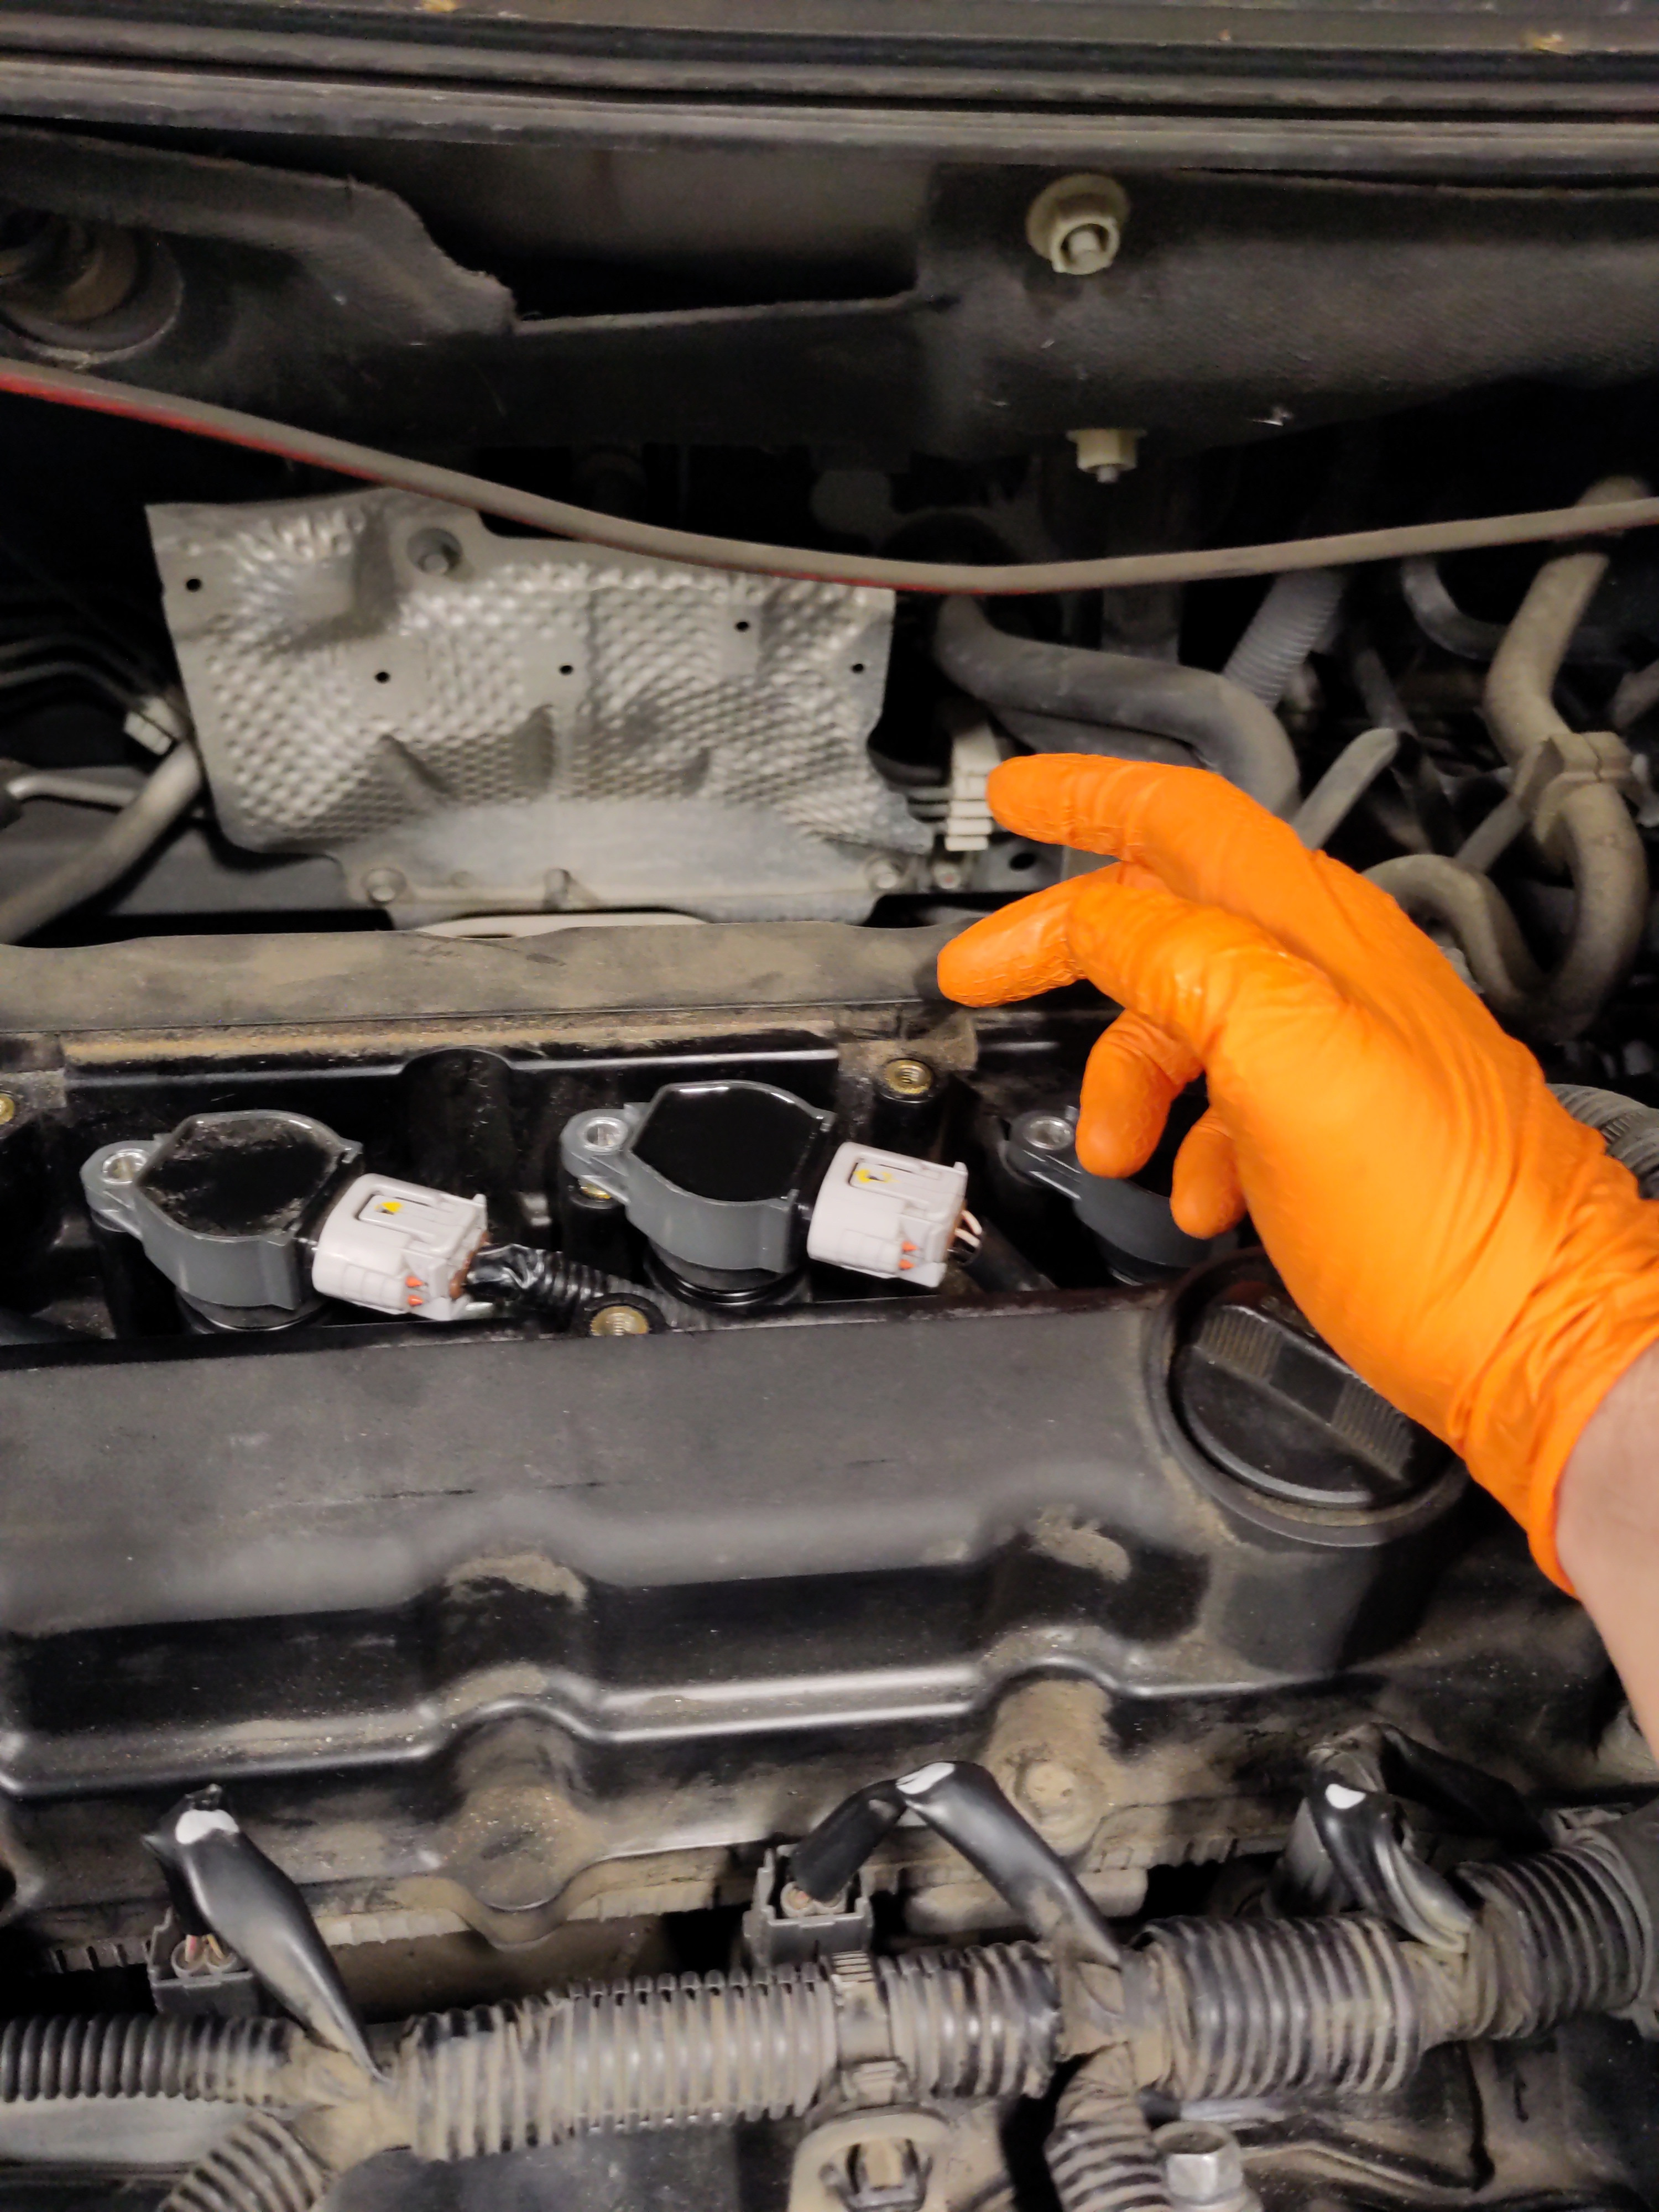
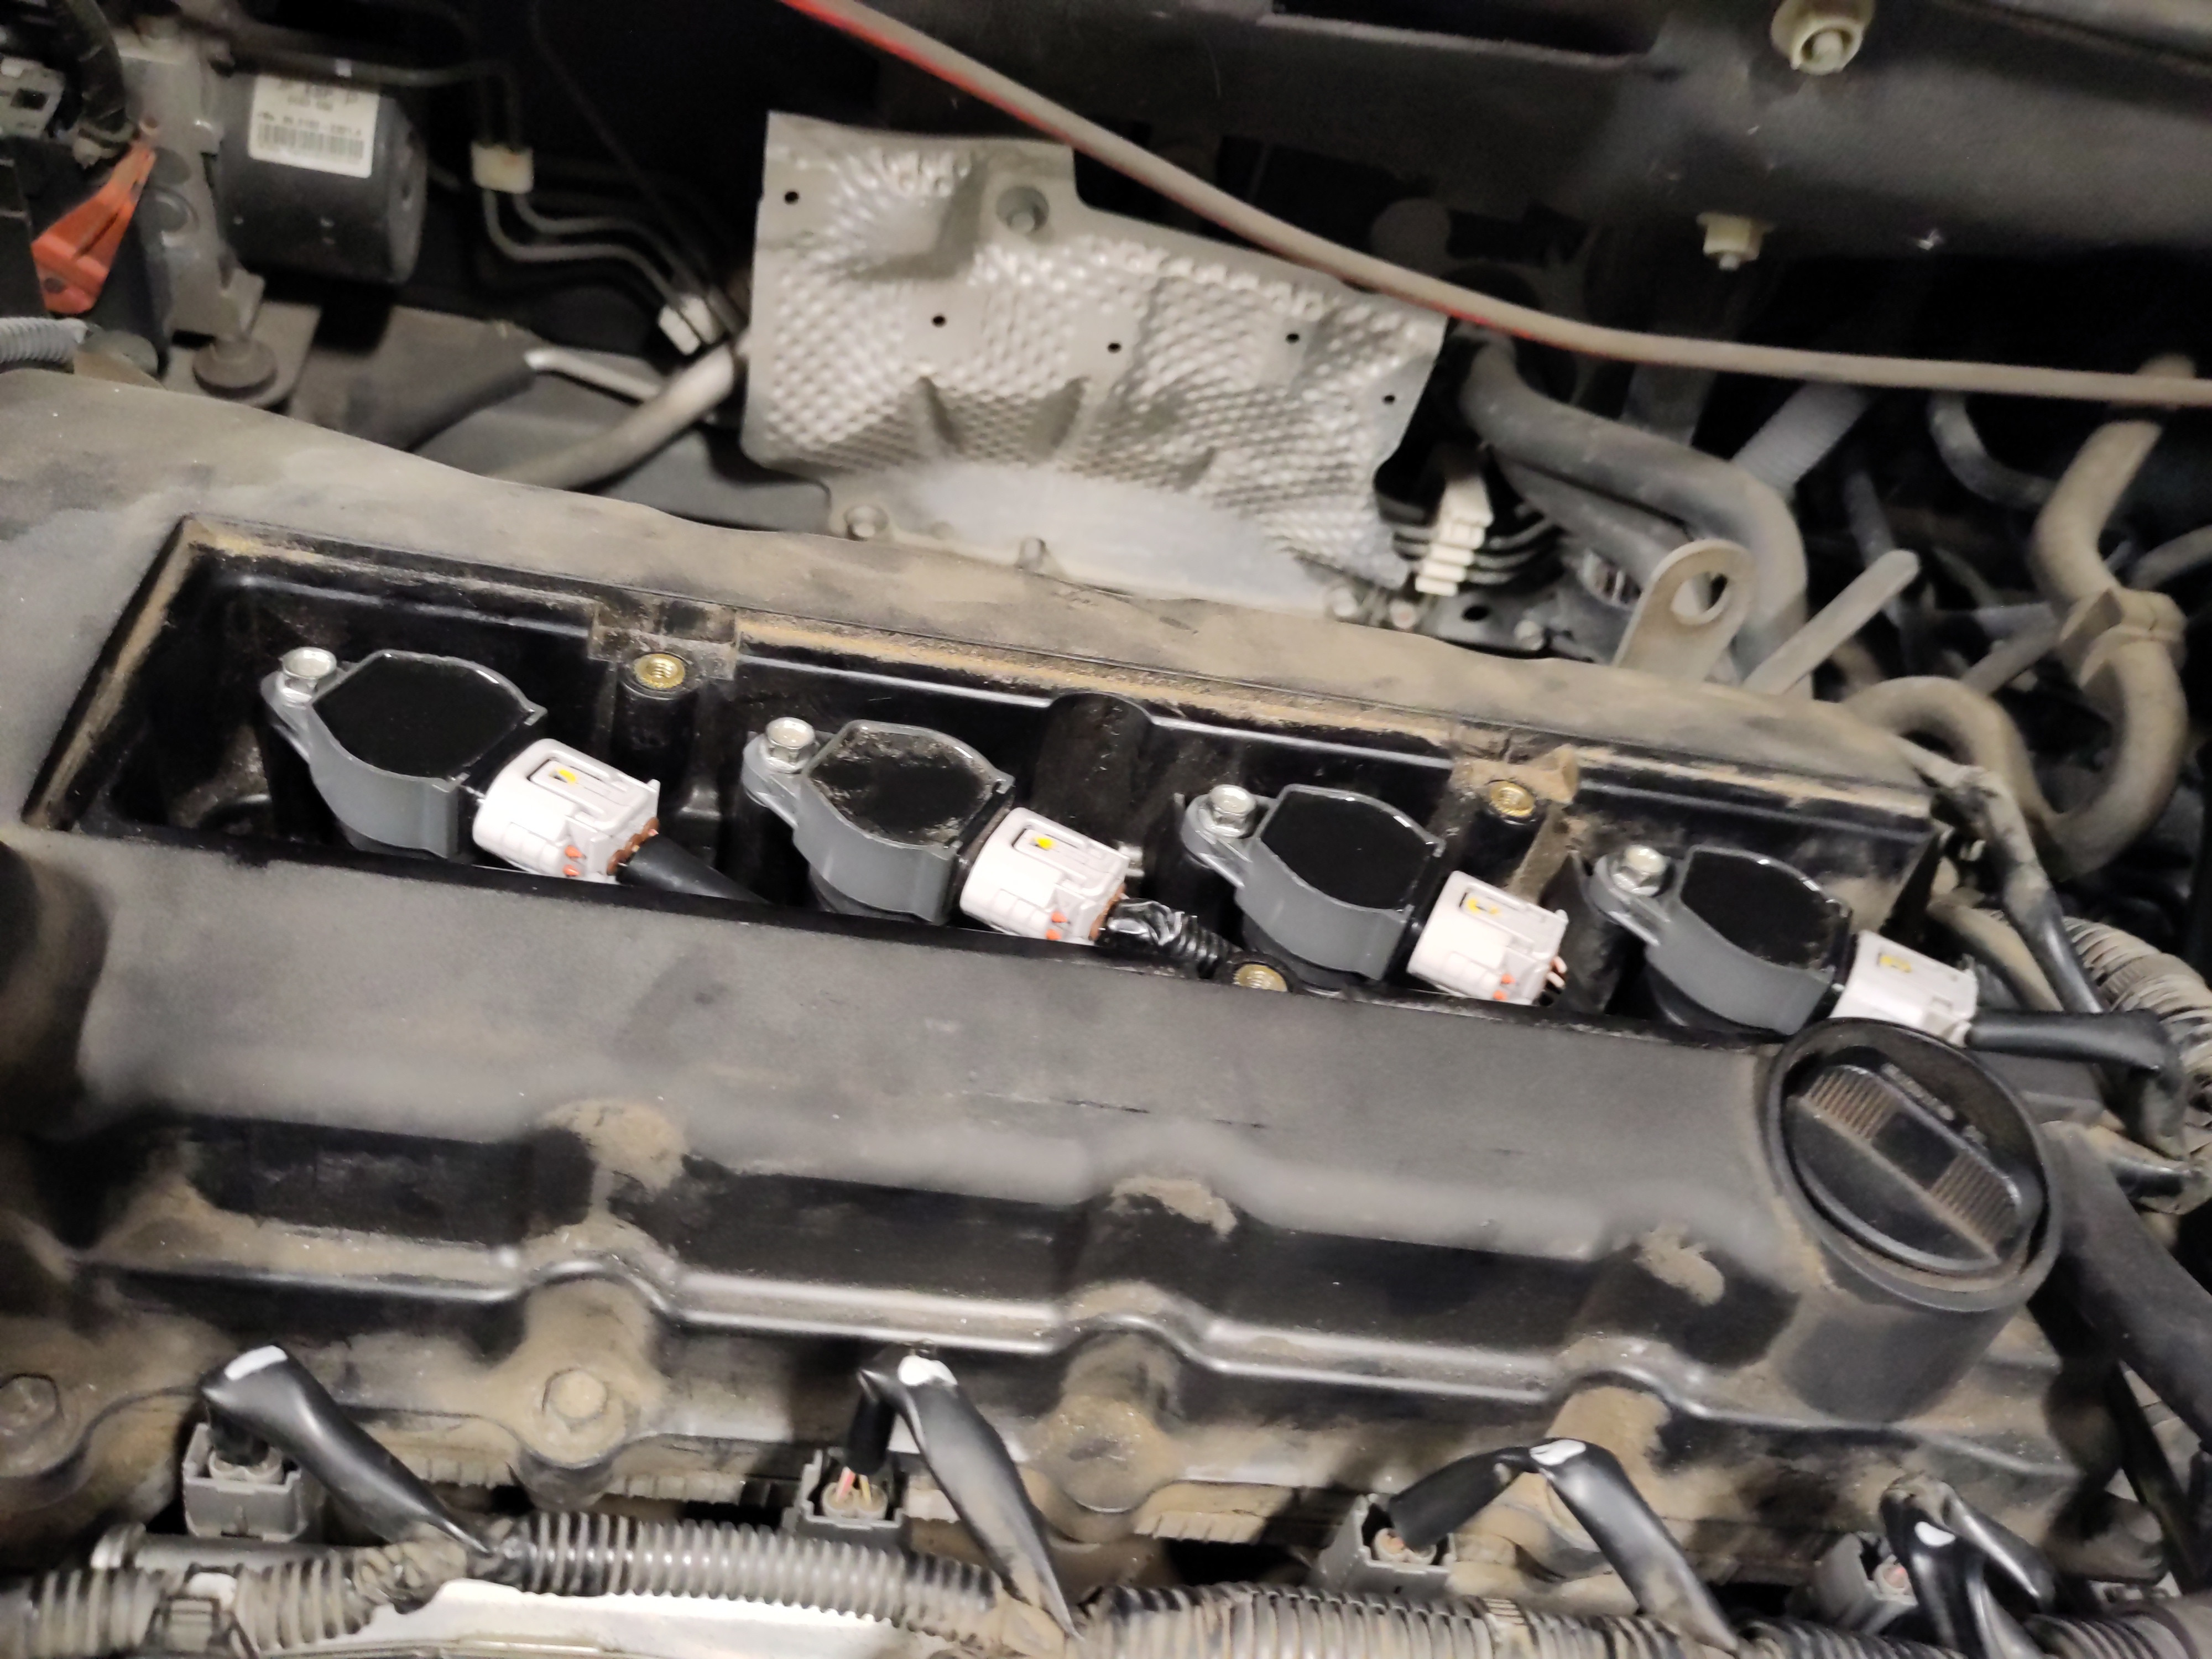
- Remove Electrical Connections(4x) from ignition coils
- Remove 4x 10mm bolts from ignition coils. For now, refrain pulling out the four ignition coils. Each one will be pulled out when installing the new ignition coils. If you do pull them use a clean dry paper towel and insert the paper towel into the hole of where the ignition coil is located. This is tip is strongly recommended if the holes are gonna be open for long periods of times. It is imperative to mitigate the collection of debris falling to into the hole.



Installation:
- Unpack the new ignition coils.
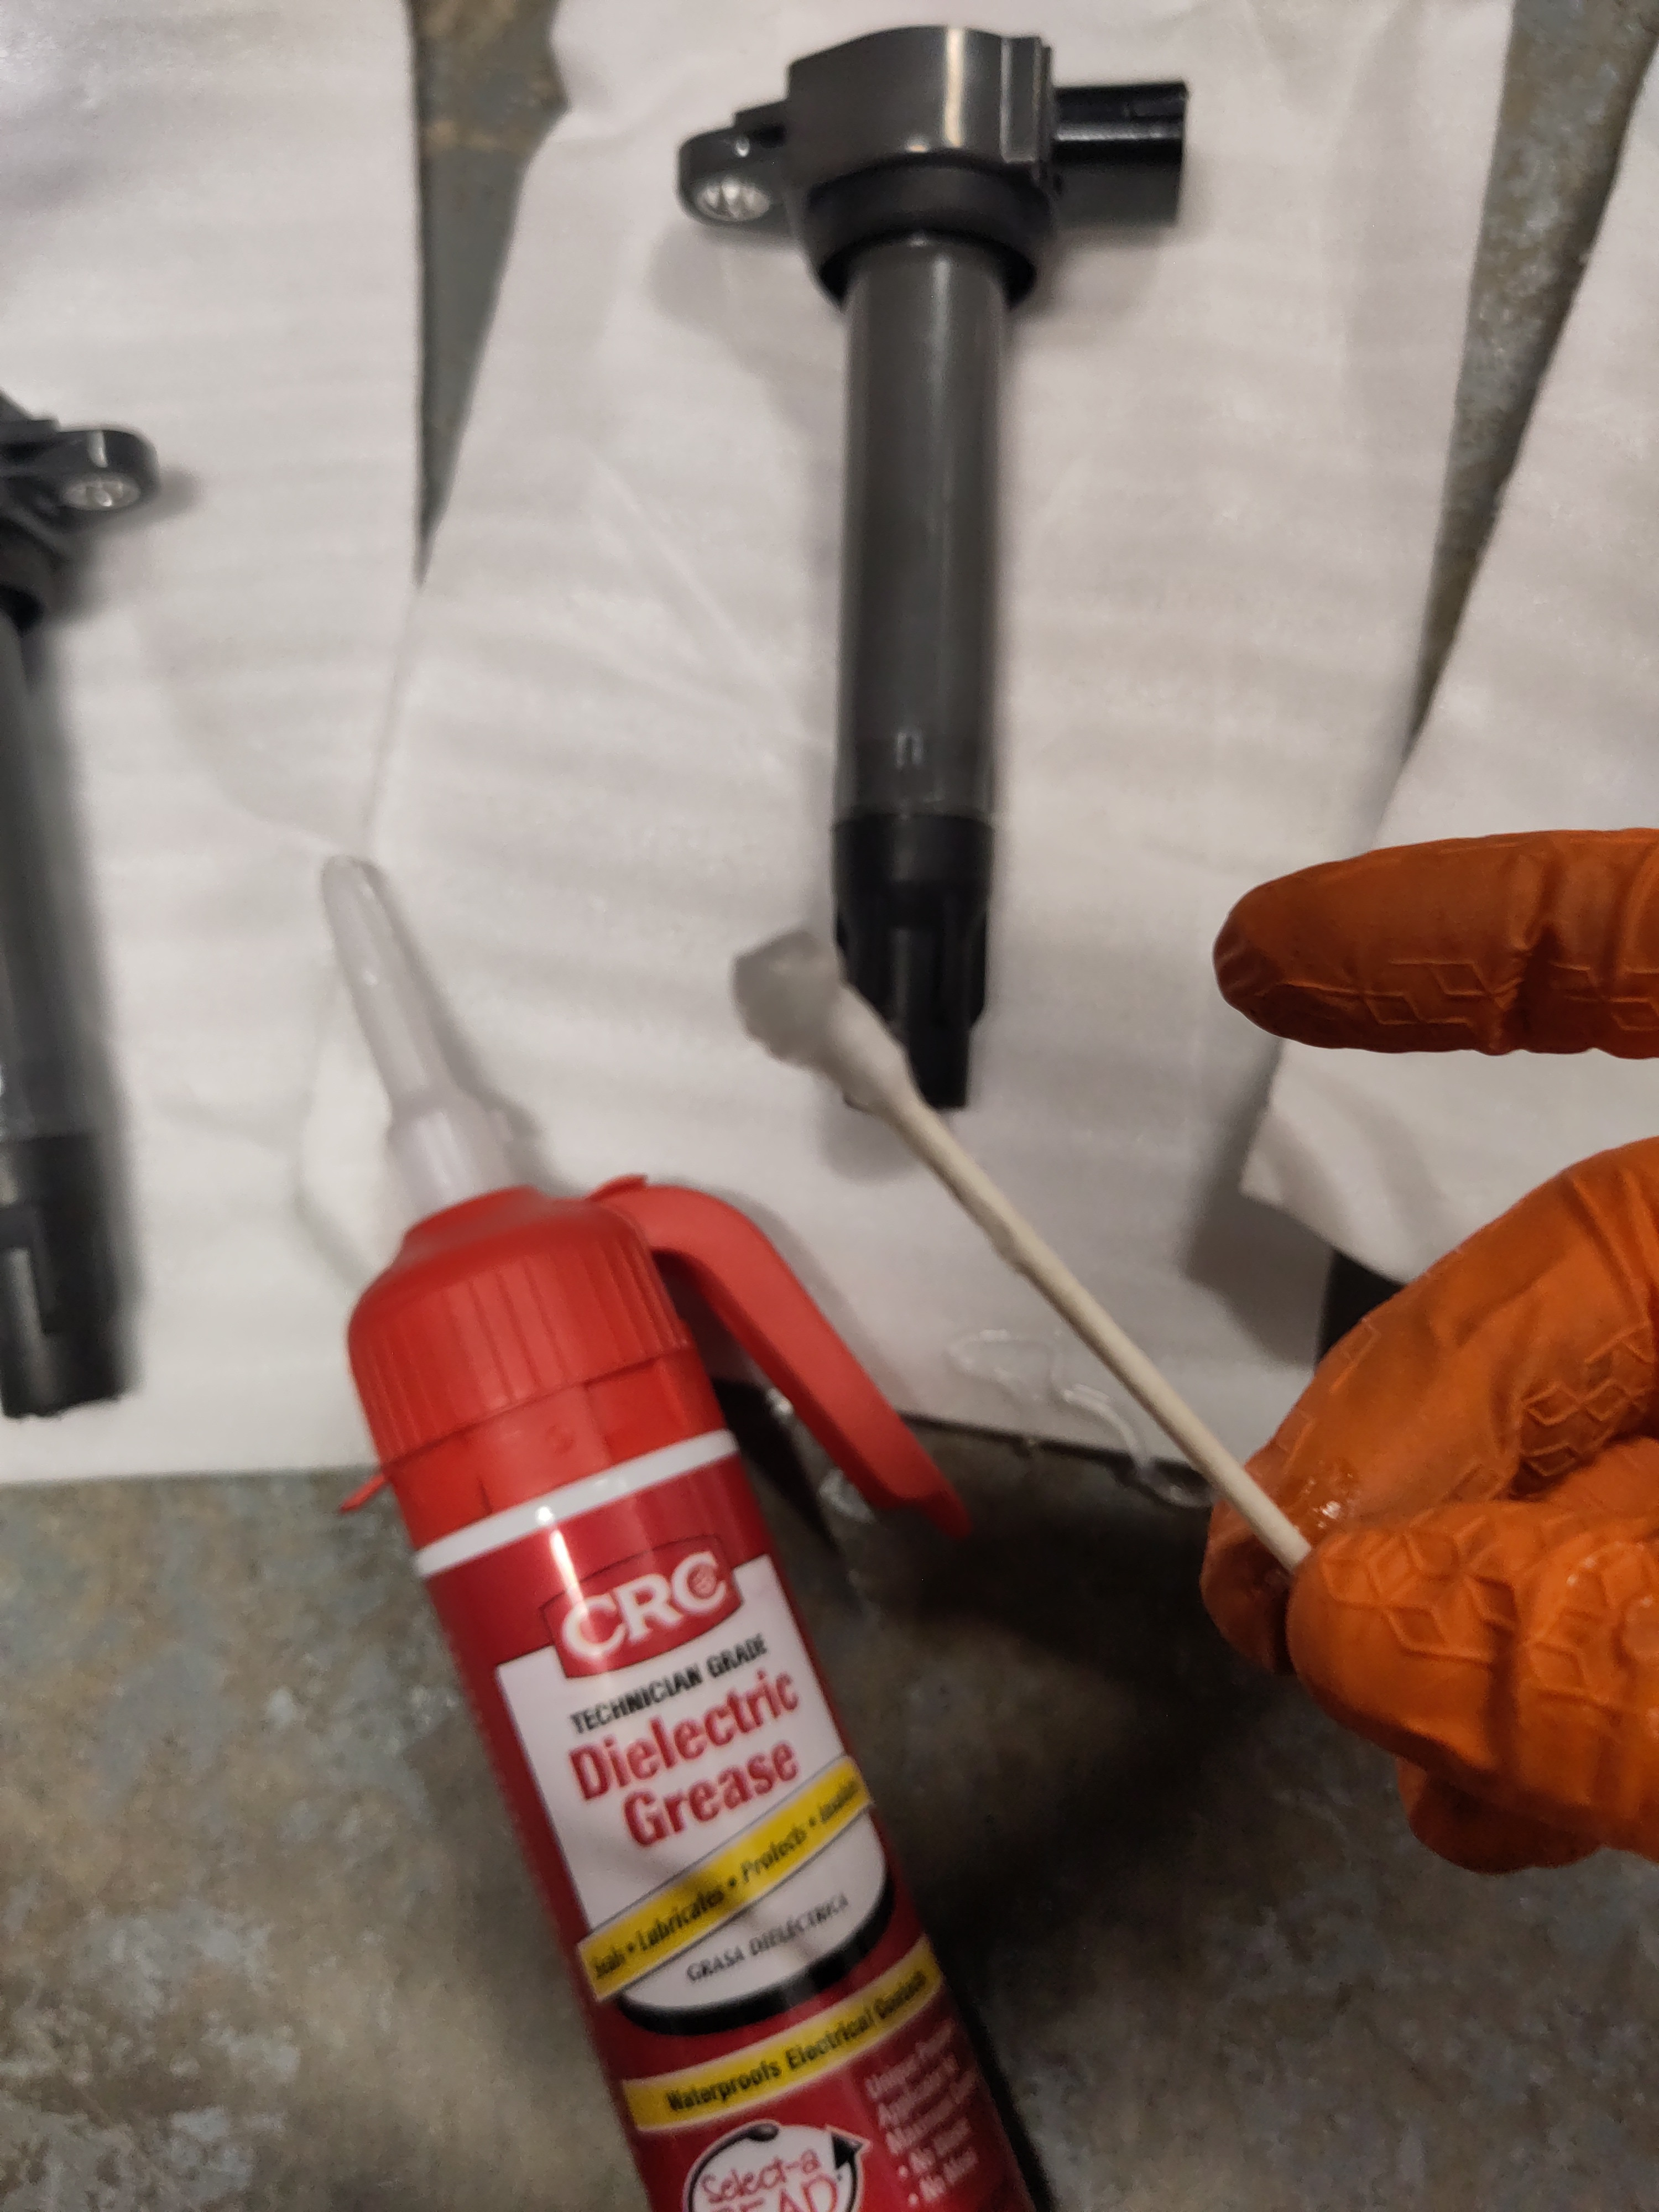
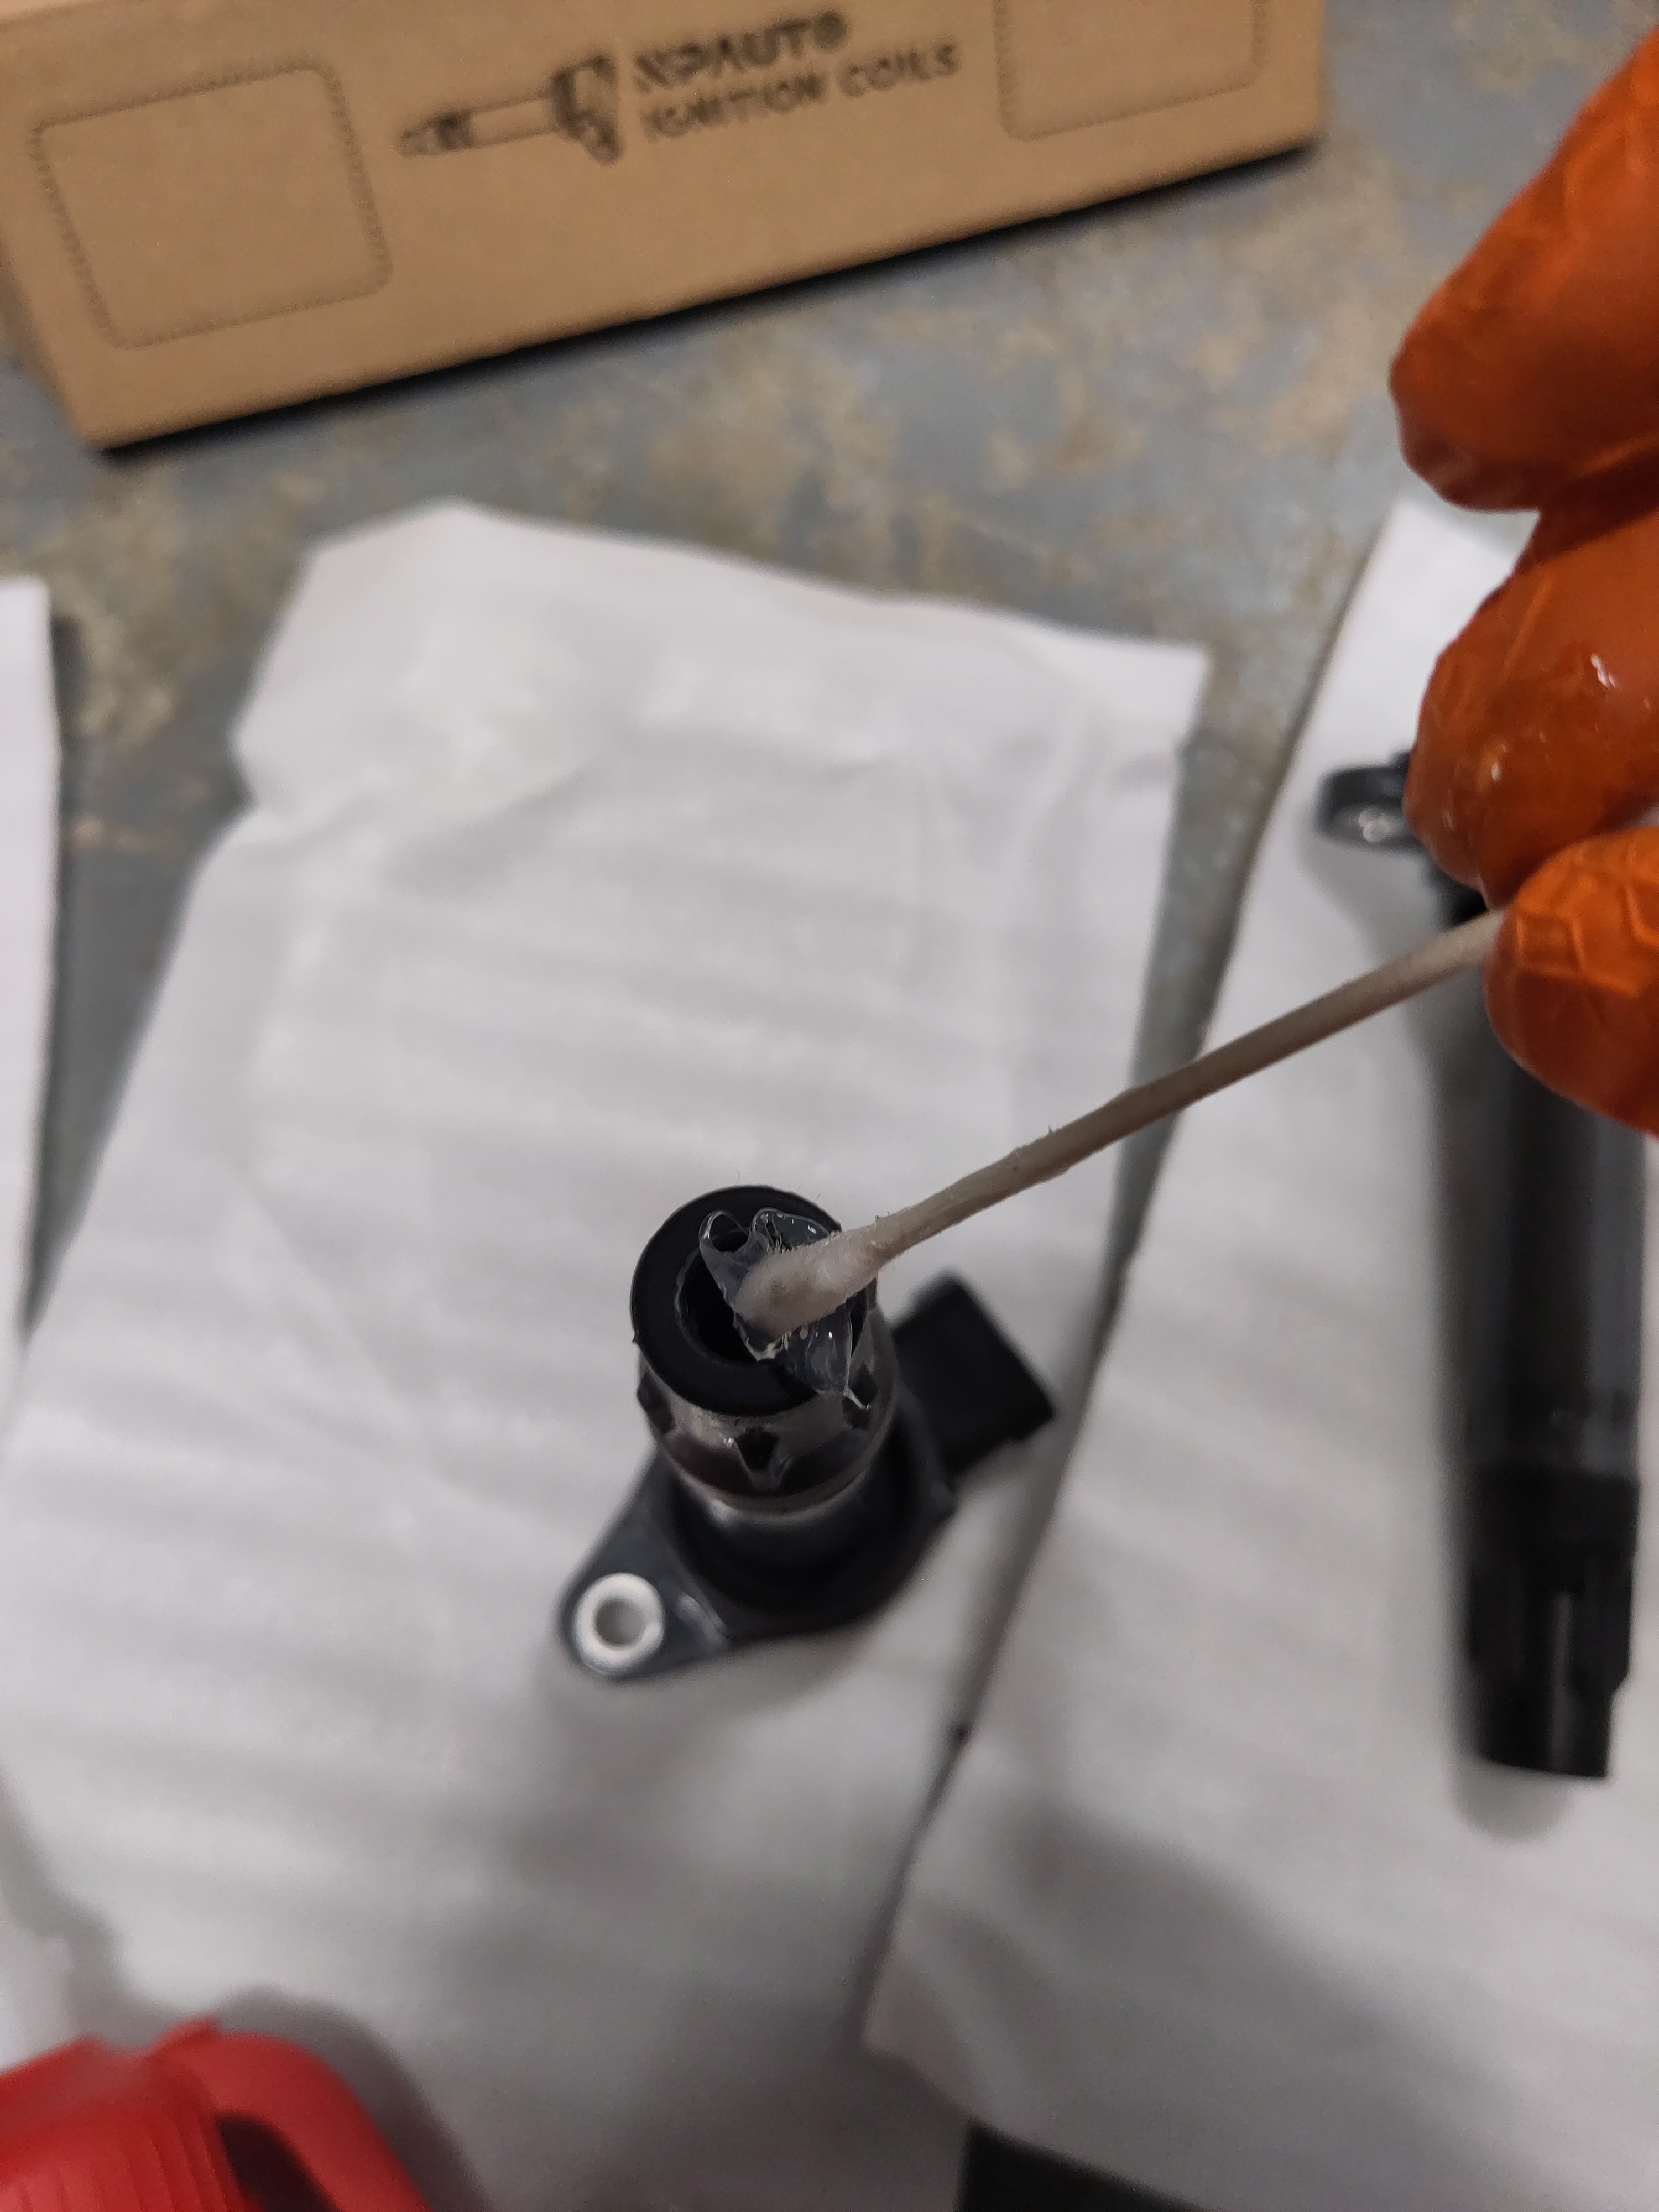
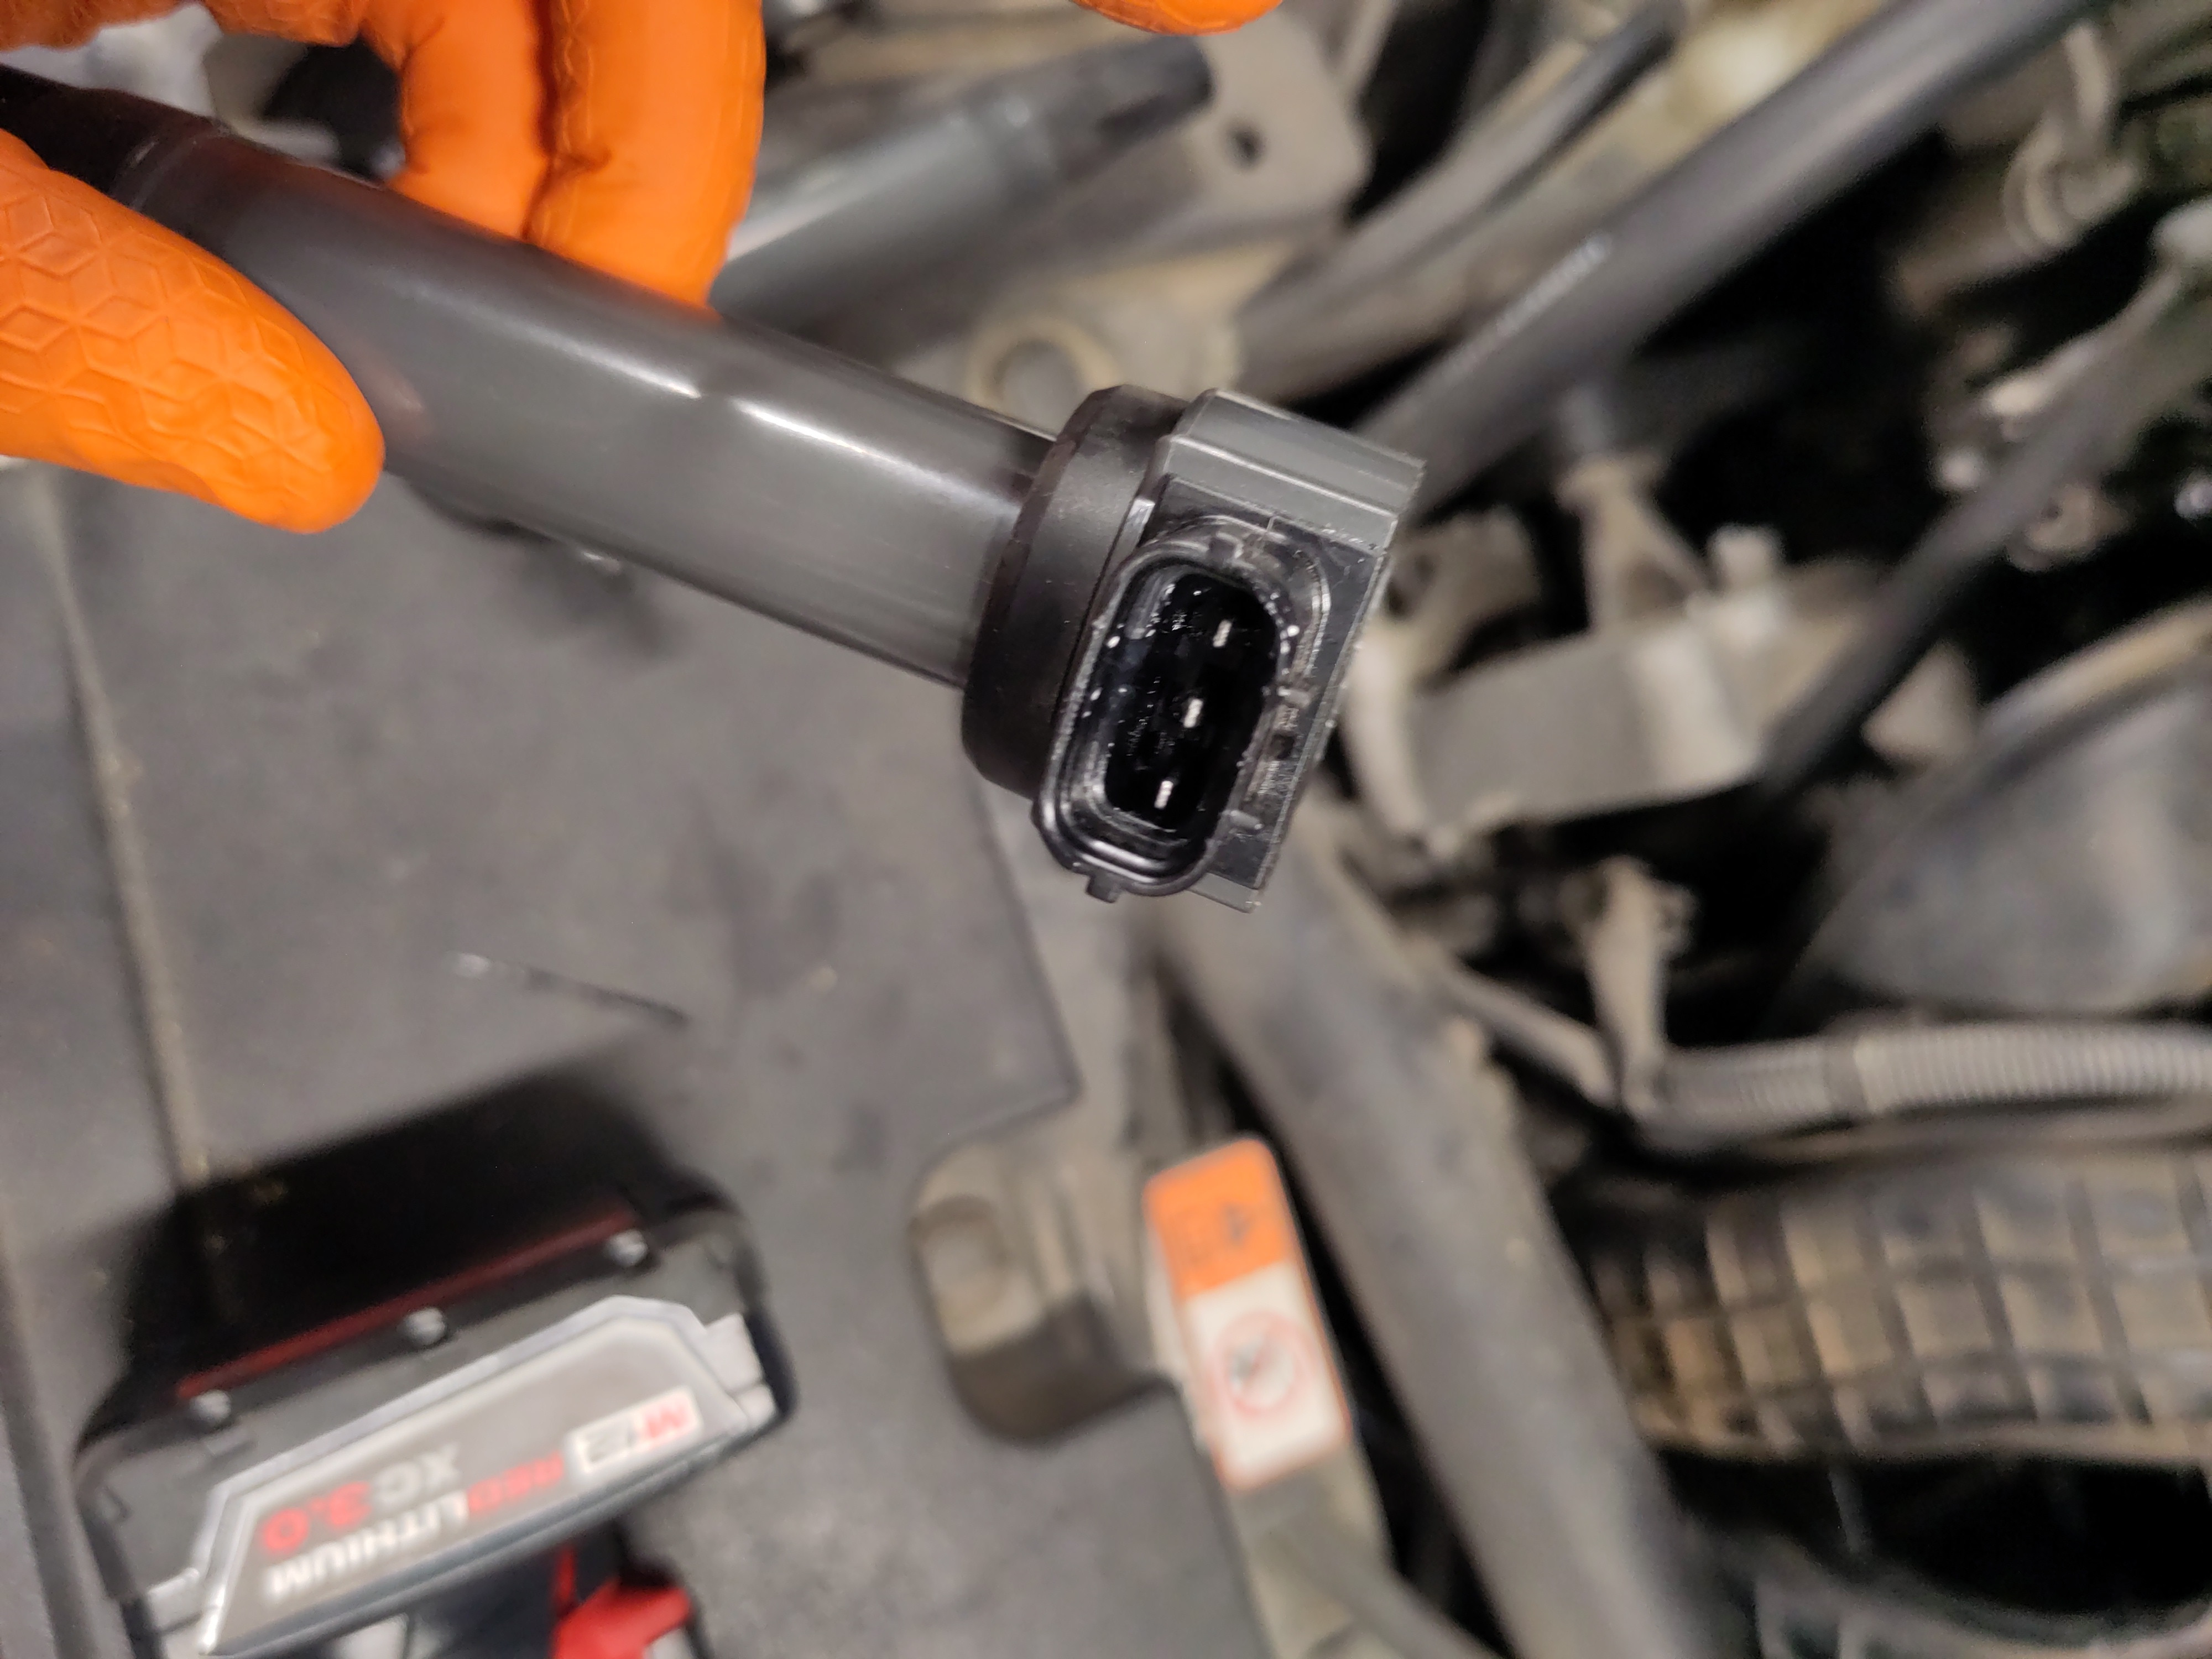
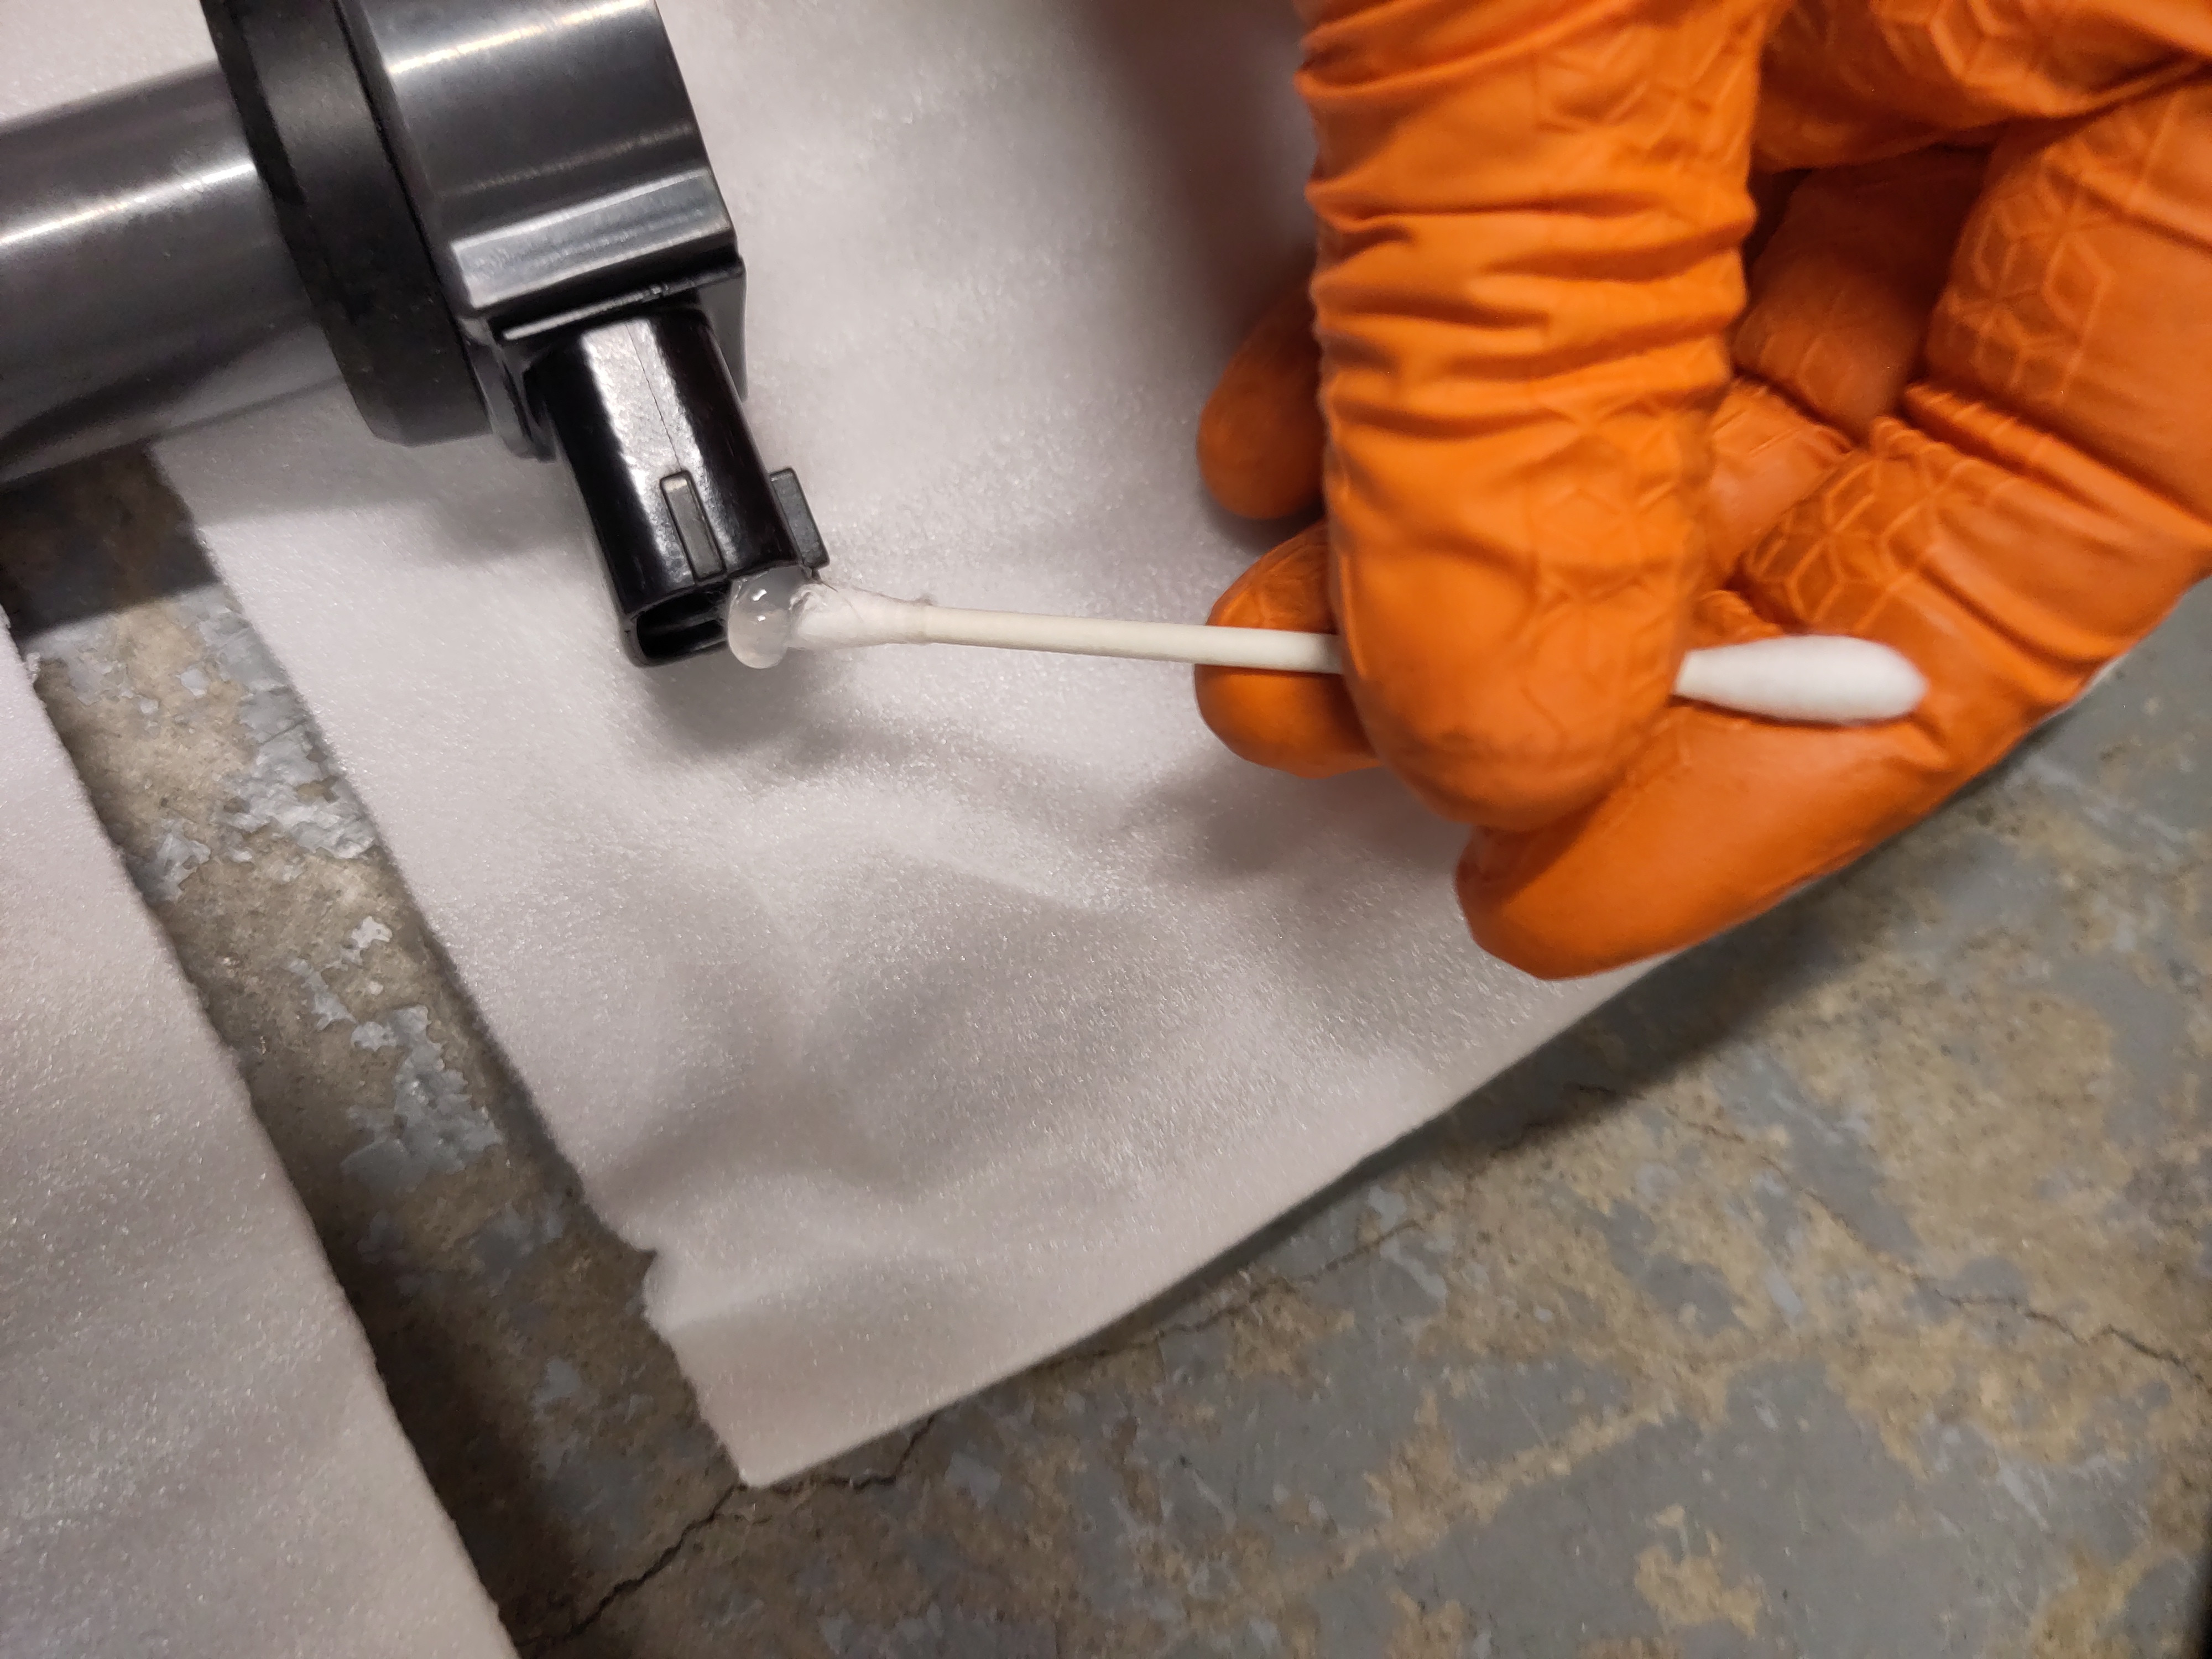
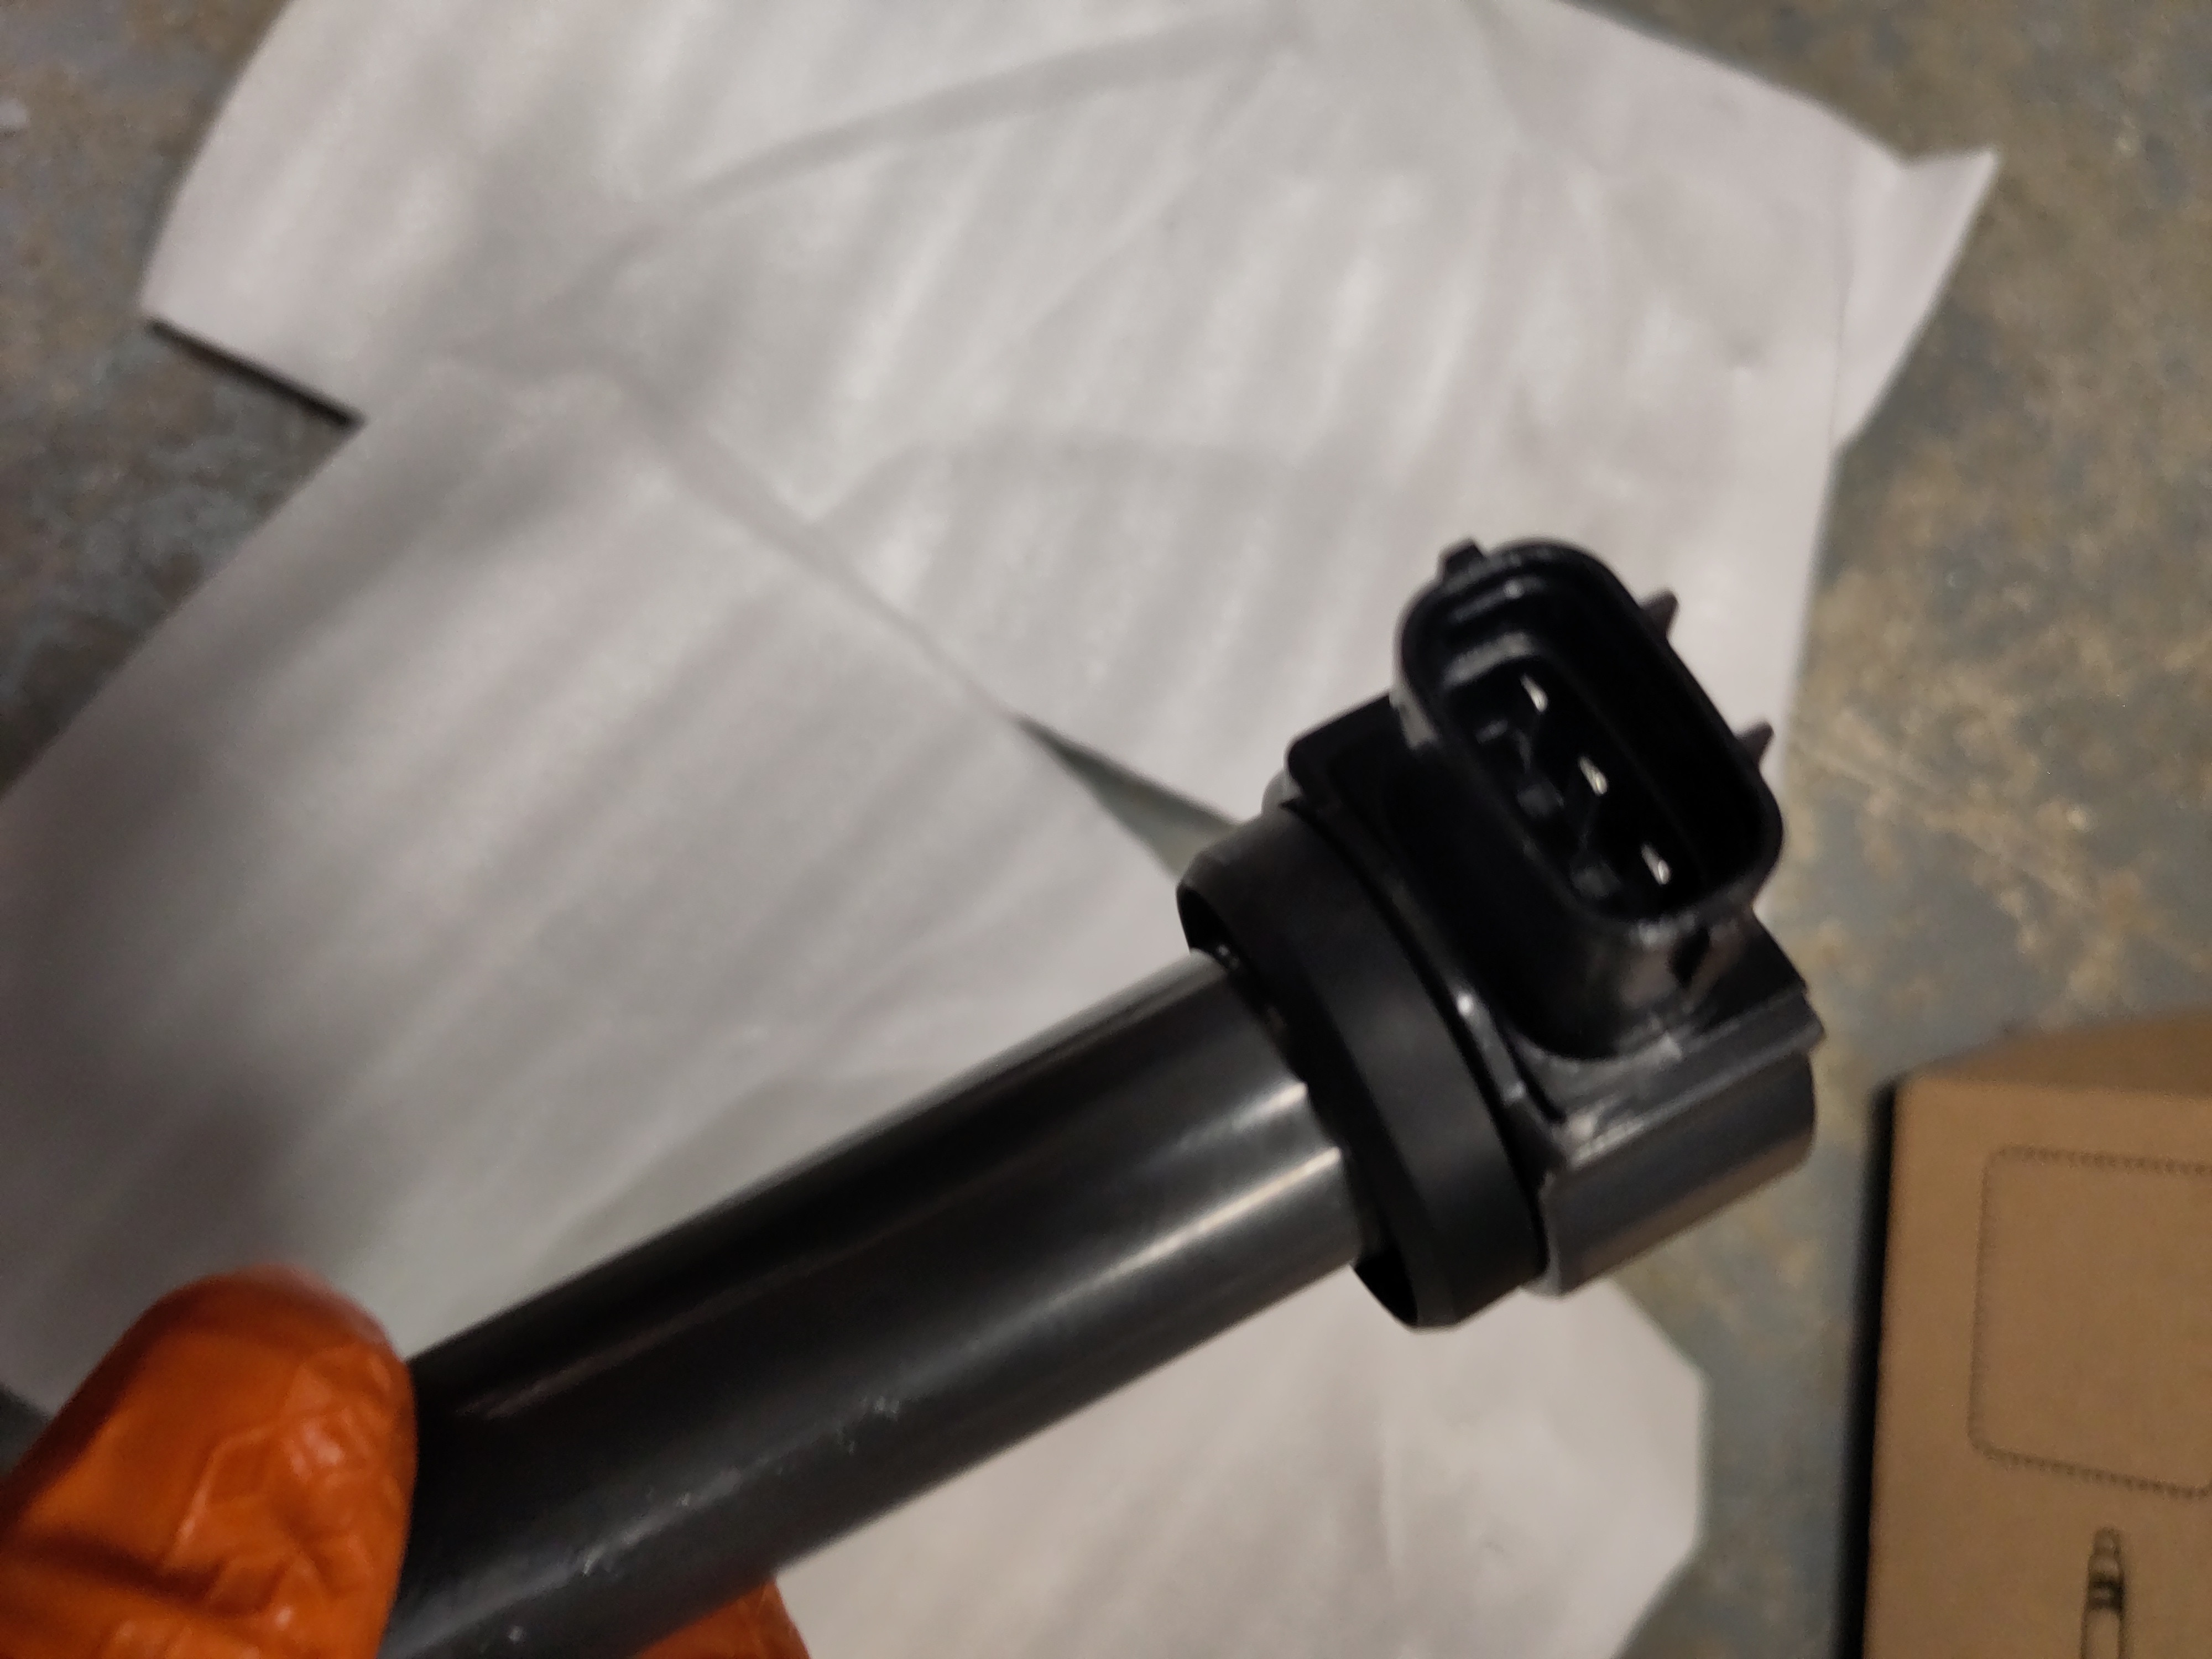
- Use a Q-tip and put dielectric grease up into the ignition coil holes this will prevent corrosion build up and establish a solid connection. Also, apply dielectric grease to the electrical connections. Repeat this step for each ignition coil(4x).
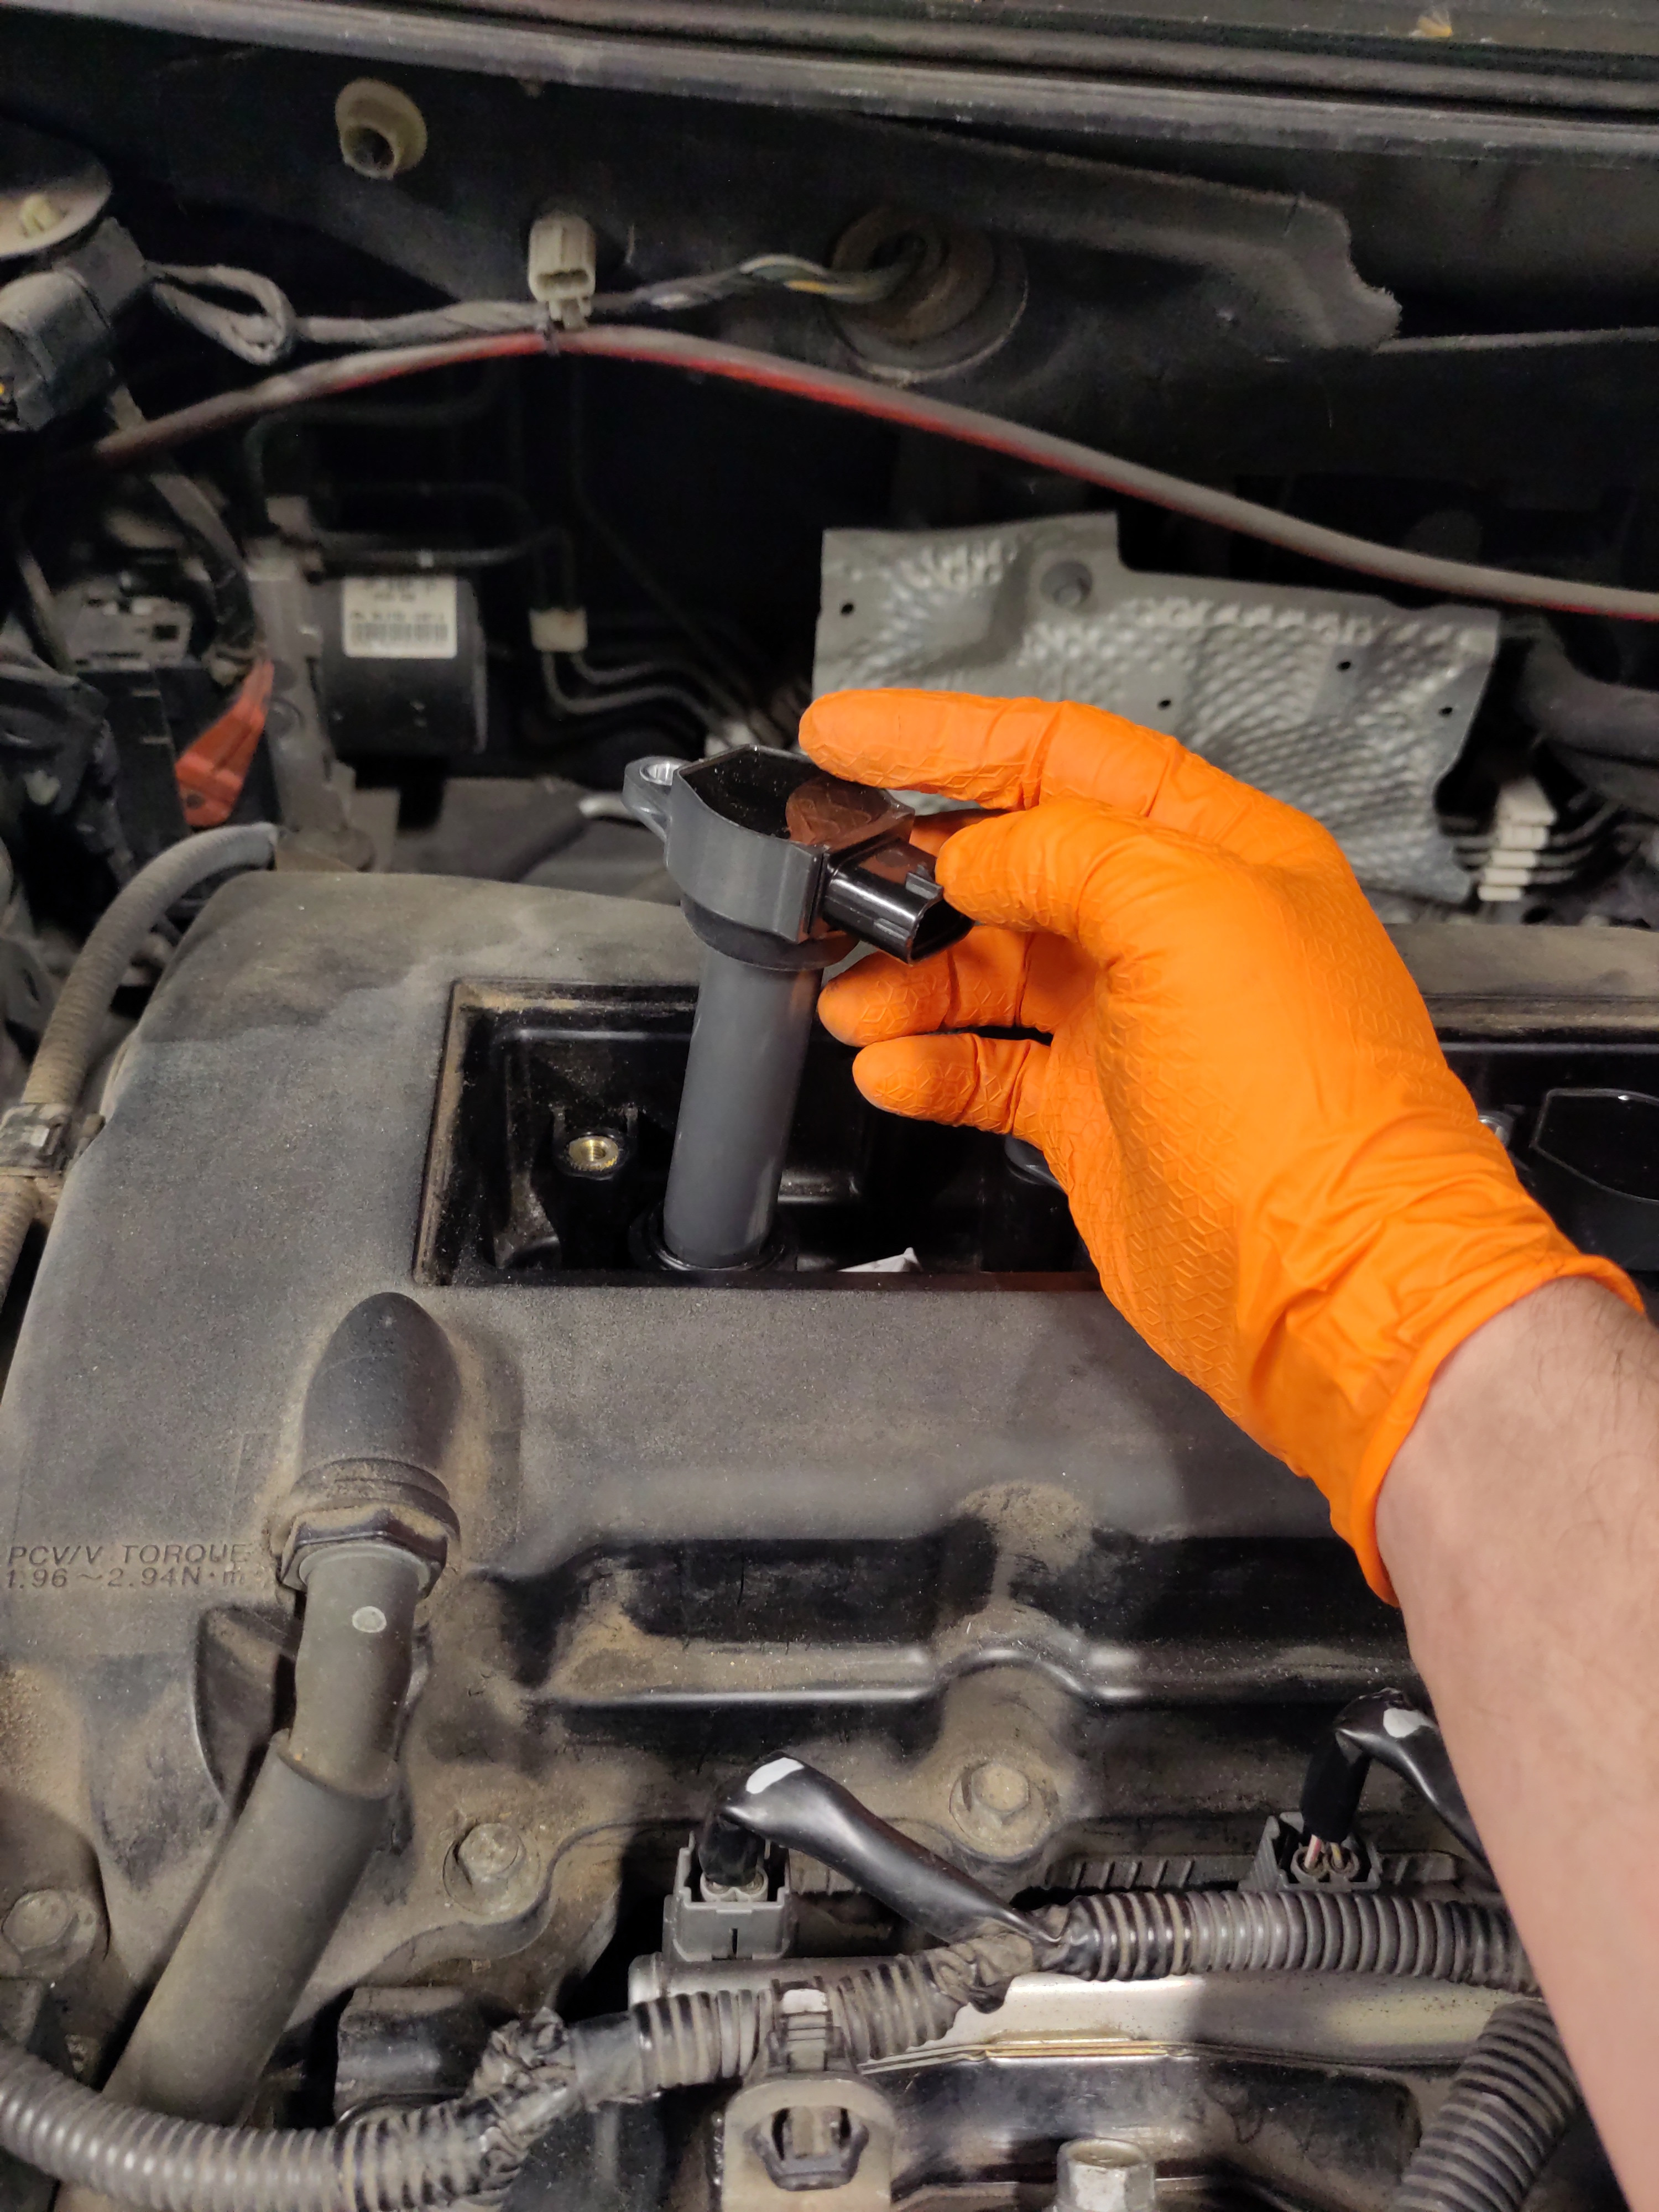
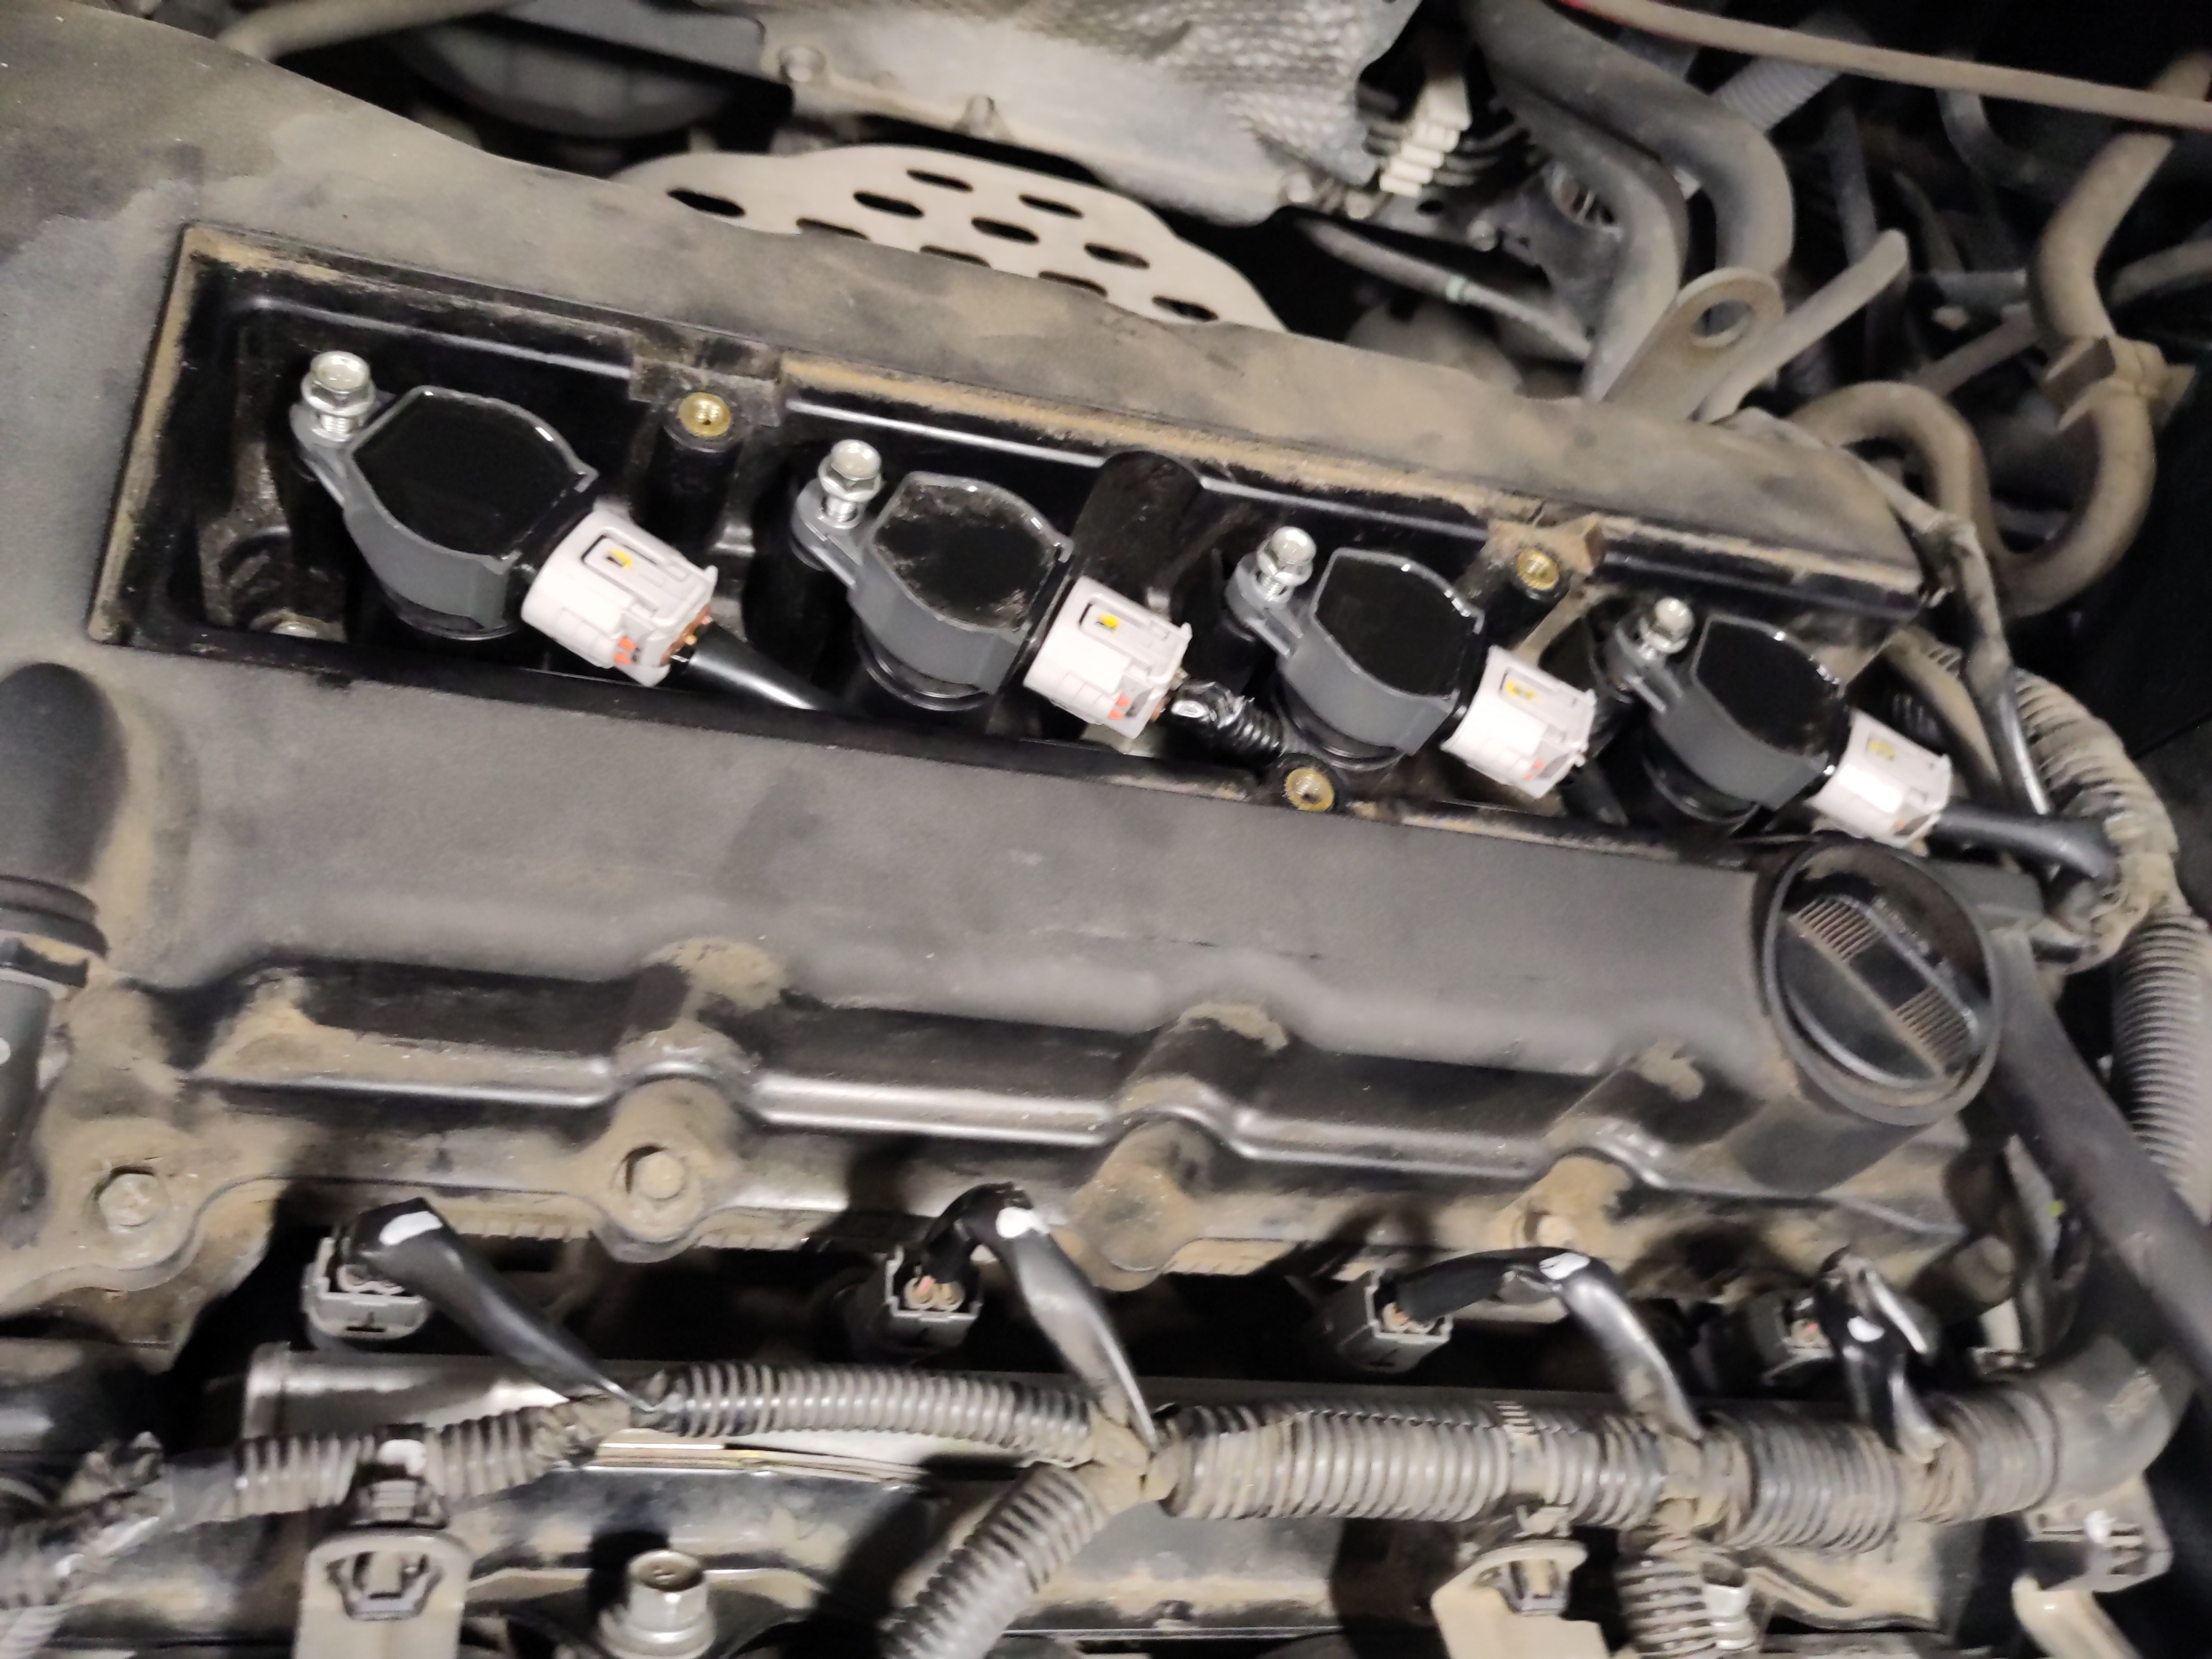
- Replace each ignition coil one at a time and swap out the old one with the new one. It would be easier to reconnect the electrical connections and secure electrical connections, it will be confirmed with an audible click. Repeat this step for each ignition coil (4x).
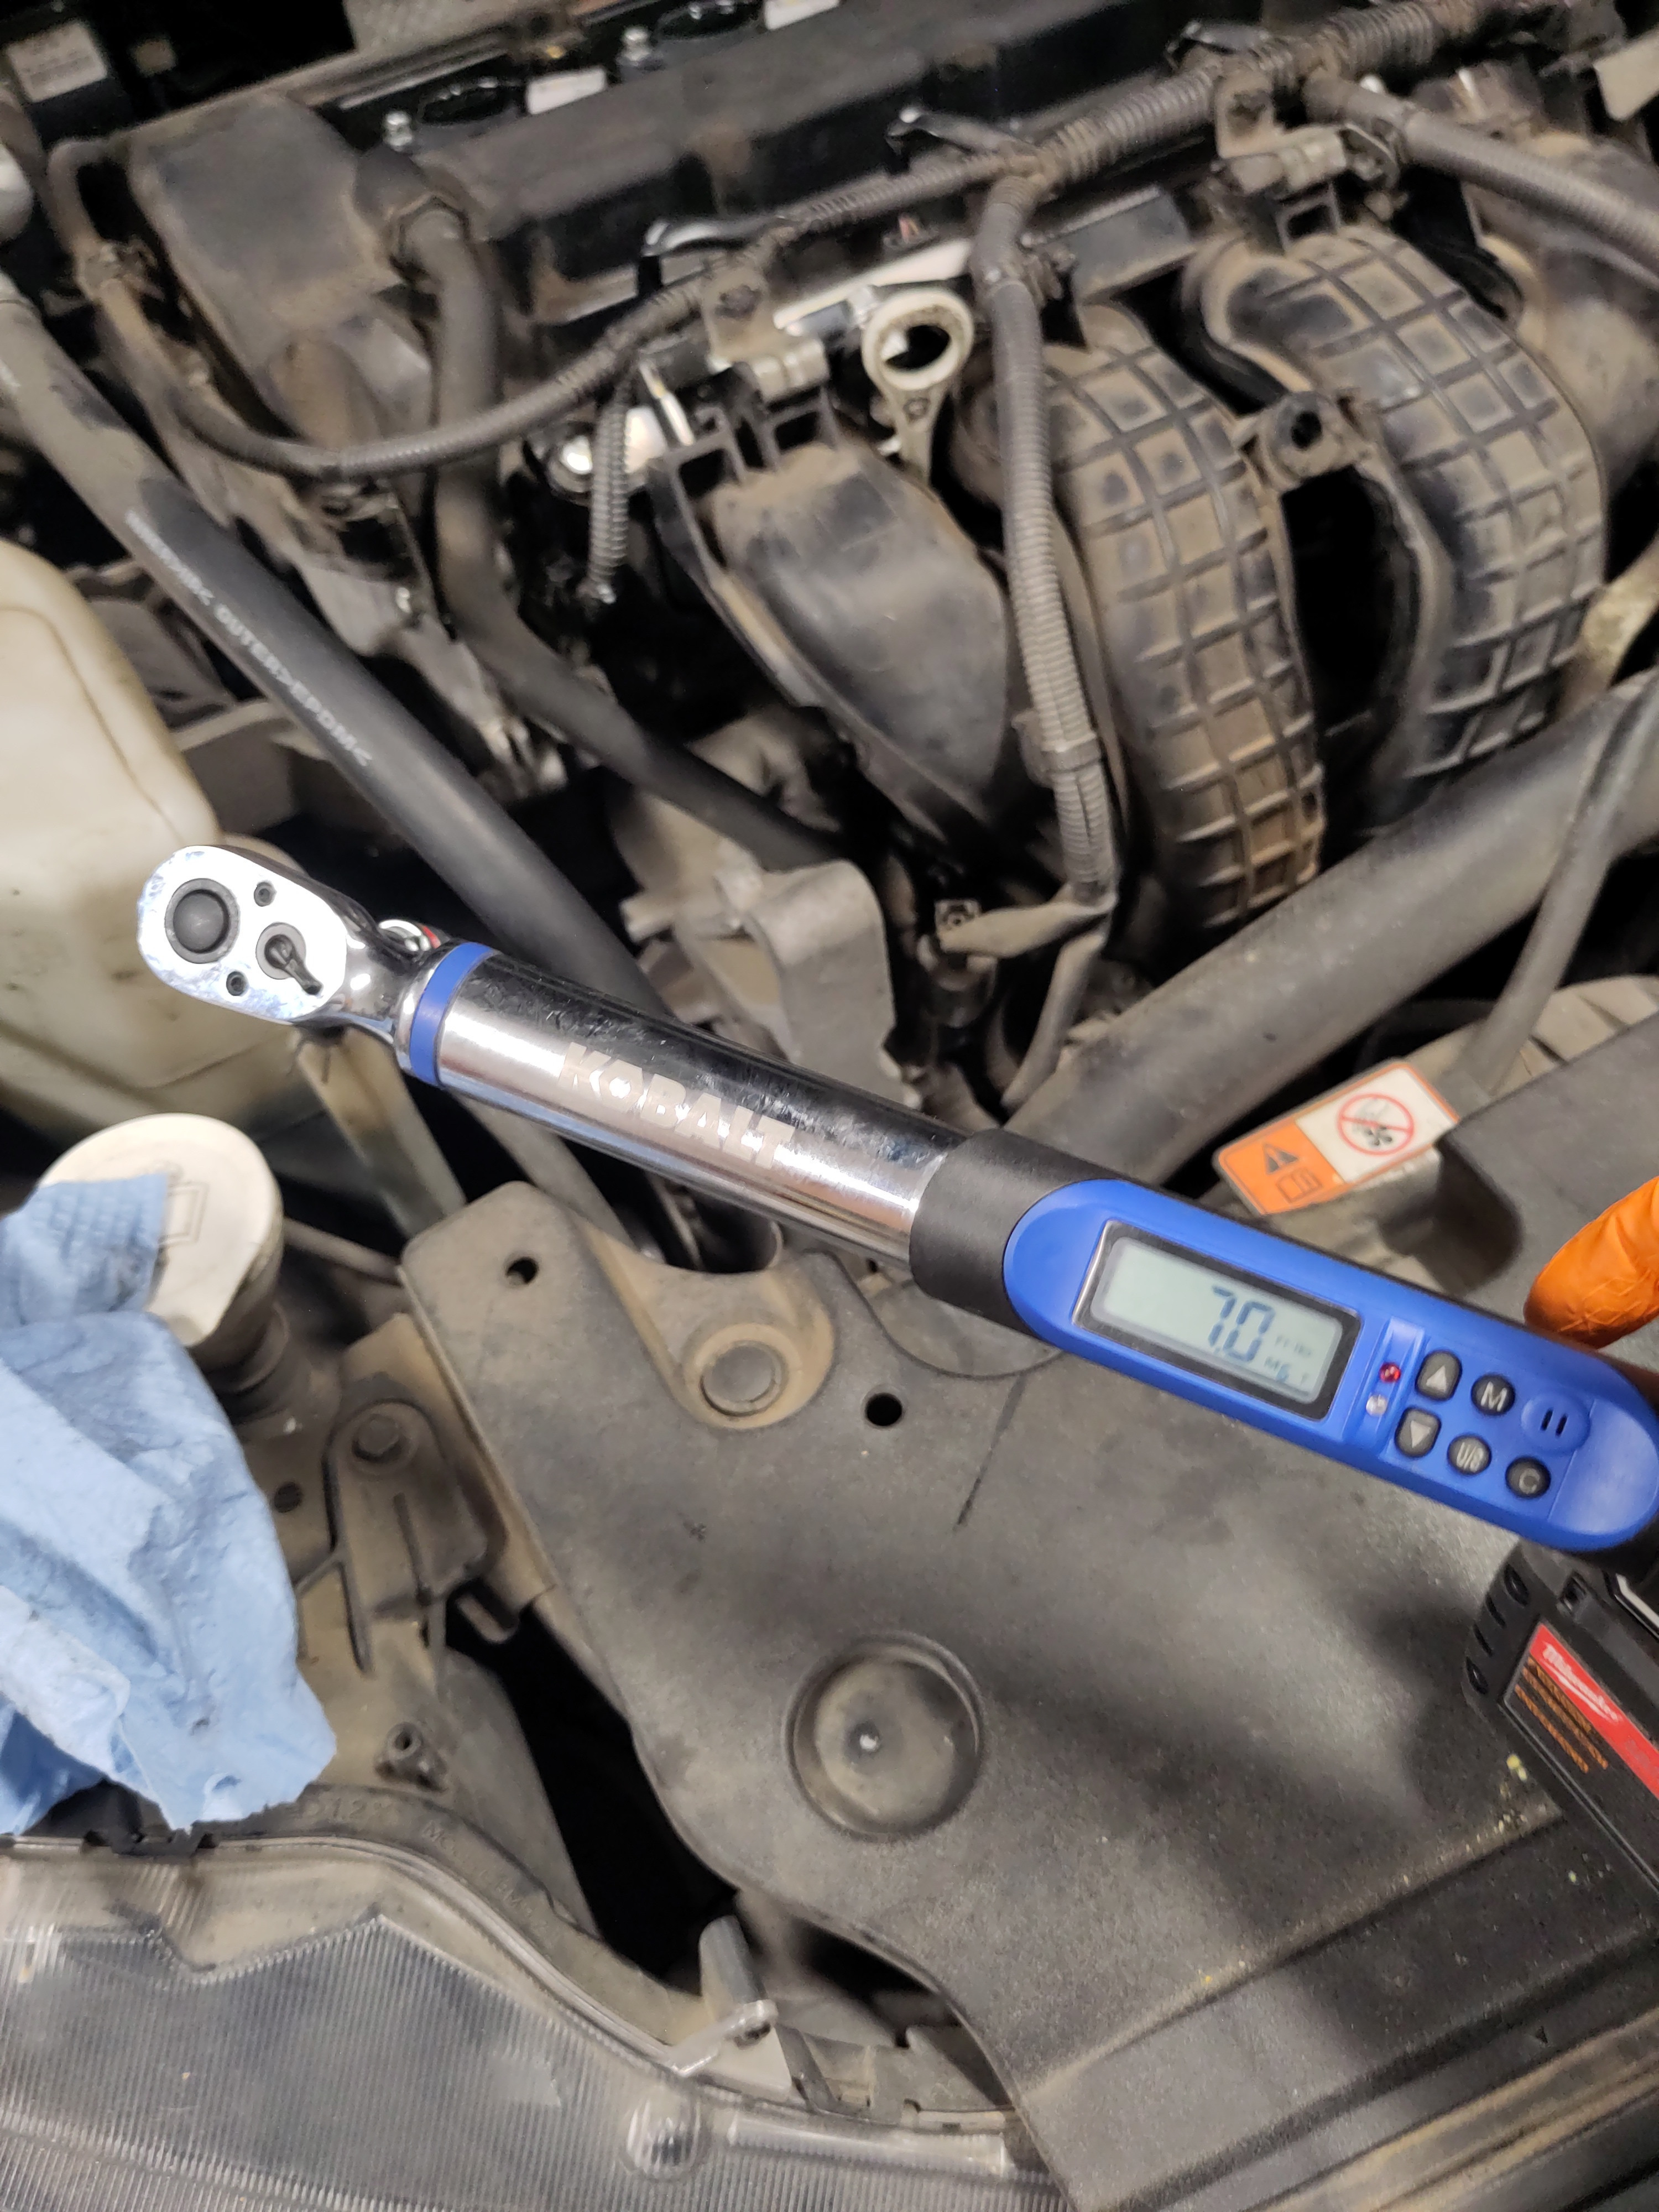
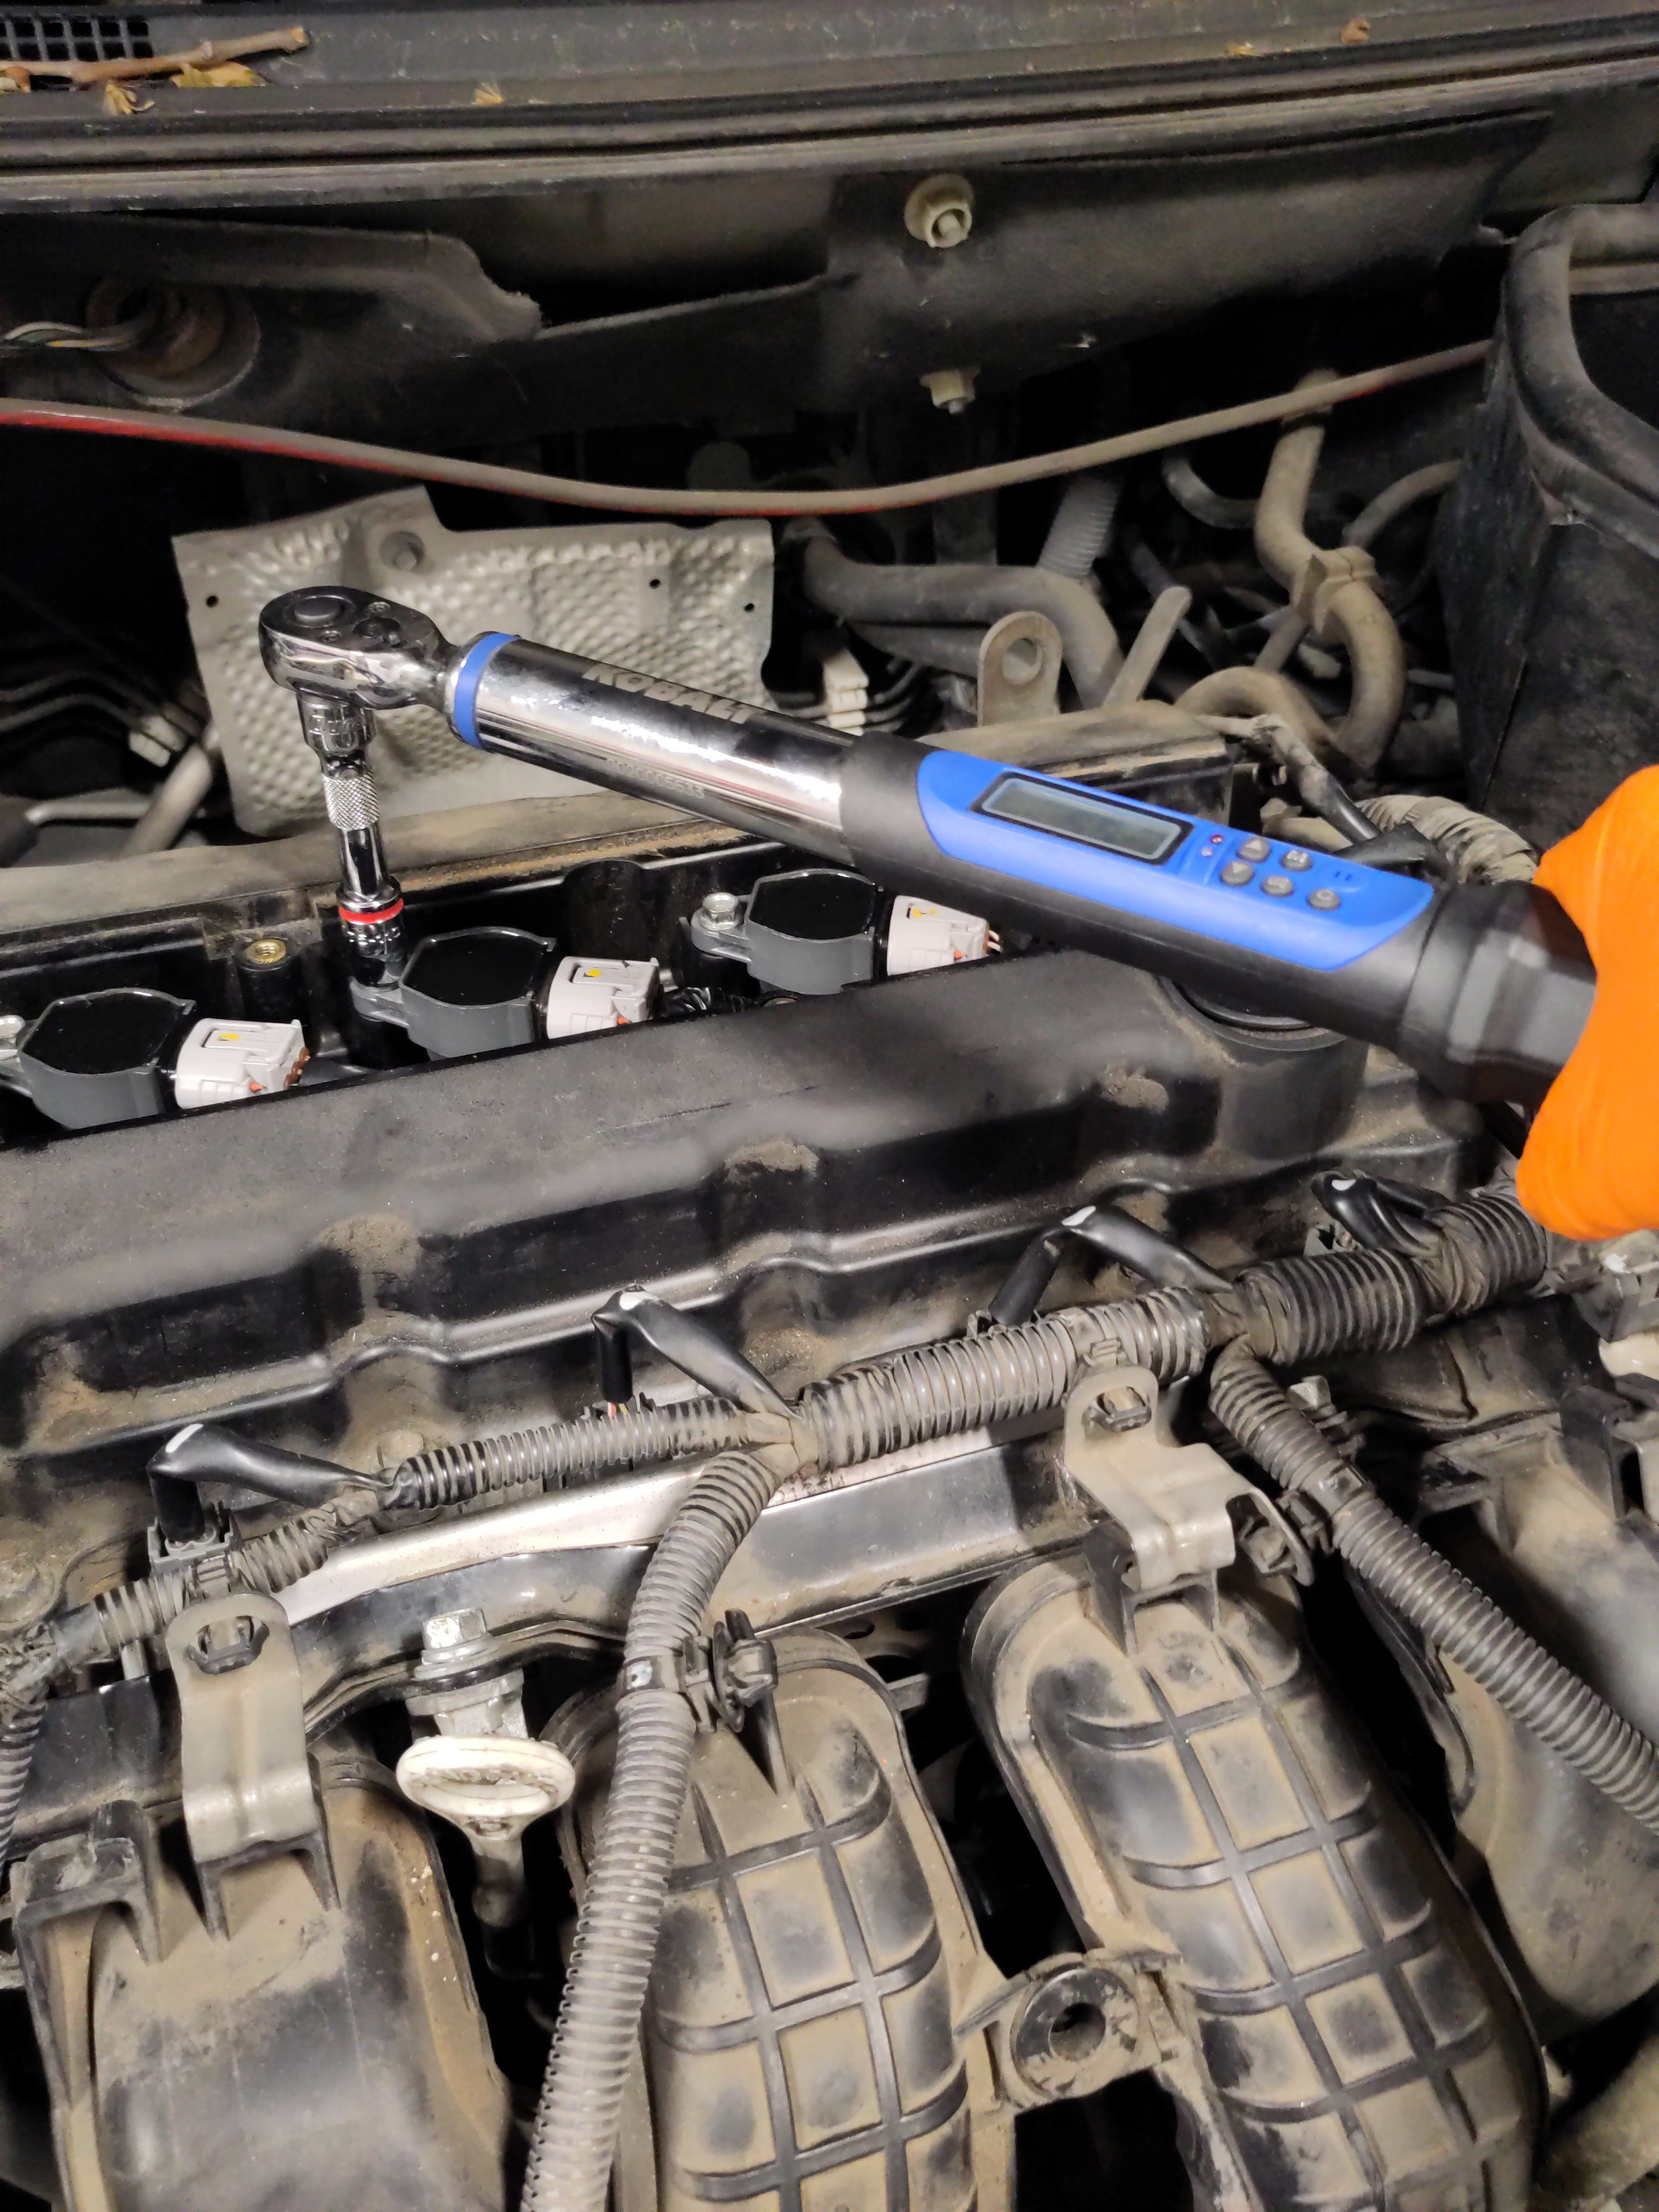
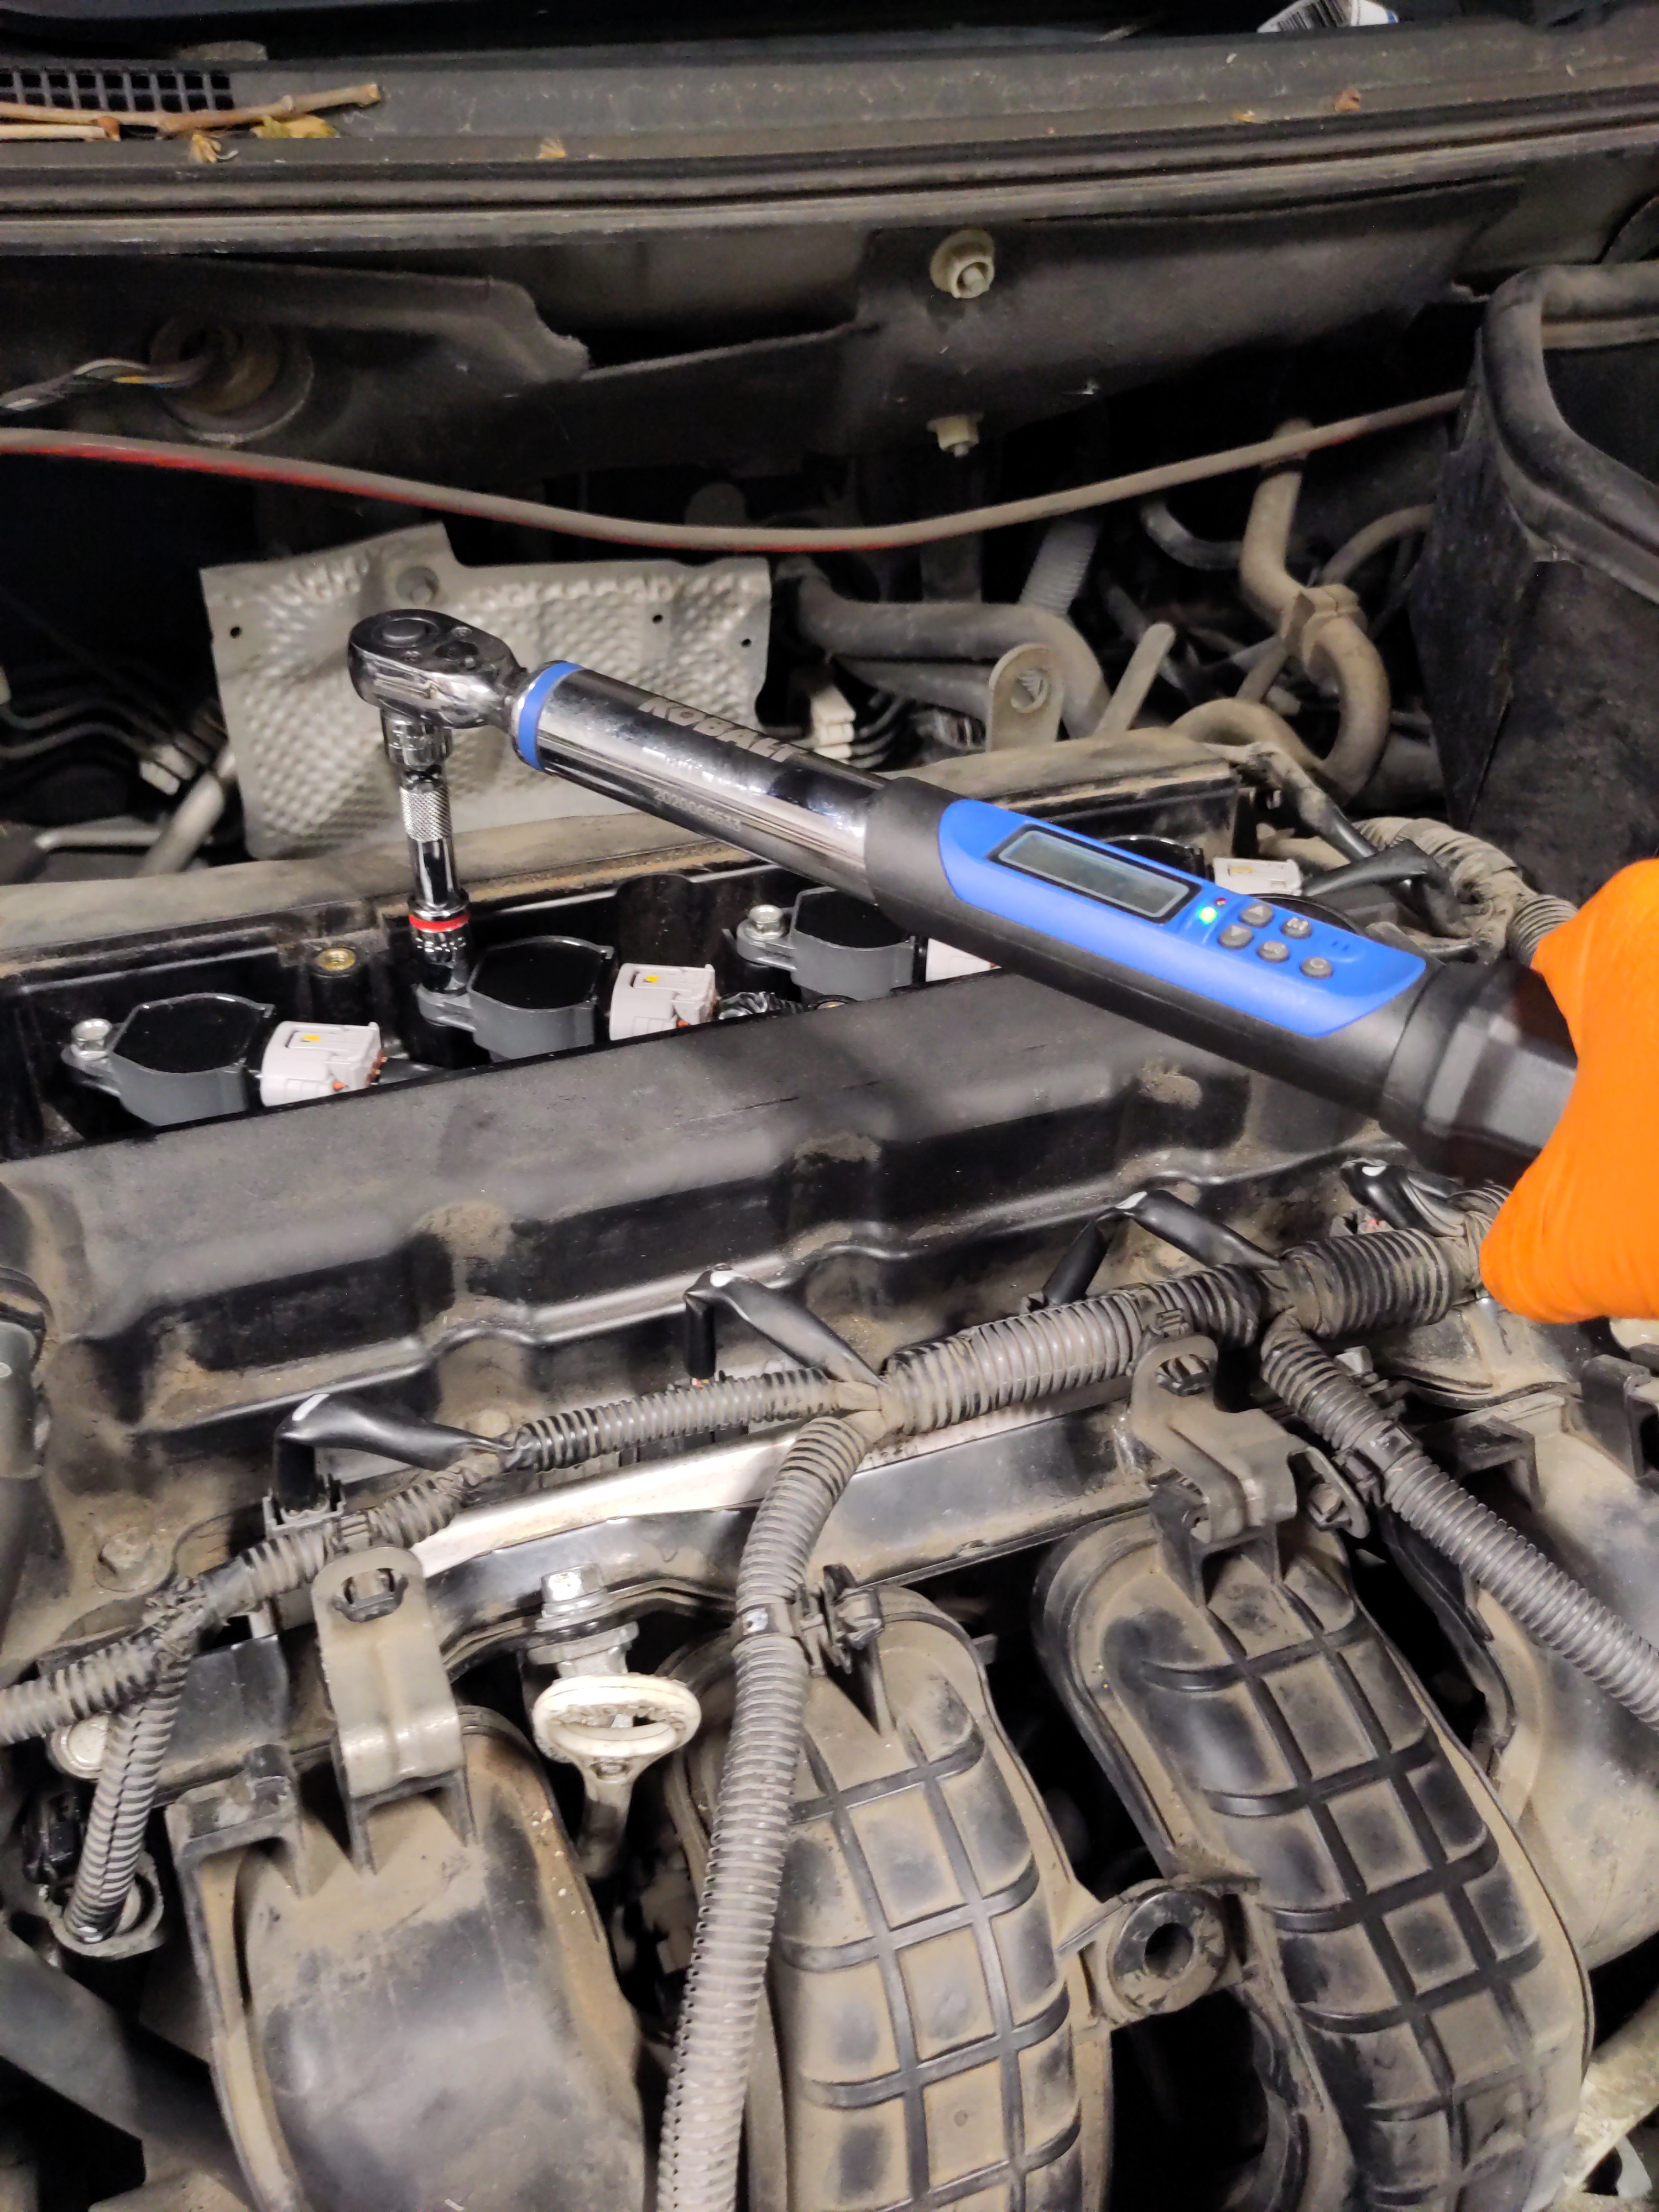
- Secure and fasten the ignition coils to 7 ft-lbs or 10 N-m for each individual ignition coil. Perform this step for each individual ignition coil. Note: initially hand thread them in to avoid cross threading.
- Put the plastic panel back on and secure it with the 10mm bolts (3x).
- Reconnect the negative battery connection to the battery terminal and tighten to where there is no wiggling movement coming from the connection.
Method of Diagnosing System:
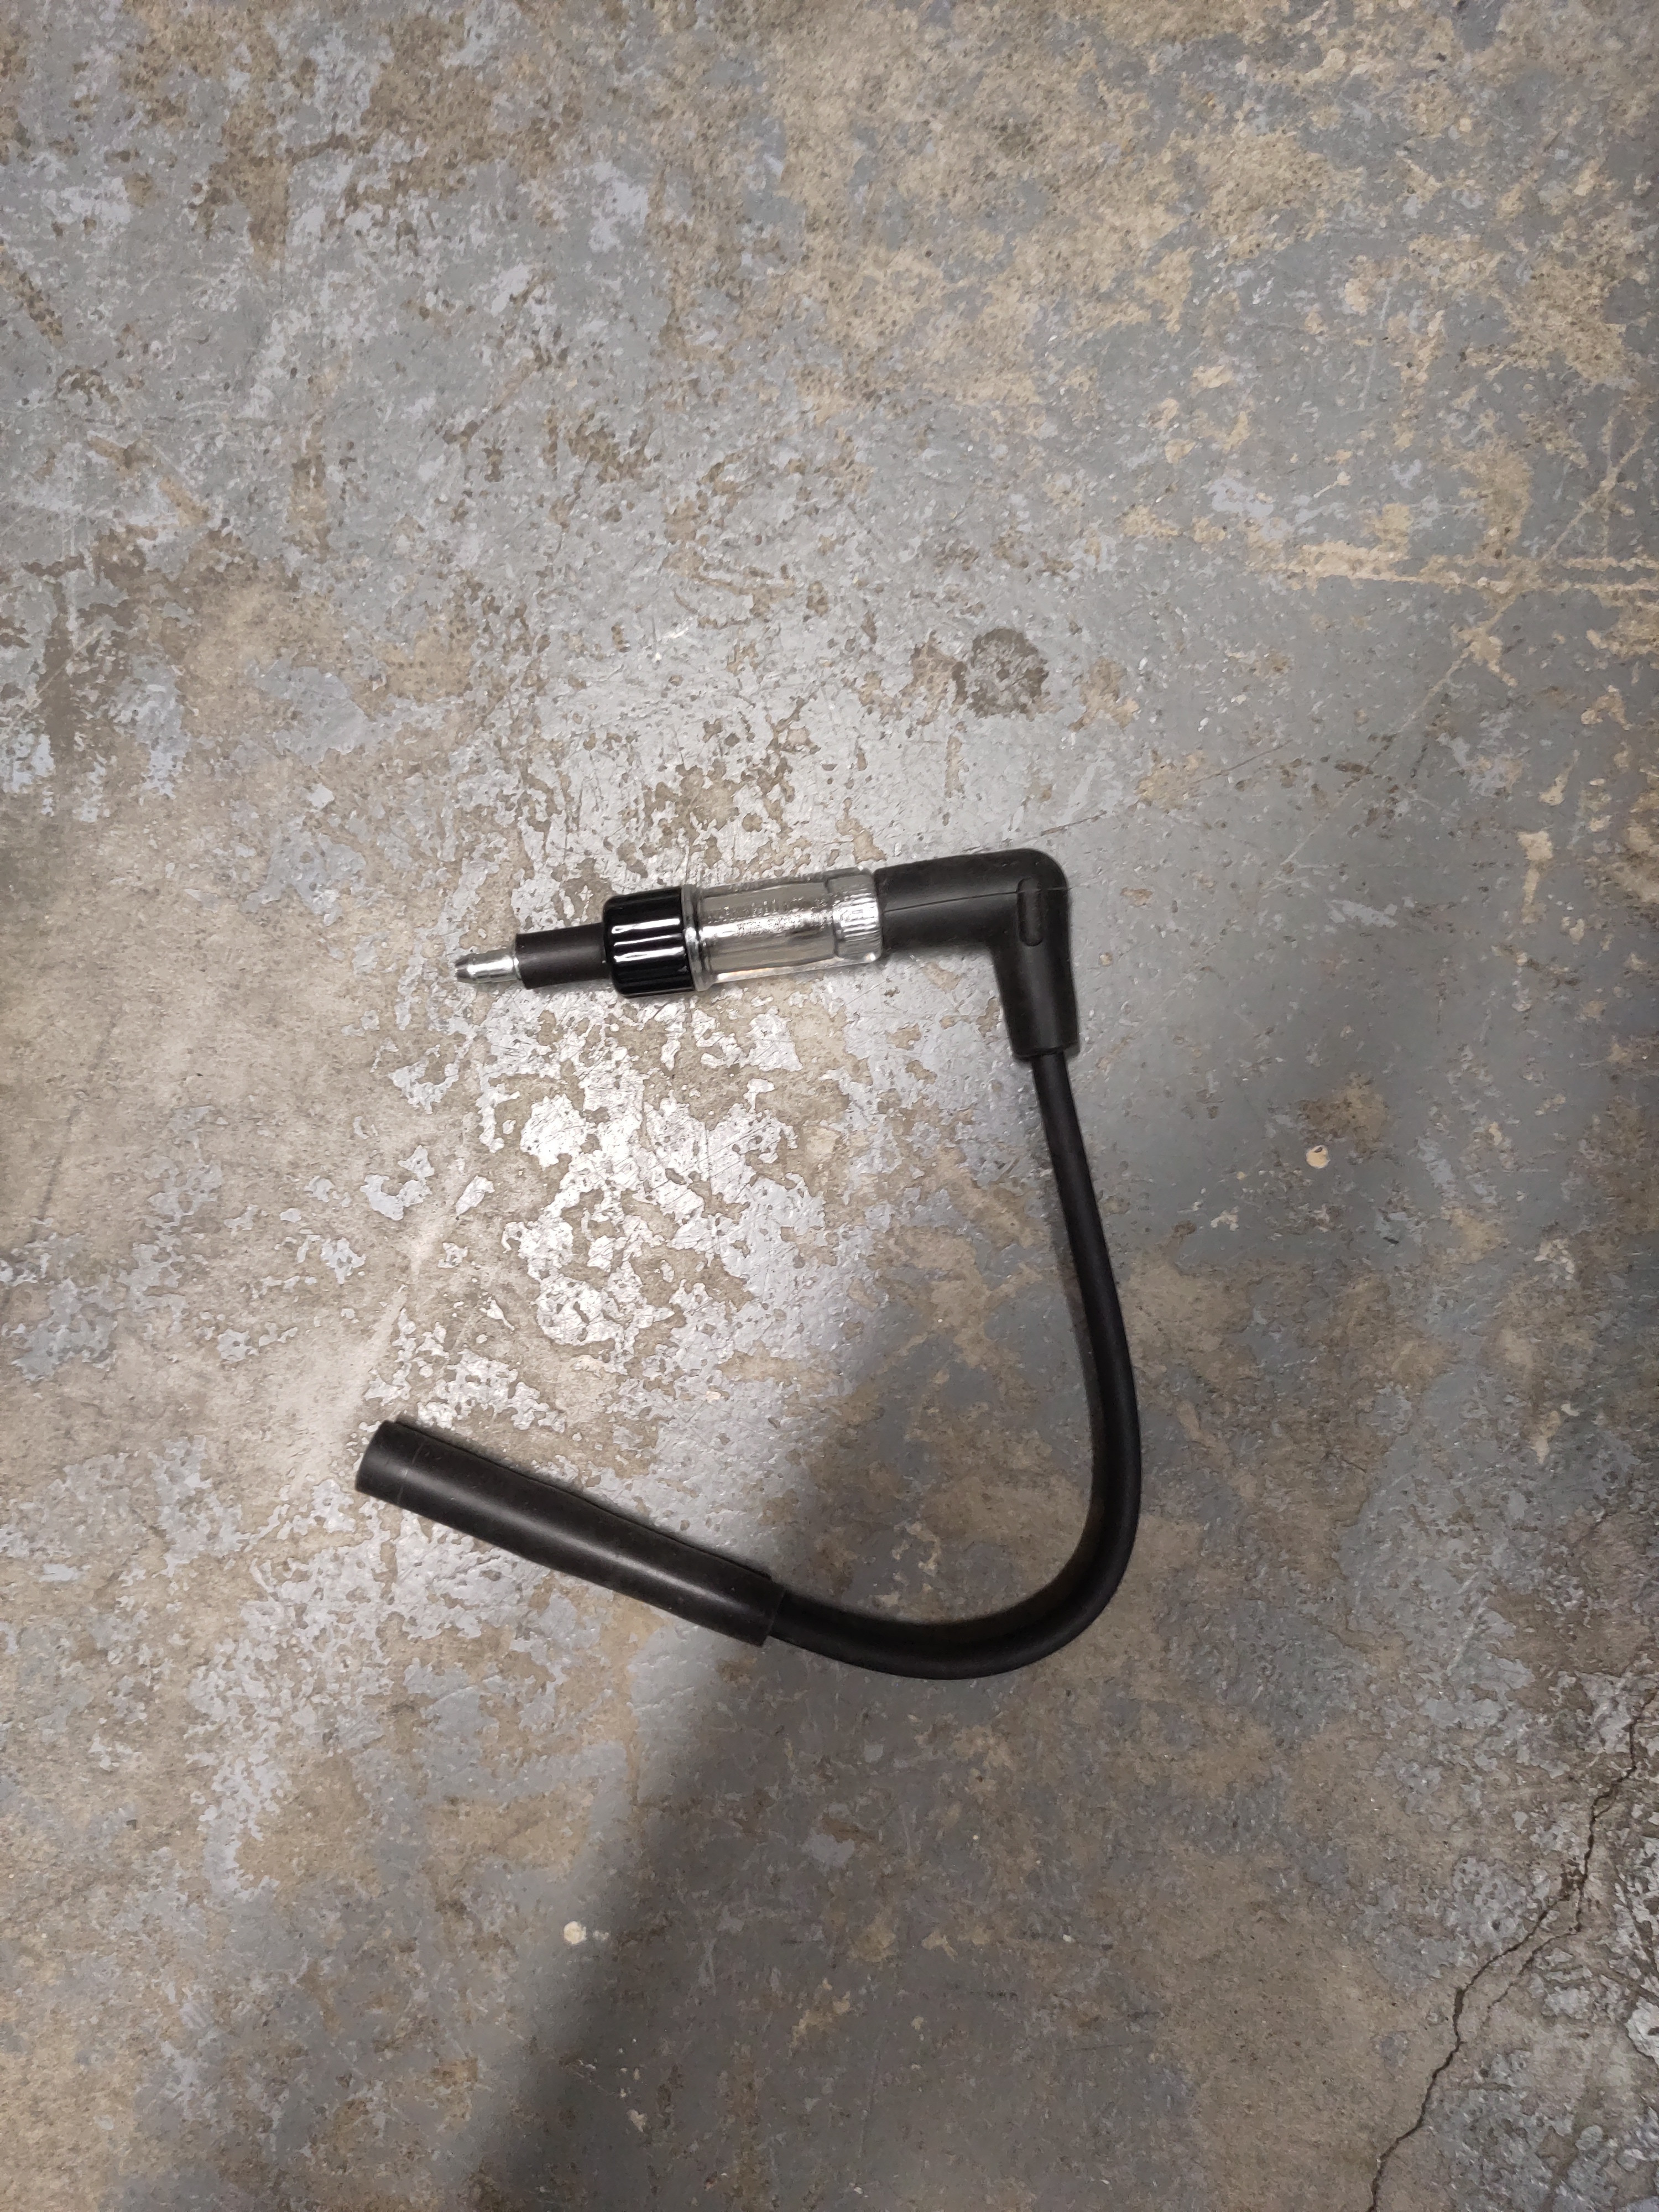
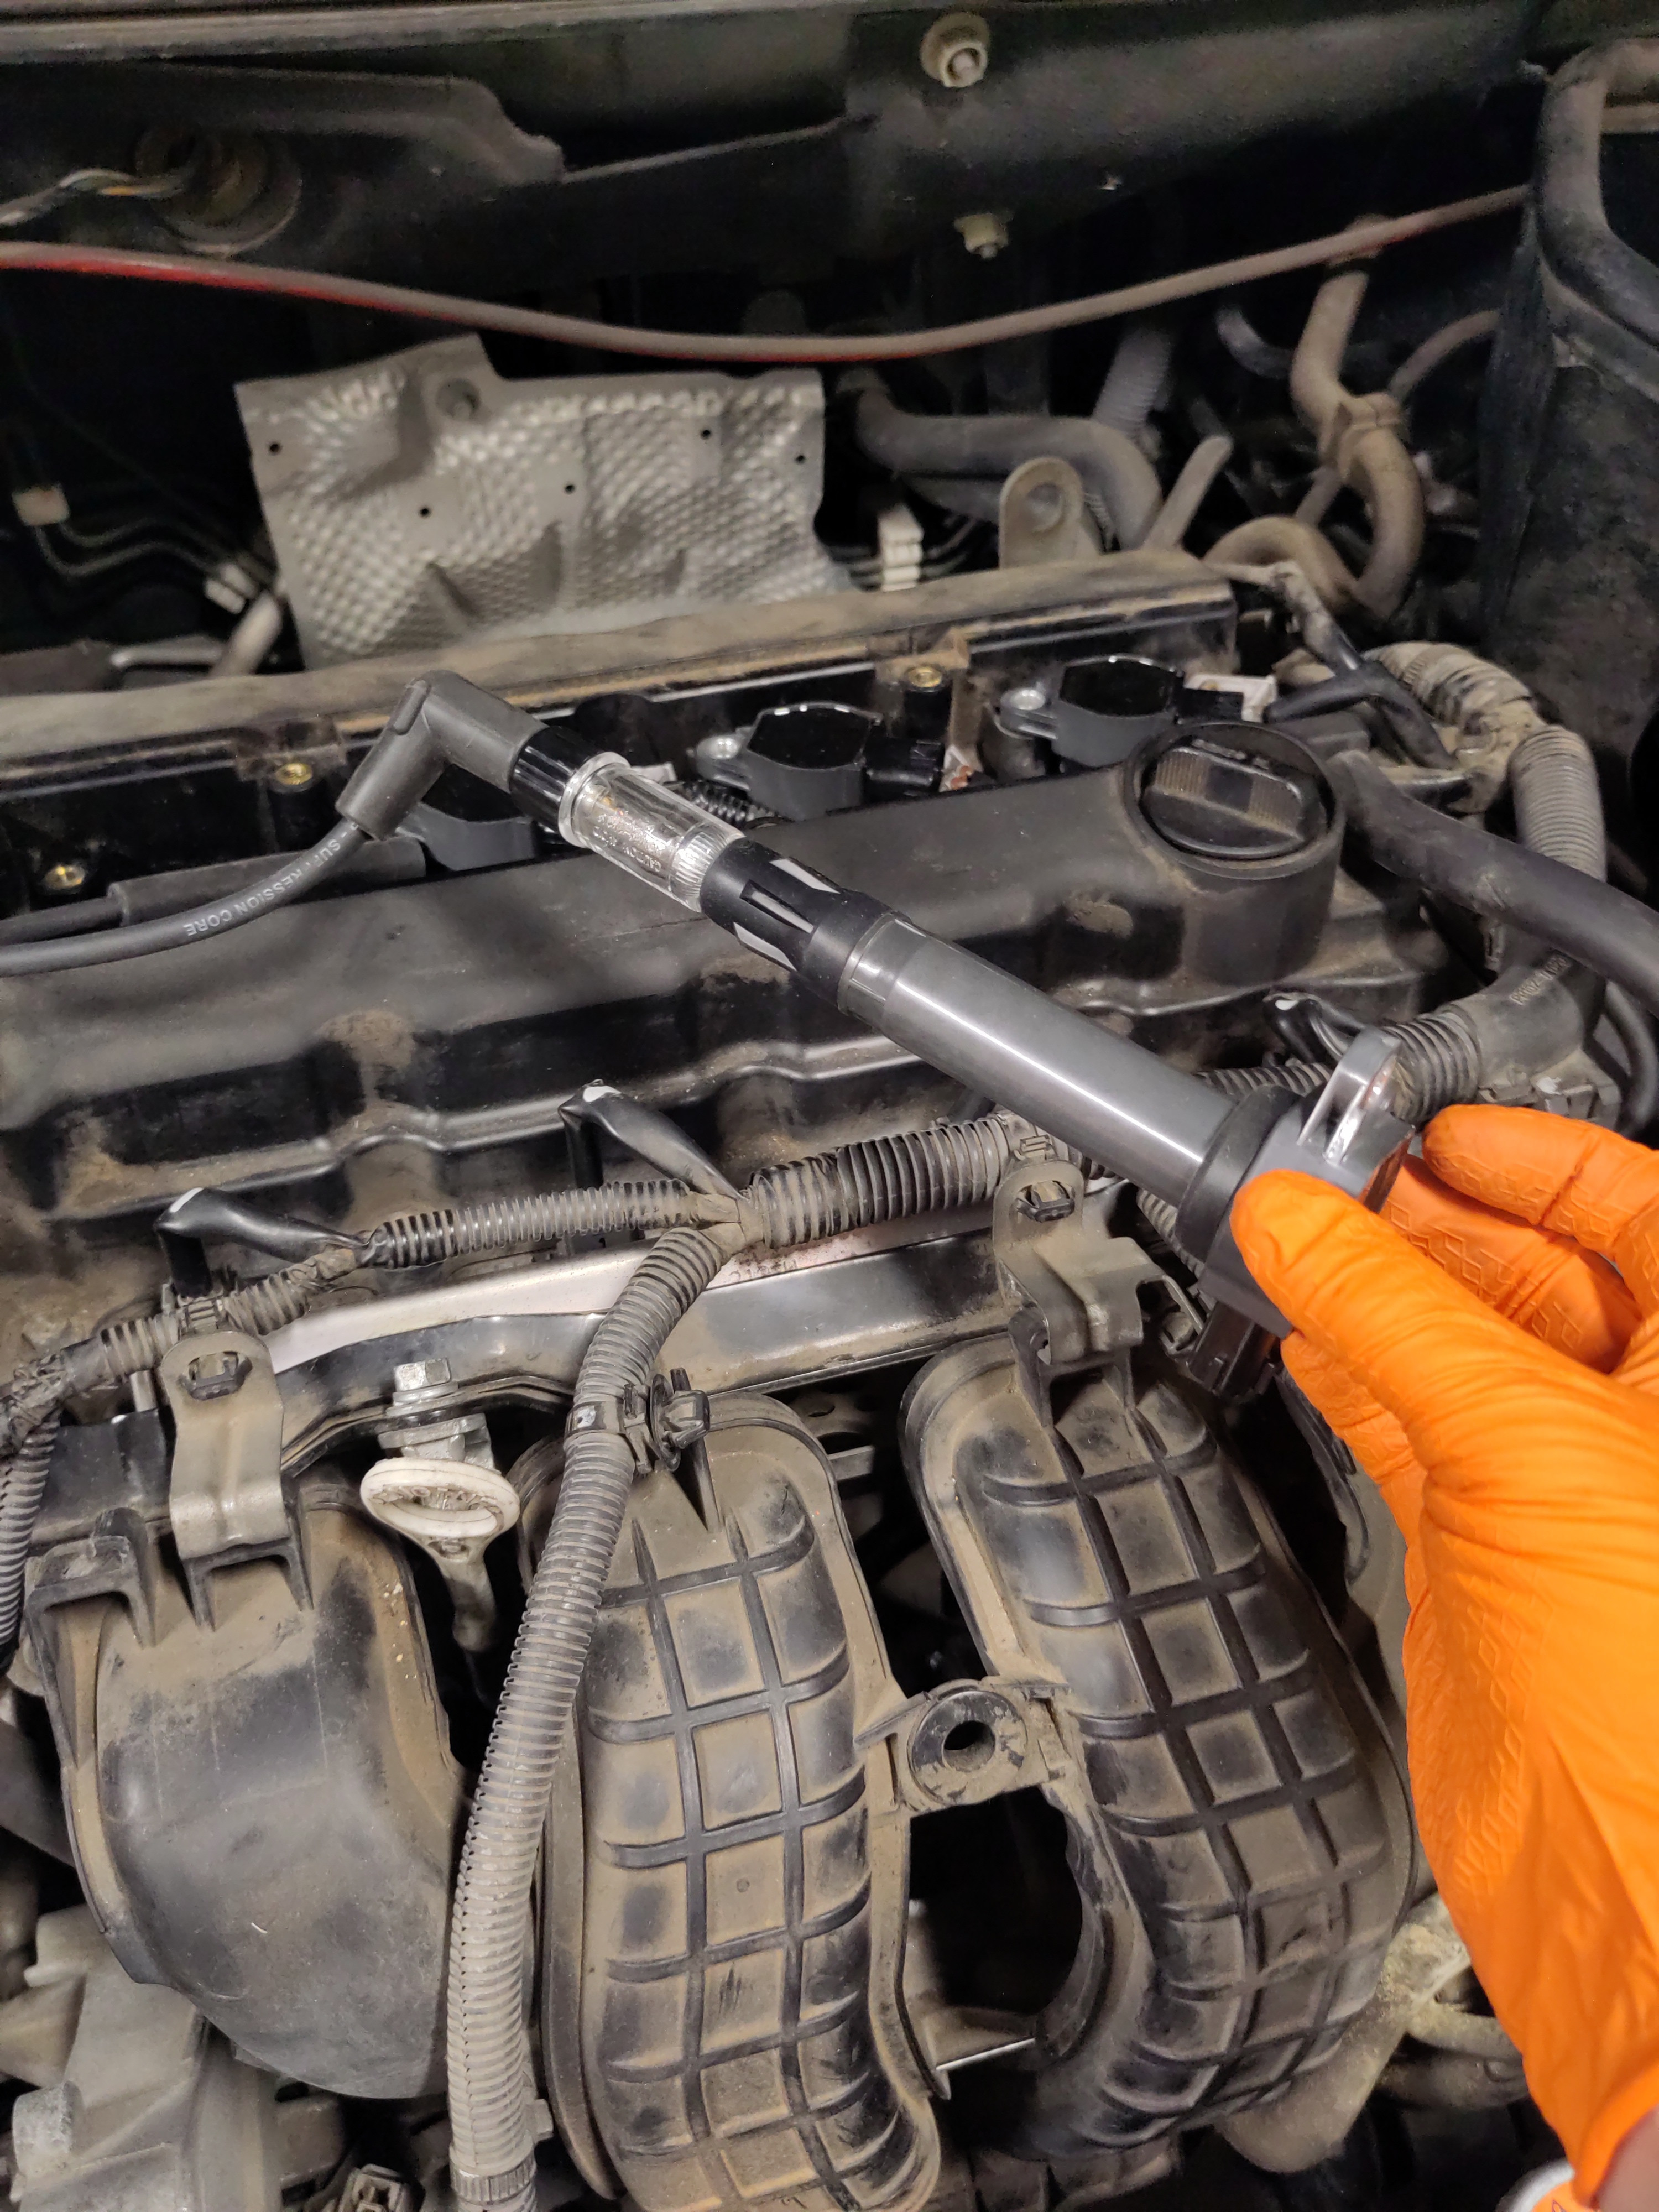
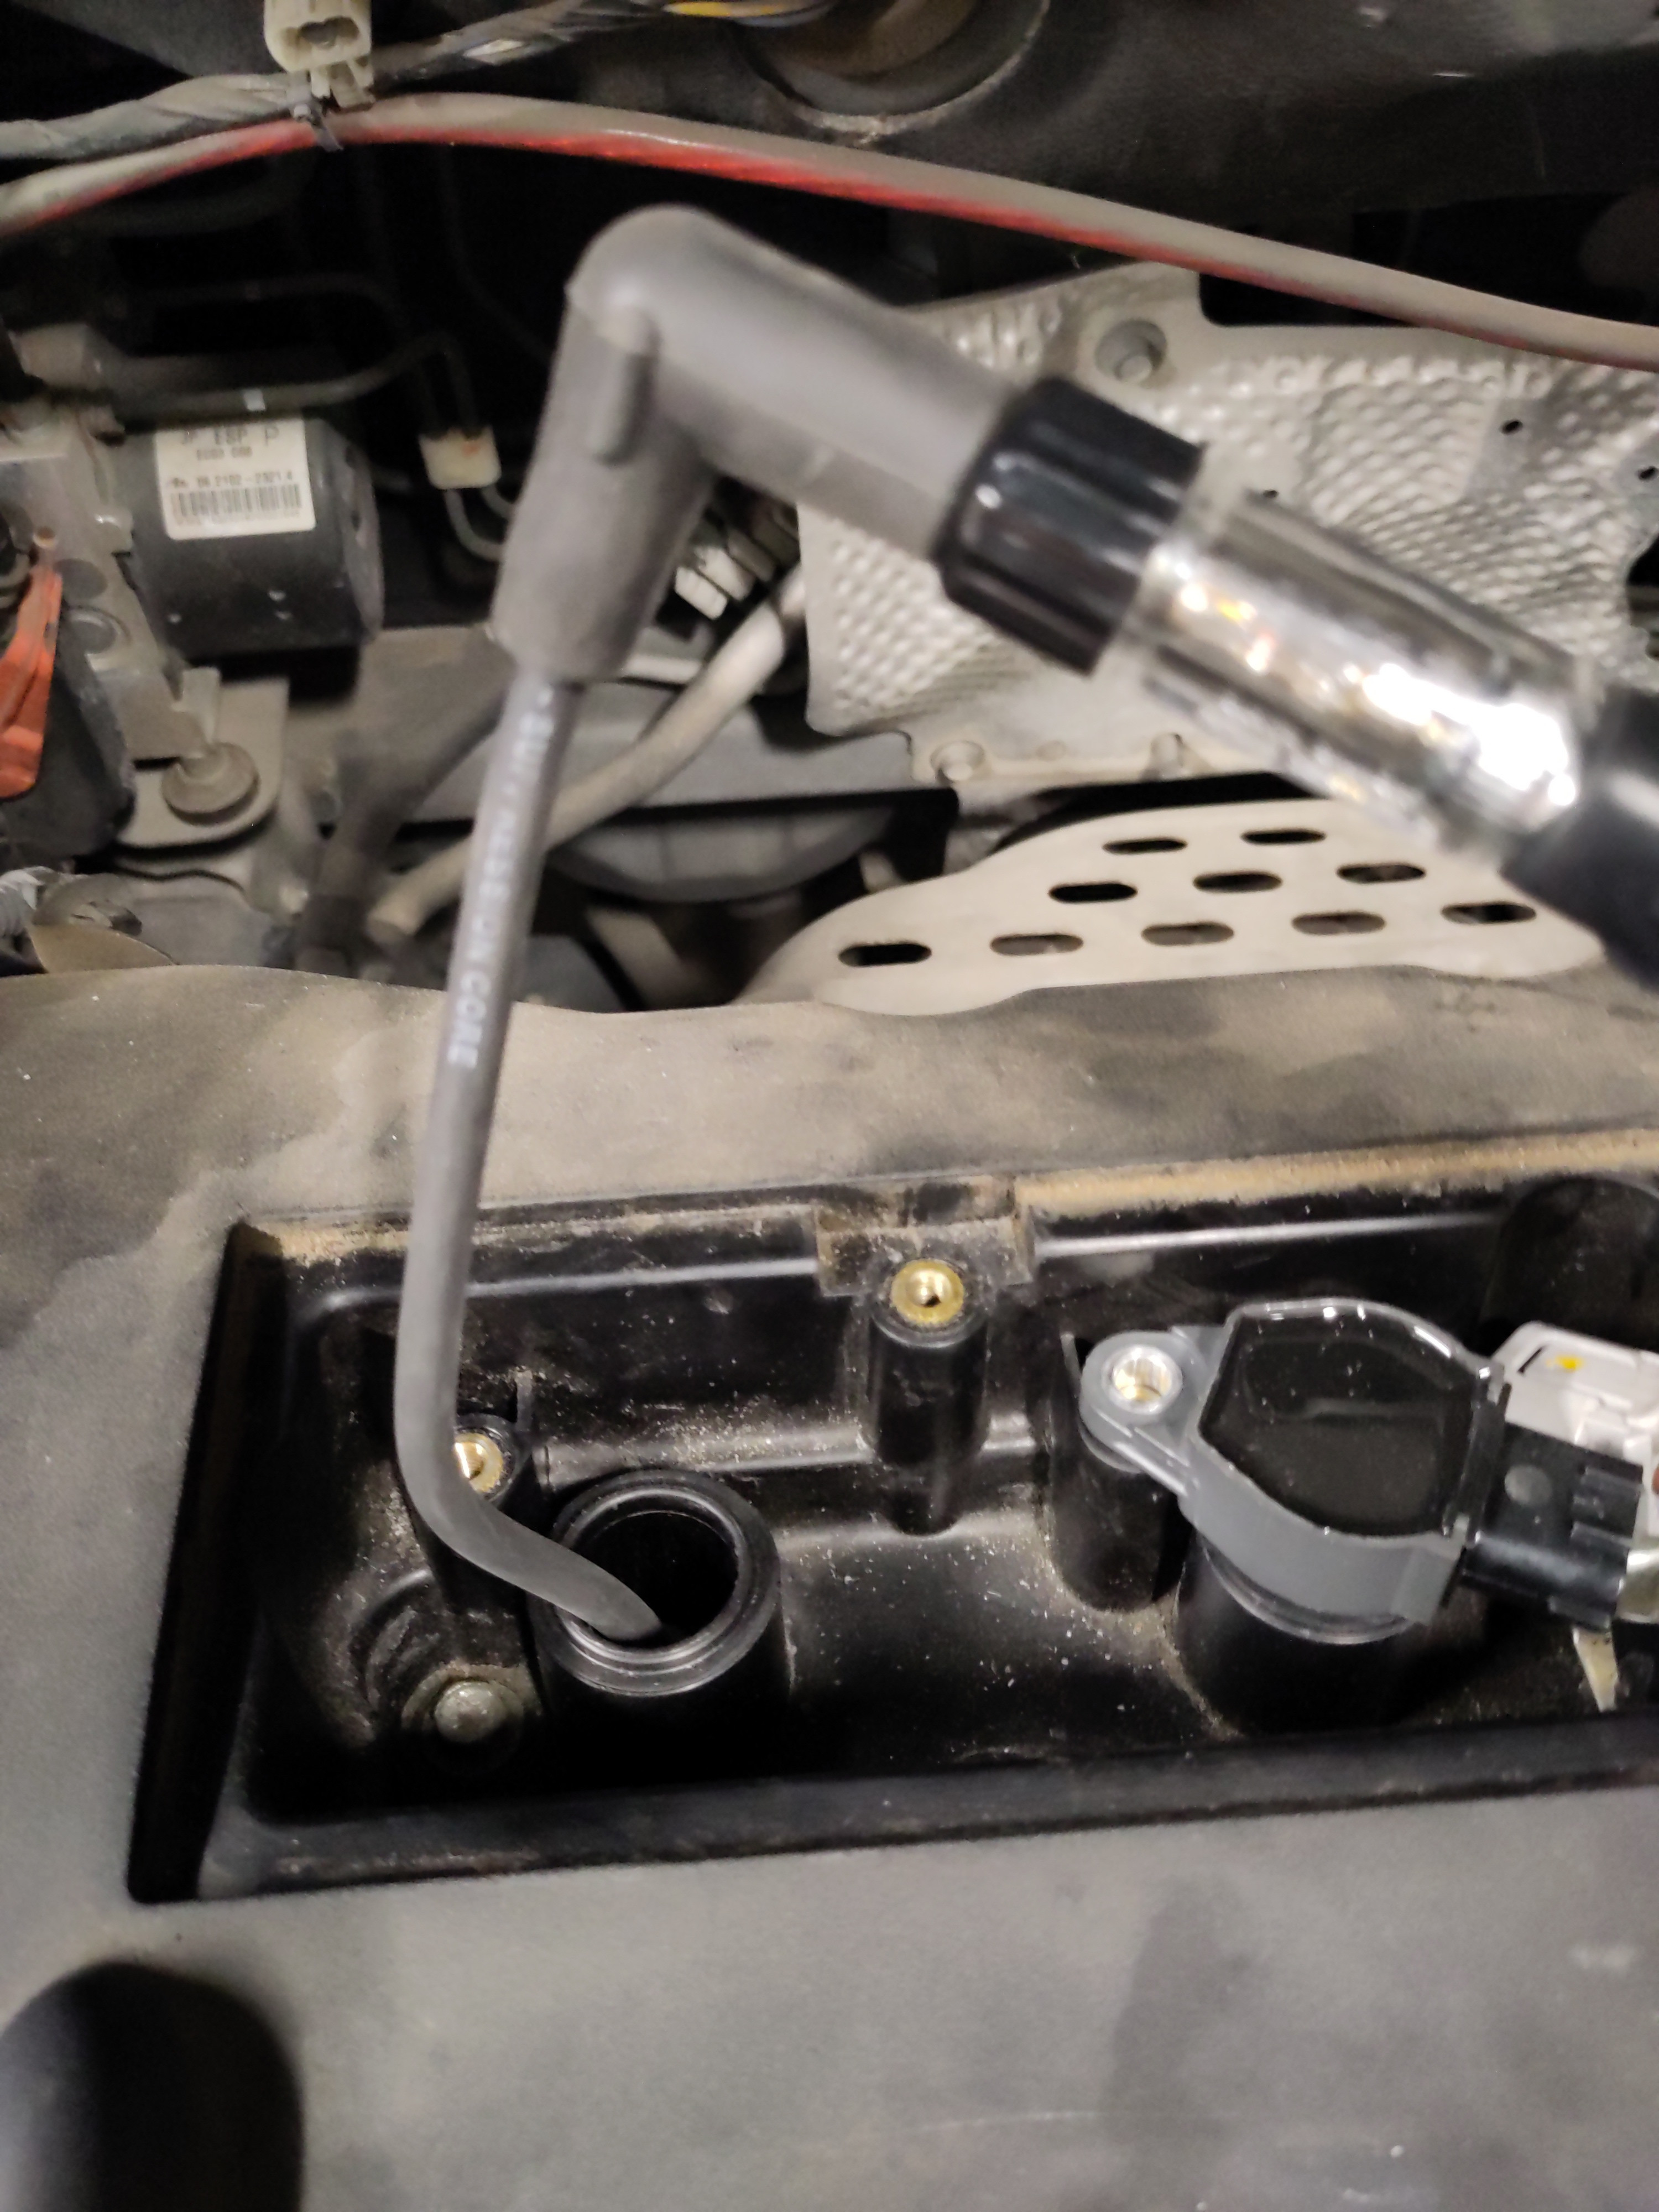
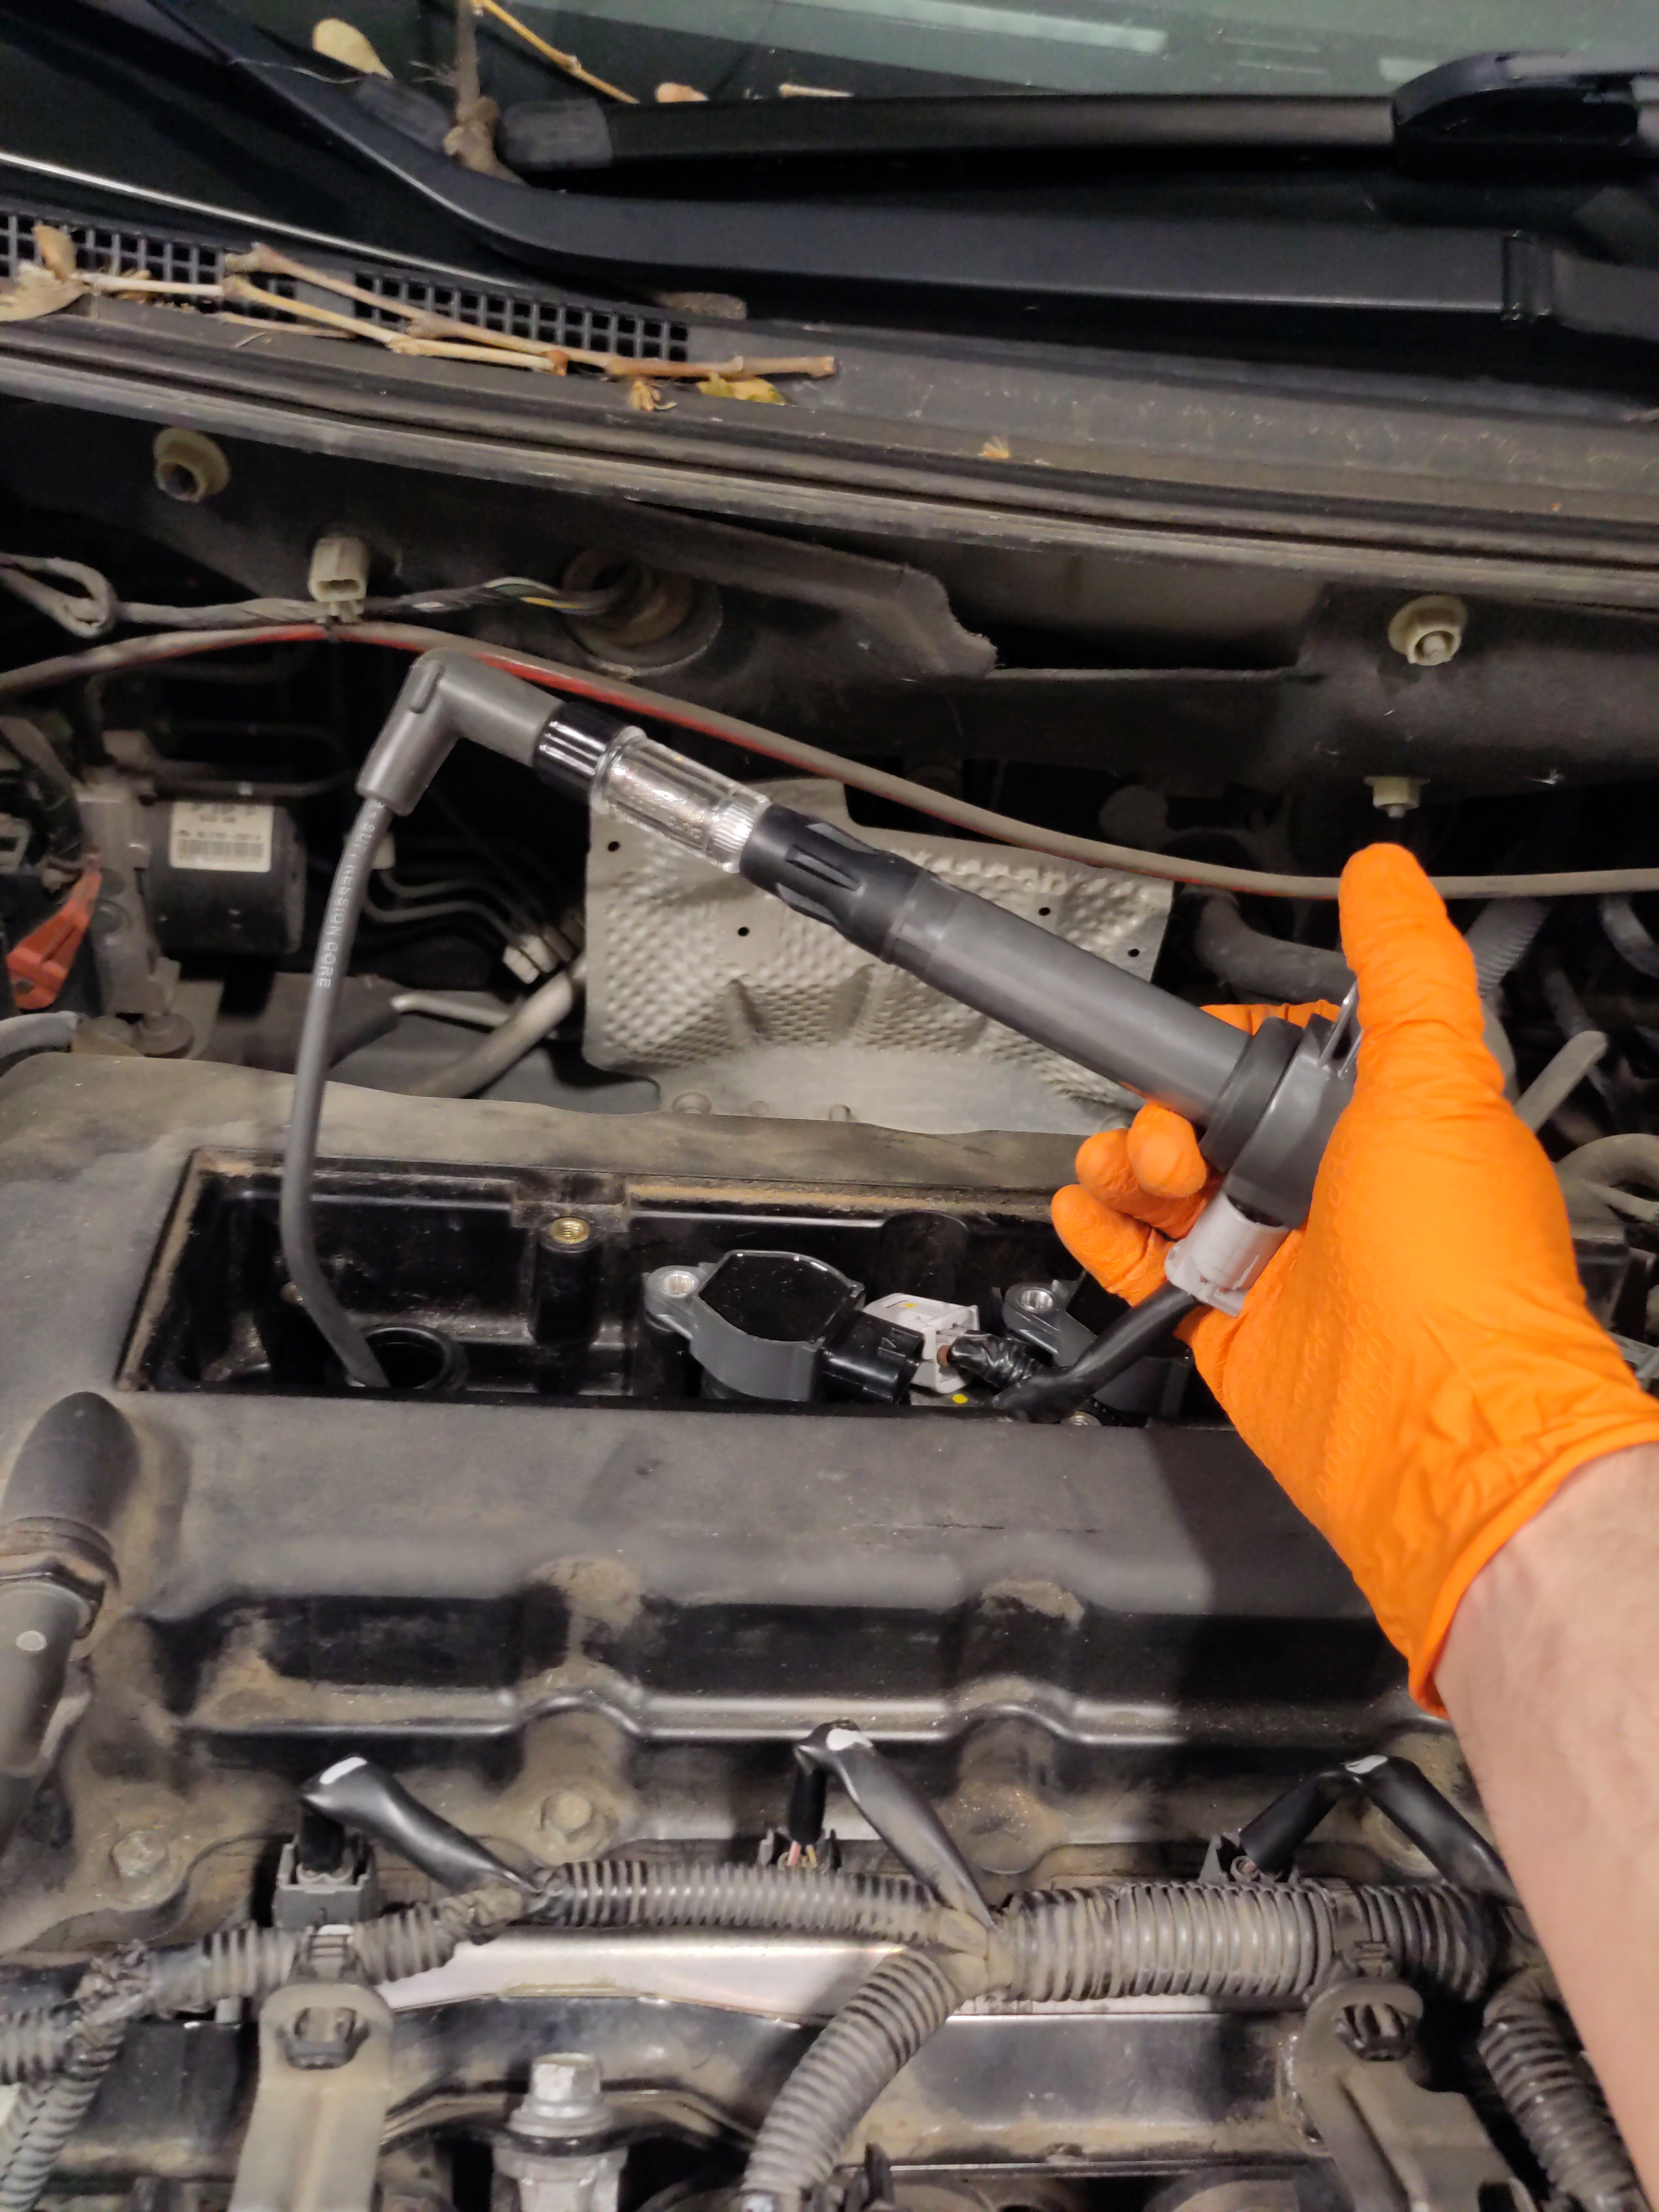
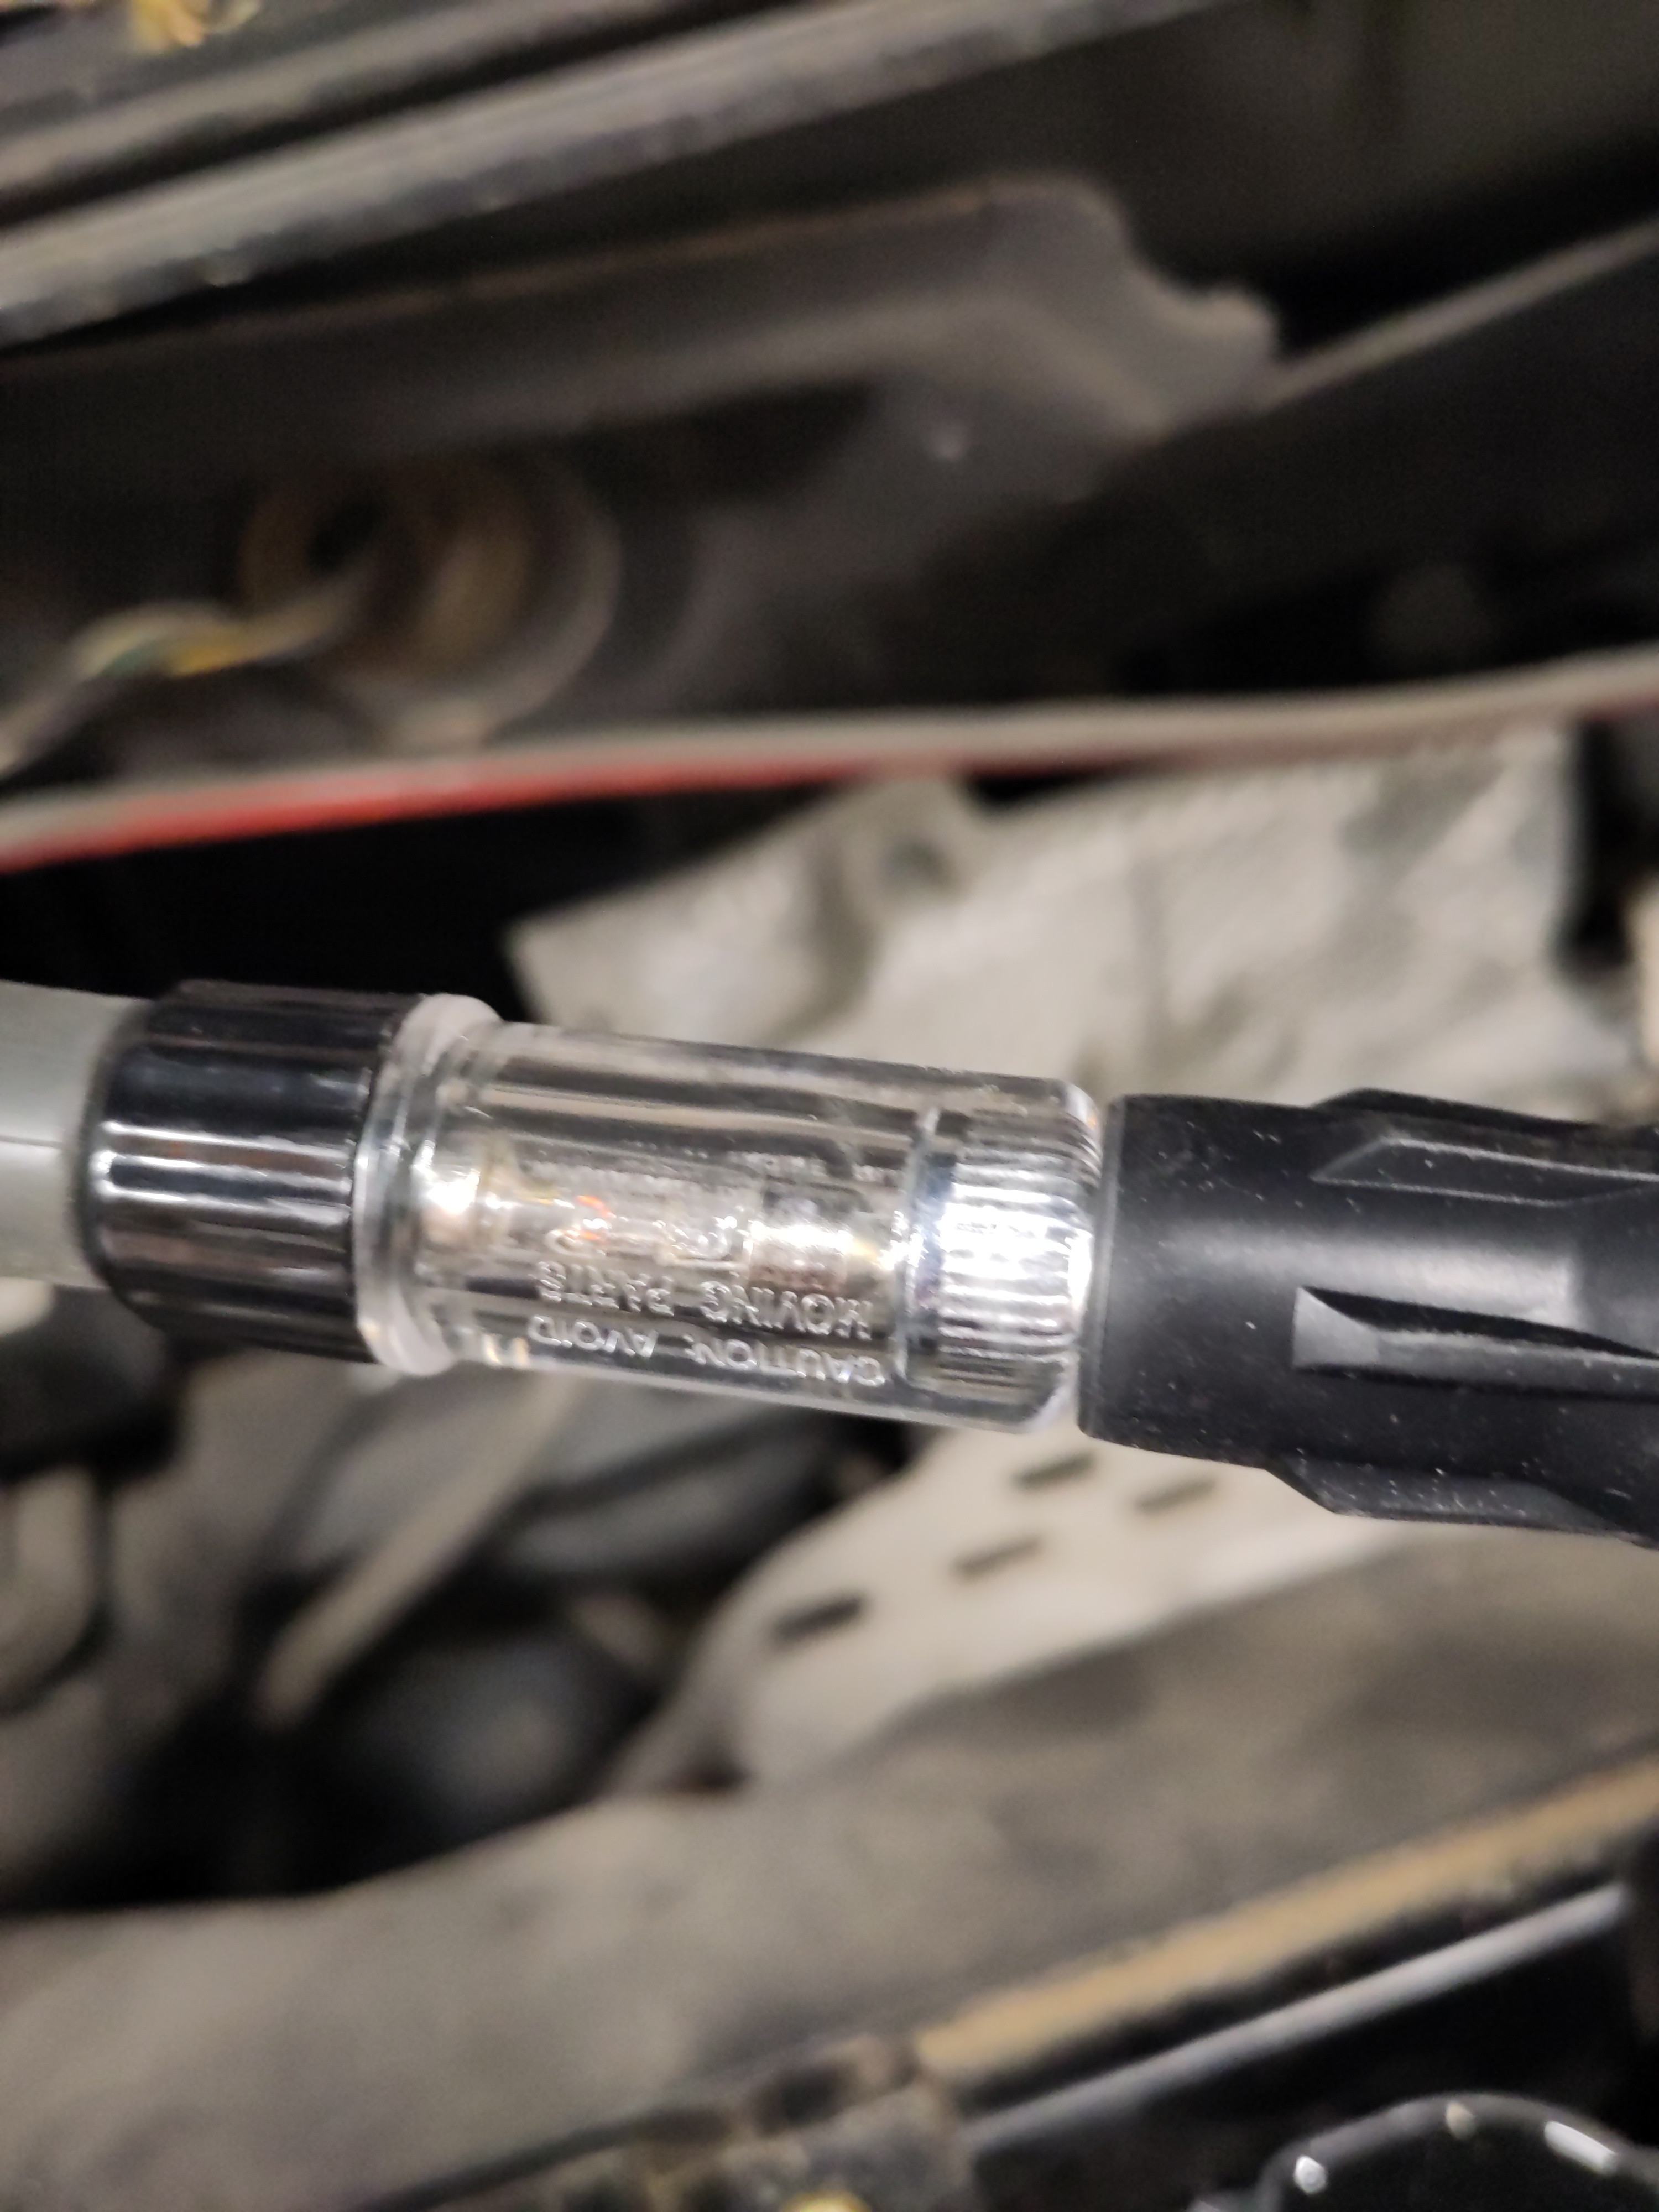
This tool tests to see if there is ignition coils are sending a strong enough voltage to the spark plugs. If the system is fully operational then light bulb will flash. The test will require two people; one sitting in the vehicle and turning the key and the other is assessing whether or not there is an illumination. The following steps will be useful and setting it up.
- Plug one end into the ignition coil.
- Plug the longer end to the spark plug. Make sure connection is solid by pushing down on the wire.
- Connect the electrical connection to the ignition coil.
- Make sure the battery is connected and have second person sitting in the vehicle and actively engaging with the ignition key. While the vehicle is cranking/ turned on there should be a brief illumination from the diagnostic tool. This means the vehicle is fully operational. If not this can help in further inspecting the individual components to ascertain why there isn't no illumination. NO illumination means no spark. Verify the connections are fasten for the tool.
References:
- Torque specs: https://mitsubishi-specs.com/lancer/2007-2017/torque-specs/
- Purpose: https://profireenergy.com/how-ignition-coils-work/
- Symptoms of Bad Ignition Coils: https://www.autozone.com/diy/ignition/signs-of-a-bad-ignition-coil
- Functionality and Inner Operation: https://www.smpcorp.com/standard/training-insights/a-closer-look-ignition-coils/
- Diagram: https://www.theengineerspost.com/distributorless-ignition-system/